The closest open-source desktop publishing program to Adobe InDesign is called Scribus. It comes with integrated color control, separation, and much more. The Scribus is the page layout for Windows, Linux, and MAC. Scribus has grown from its modest beginnings in the spring of 2001 to become one of the top Open Source desktop programs. The Scribus Team is dedicated to developing and improving “one of the most powerful and helpful open-source projects out there” with the help of a huge and rising number of enthusiastic people from all over the world (TechRepublic). Scribus includes professional publishing tools including CMYK colors, spot colors, ICC color management, and flexible PDF production underneath a user-friendly interface. Powerful vector drawing capabilities, support for a vast array of file types via import/export filters, color blindness emulation, and the rendering of markup languages like LaTeX or Lilypond inside Scribus are just a few of the surprising features that make Scribus unique. The open, XML-based Scribus file format is free to use. With a basic text editor, even corrupted documents can be retrieved, which is frequently difficult with proprietary binary file formats. In this article, we will learn how to download and install Scribus on Windows 10.
Downloading and Installing Scribus On Windows 10
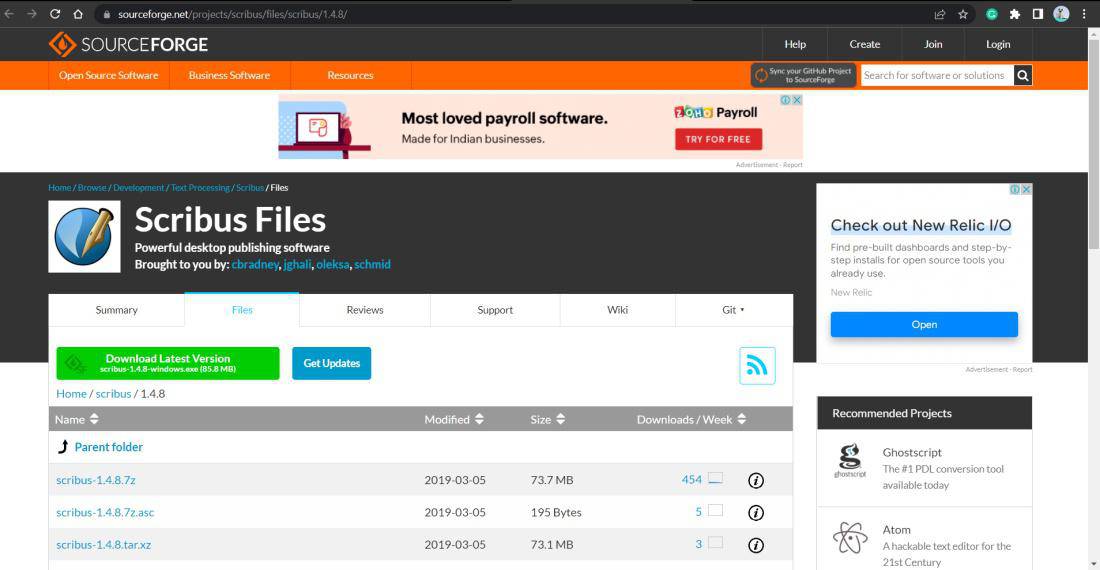
Step 1: Download the sourceforge.net to download the Scribus into your system. An exe name, scribus-1.4.8-windows.exe will be downloaded.
Step 2: Double-click on the exe downloaded, and it will ask you to choose the preferred language for installation. For example, English.
Step 3: Scribus Setup installation window will open. In the setup wizard, click on the Next button.
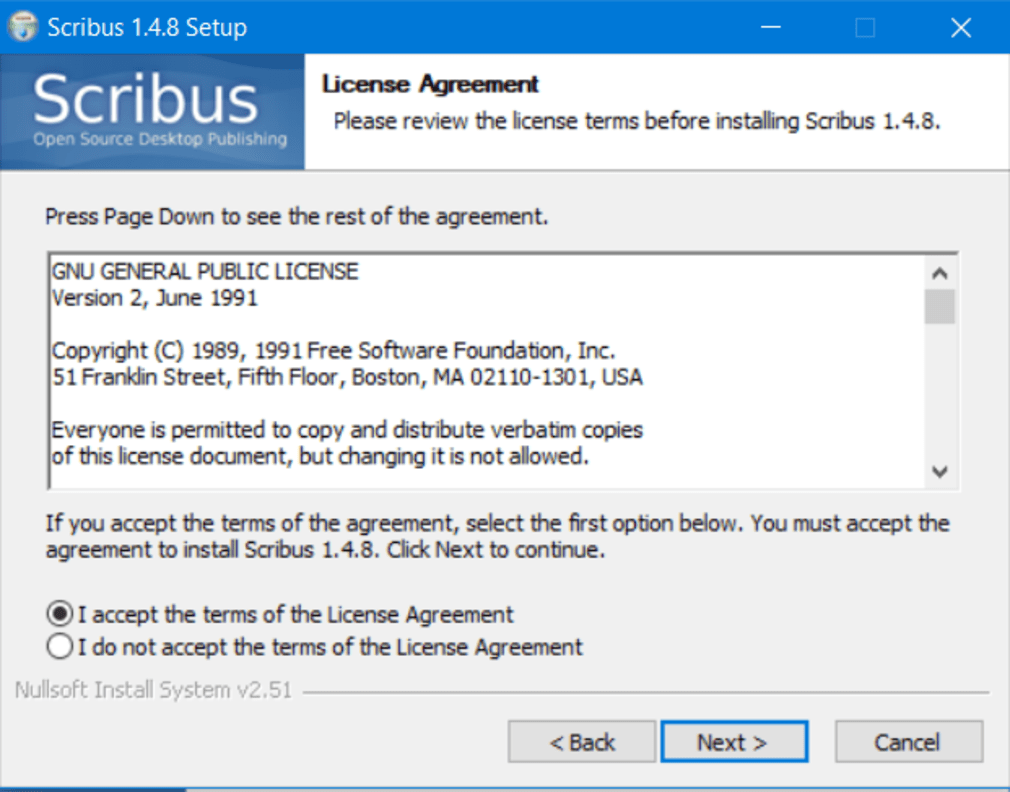
Step 4: The license Agreement page will open. Select the radio button, I accept the terms of the License Agreement. Click on the Next button.
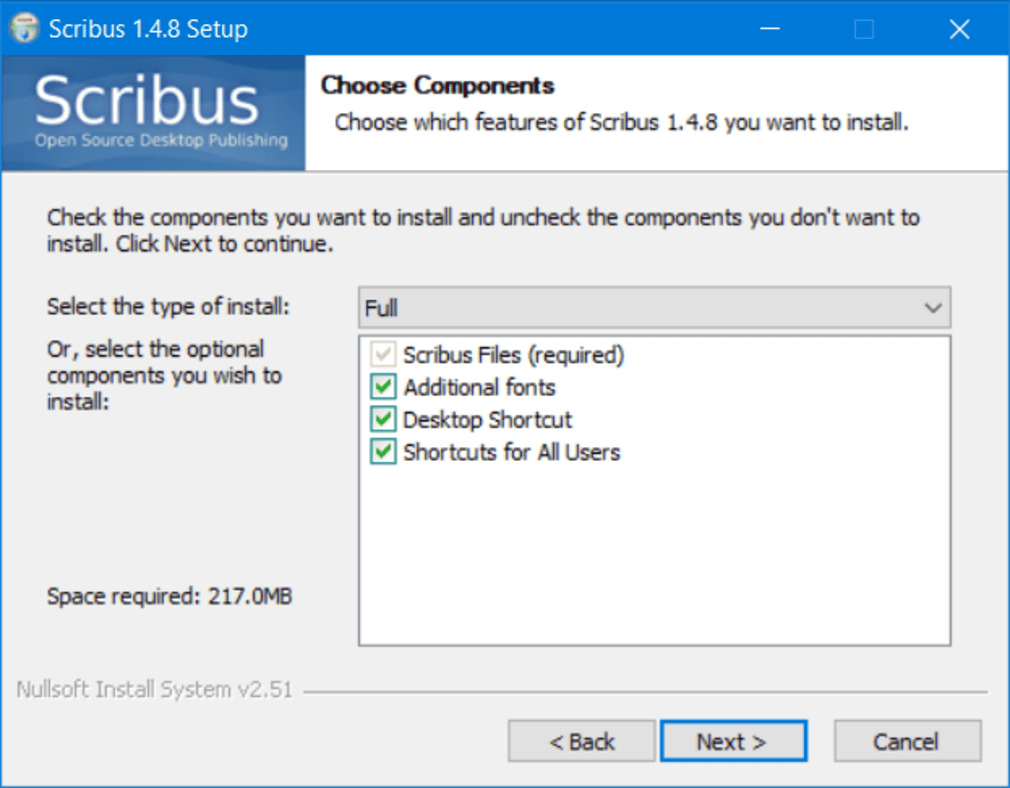
Step 5: Choose the various components you want to install with the package. For example, Desktop Shortcut. Click on the Next button.
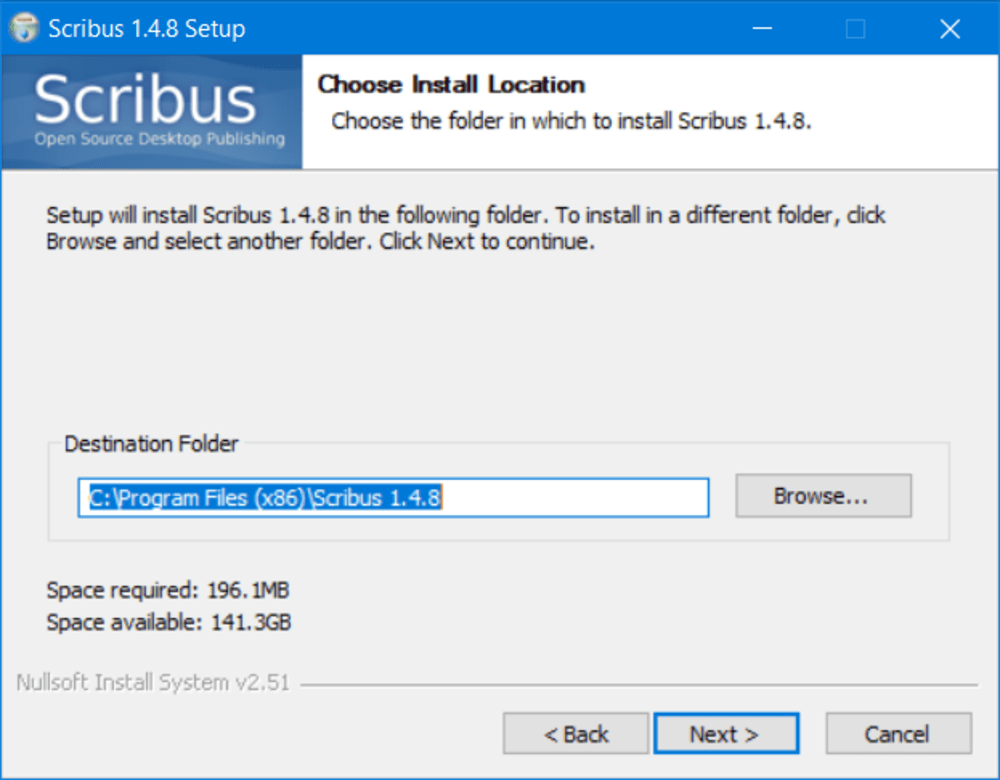
Step 6: Choose the preferred location to install Scribus. The default location is, C:\Program Files (x86)\Scribus 1.4.8, or click on the Browse button to choose a custom location. Click on the Next button.
Step 7: Choose Scribus in the main menu folder. Click on the Install button.
Step 8: Scribus gets successfully installed.