In this tutorial, we'll create an image resizer and compressor application using React. We search for different tools and websites on the internet to resize and compress the image. But, as a web developer, we can create our image resize and compressor using React. The application allows user to upload an image, resize it based on specific dimensions or percentages, adjust the compression quality, and download the compressed image.
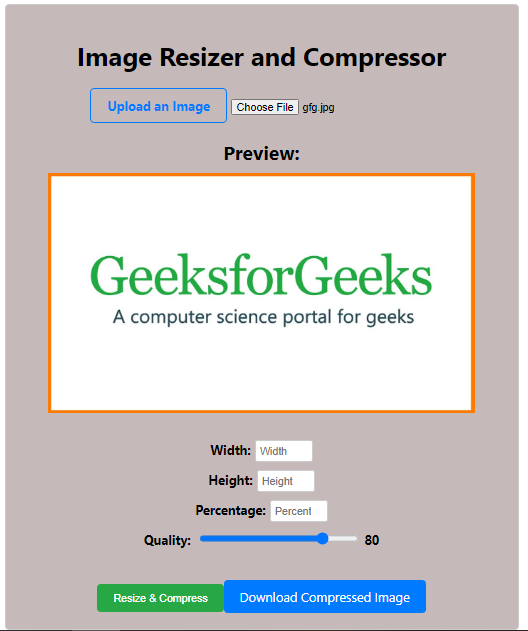
Preview of Final Output: Let us have a look at how the final application will look like:
Prerequisites:
Approach to Create an Image Resizer and Compressor in React:
- Functionality: Upload, resize, and compress images.
- State Management: Utilizes React's useState for managing image properties.
- Image Handling: FileReader for image upload; img element for manipulation.
- Resizing and Compression: Adjusts dimensions and quality of the image.
- UI Components: Displays controls and preview for image manipulation.
- Download Functionality: Provides a link for downloading the compressed image.
- App.js: This component is responsible, for rendering the layout of the application.
- ImageResizer.js : ImageResizer.js is a React component responsible for handling image resizing and compression within the image resizer application. This component allows users to upload an image, specify dimensions (width, height, or percentage), adjust compression quality, and download the compressed image.
- ImageResizer.css : ImageResizer.css contains the styles for the image resizer application, ensuring a visually appealing and user-friendly interface.
Steps to Create Image Resizer and Compressor in React:
Step 1: let's create a new React project using Create React App.
npx create-react-app <<Project_Name>>Step 2: Change to the project directory.
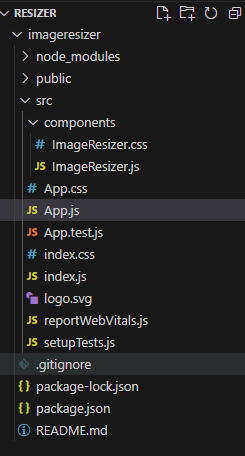
cd <<Project_Name>>Step 3: Create a folder called components in src directory and create the following files inside it ImageResizer.js and ImageResizer.css .
Project Structure:
The updated dependencies in package.json will look like this:
"dependencies": {
    "react": "^18.2.0",
    "react-dom": "^18.2.0",
    "react-scripts": "5.0.1",
    "web-vitals": "^2.1.4"
},
Example: Below is an example of creating a image resizer and compressor using react.
/* App.css */

.container {
    text-align: center;
    margin-top: 50px;
}

.title {
    margin-bottom: 20px;
}

.image-upload {
    margin-bottom: 20px;
}

.upload-label {
    cursor: pointer;
    padding: 10px 20px;
    border: 2px solid #ccc;
    border-radius: 5px;
    display: inline-block;
}

.output {
    margin-top: 20px;
}

.preview-label {
    margin-bottom: 10px;
}

#preview {
    max-width: 100%;
    max-height: 300px;
    margin-bottom: 10px;
}

.controls {
    margin-top: 20px;
}

.control-group {
    margin-bottom: 10px;
}

label {
    margin-right: 5px;
}

input[type='number'] {
    width: 60px;
    padding: 5px;
    border: 1px solid #ccc;
    border-radius: 3px;
}

.quality-group {
    margin-bottom: 20px;
}

input[type='range'] {
    width: 200px;
    margin-left: 5px;
}

.quality-value {
    margin-left: 5px;
}

#resizeButton {
    padding: 10px 20px;
    background-color: #007bff;
    border: none;
    border-radius: 5px;
    color: #fff;
    cursor: pointer;
}

#resizeButton:hover {
    background-color: #0056b3;
}

.download-button {
    display: inline-block;
    padding: 10px 20px;
    background-color: #28a745;
    border: none;
    border-radius: 5px;
    color: #fff;
    cursor: pointer;
    text-decoration: none;
    margin-top: 20px;
}

.download-button:hover {
    background-color: #218838;
}