Directives in Angular are nothing but the classes that allow us to add and modify the behavior of elements. Using directives in angular we can modify the DOM (Document Object Module) styles, handle user functionality, and much more.
Custom Directives:
A custom directive in Angular is a user-defined directive that extends the functionality of HTML by introducing new behaviors or attributes. Unlike built-in directives provided by Angular, custom directives are created to encapsulate specific functionality and promote code reuse within Angular applications.
Steps to create the Directive:
Step 1: Create the angular project using the following command.
ng new custom-directive
cd custom-directive
Step 2: To generate a new directive, we can use the following command.
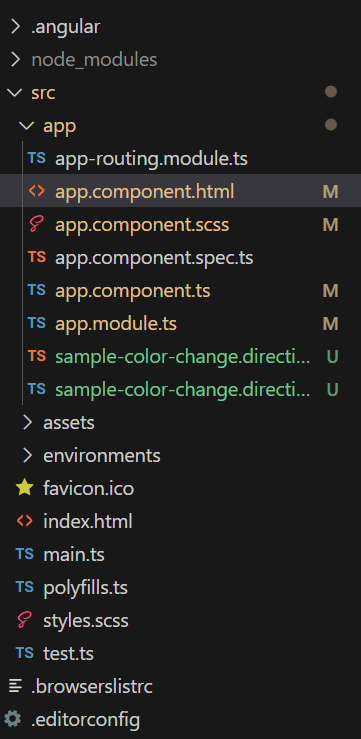
ng generate directive sampleColorChangeFolder Structure:
Dependencies:
"dependencies": {
    "@angular/animations": "^17.3.0",
    "@angular/common": "^17.3.0",
    "@angular/compiler": "^17.3.0",
    "@angular/core": "^17.3.0",
    "@angular/forms": "^17.3.0",
    "@angular/platform-browser": "^17.3.0",
    "@angular/platform-browser-dynamic": "^17.3.0",
    "@angular/platform-server": "^17.3.0",
    "@angular/router": "^17.3.0",
    "@angular/ssr": "^17.3.0",
    "rxjs": "~7.8.0",
    "tslib": "^2.3.0",
    "zone.js": "~0.14.3"
},
"devDependencies": {
    "@angular-devkit/build-angular": "^17.3.0",
    "@angular/cli": "^17.3.0",
    "@angular/compiler-cli": "^17.3.0",
    "@types/express": "^4.17.17",
    "@types/jasmine": "~5.1.0",
    "@types/node": "^18.18.0",
    "jasmine-core": "~5.1.0",
    "karma": "~6.4.0",
    "karma-chrome-launcher": "~3.2.0",
    "karma-coverage": "~2.2.0",
    "karma-jasmine": "~5.1.0",
    "karma-jasmine-html-reporter": "~2.1.0",
    "typescript": "~5.4.2"
}
Example: Implementing Custom directive
<!-- app.component.html -->
<div appSampleColorChange>Text using directive</div>
//sample-color-change.directive.ts

import { Directive, ElementRef, HostListener } from '@angular/core';

@Directive({
    selector: '[appSampleColorChange]',
})
export class SampleColorChangeDirective {
    constructor(private el: ElementRef) {
        this.el.nativeElement.style.color = 'blue';
        this.el.nativeElement.style.fontWeight = 'bold';
    }

    @HostListener('mouseleave') onMouseLeave() {
        this.el.nativeElement.style.backgroundColor = 'red';
    }
}
To start the application run the following command.
ng serveOutput:
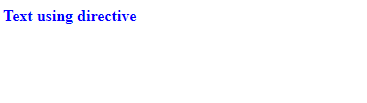
Without any mouse events

After removing the mouse from the text
Example 2: We can also pass multiple inputs to our custom directive. Let us understand it by taking an example.
<!-- app.component.html -->
<div appSampleColorChange [color]="'red'" [backgroundColor]="'blue'">
      Text using directive
</div>
//sample-color-change.directive.ts

import { Directive, ElementRef, HostListener, Input } from '@angular/core';

@Directive({
    selector: '[appSampleColorChange]',
})
export class SampleColorChangeDirective {
    @Input() color: string = '';
    @Input() backgroundColor: string = '';
    constructor(private el: ElementRef) {
        this.el.nativeElement.style.fontWeight = 'bold';
    }
    @HostListener('mouseenter') onMouseEnter() {
        this.el.nativeElement.style.color = this.color;
        this.el.nativeElement.style.backgroundColor = this.backgroundColor;
    }
}
Output:

On hovering the text
Benefits of custom directives :
- The main advantange of custom directives is the code reusability . Instead of writing the code repeatedly , we can create one directive and use it wherever required.
- This also allows us to seperate the complex code into directives, and make it more readable.
- Custom directives helps us to validate data and make custom changes to UI based on certain conditions, which makes code flexible.
- They also helps in code consistency.