A tooltip is a small pop-up box, text, or image that appears when a user hovers over an element such as a button, link, or image. Tooltips are often used to provide additional information about the element or give the user context. We will explore how to make a tooltip with a left arrow on the Image and text.
Approach
- The HTML creates a tooltip container with the text "Hover over me" and a tooltip displaying "LEFT ARROW".
- CSS styles are applied to position the tooltip container in the center of the viewport using absolute positioning and the transform property to translate it by -50% in both the horizontal and vertical directions.
- The .tooltiptext class defines the appearance of the tooltip text, initially hidden and positioned below the tooltip container, with a goldenrod background, white text, and centered alignment.
- When hovering over the '.tooltip' element, the visibility of the '.tooltiptext' is changed to visible, making the tooltip text appear, and an arrow is created using CSS pseudo-elements to point to the tooltip from the top right corner.
Example 1: Creating a Tooltip With a Left Arrow on Text in CSS.
HTML
<!DOCTYPE html>
<html lang="en">

<head>
    <meta charset="UTF-8">
    <meta name="viewport"
          content="width=device-width, initial-scale=1.0">
    <title>Document</title>
    <link rel="stylesheet" href="style.css">
</head>

<body>

    <div class="tooltip-container">
        <div class="tooltip">
            Hover over me
            <span class="tooltiptext">
              LEFT ARROW .
              </span>
        </div>
    </div>


</body>

</html>
CSS
.tooltip-container {
    position: absolute;
    top: 50%;
    left: 50%;
    transform: translate(-50%, -50%);
}

.tooltip {
    position: relative;
    display: inline-block;
    cursor: pointer;
}

.tooltip .tooltiptext {
    visibility: hidden;
    width: max-content;
    max-width: 100%;
    background-color: goldenrod;
    color: white;
    text-align: center;
    border-radius: 0.4rem;
    padding: 0.5rem;
    position: absolute;
    z-index: 1;
    bottom: -100%;
    left: 70%;
    transform: translateX(50%);
}

.tooltip:hover .tooltiptext {
    visibility: visible;
}

.tooltip .tooltiptext::after {
    content: "";
    position: absolute;
    top: 50%;
    right: 100%;
    margin-top: -0.5rem;
    border: 0.6rem solid;
    border-right-color: goldenrod;
}
Output:
Tooltip with Left Arrow on Text
Example 2: Tooltip With a left Arrow on the Image hovered over the image the tooltip text becomes visible.
HTML
<!DOCTYPE html>
<html lang="en">

<head>
    <meta charset="UTF-8">
    <meta name="viewport"
          content="width=device-width, initial-scale=1.0">
    <title>Document</title>
    <link rel="stylesheet" href="styles.css">
</head>

<body>

    <div class="tooltip-container">
        <div class="tooltip">
            <img src=
"https://media.geeksforgeeks.org/wp-content/uploads/20240324093651/gfg.jpg" alt="gfg">
            <span class="tooltiptext">GeeksforGeeks</span>
        </div>
    </div>


</body>

</html>
CSS
/* Write CSS Here */
.tooltip-container {
    position: absolute;
    top: 50%;
    left: 50%;
    transform: translate(-50%, -50%);
}

.tooltip {
    position: relative;
    display: inline-block;
    cursor: pointer;
}

.tooltip .tooltiptext {
    visibility: hidden;
    width: max-content;
    max-width: 100%;
    background-color: green;
    color: white;
    text-align: center;
    border-radius: 0.4rem;
    padding: 0.5rem;
    position: absolute;
    z-index: 1;
    bottom: 50%;
}

.tooltip:hover .tooltiptext {
    visibility: visible;
}

.tooltip .tooltiptext::after {
    content: "";
    position: absolute;
    top: 50%;
    right: 100%;
    margin-top: -0.5rem;
    border: 0.6rem solid;
    border-right-color: green;
}
Output:
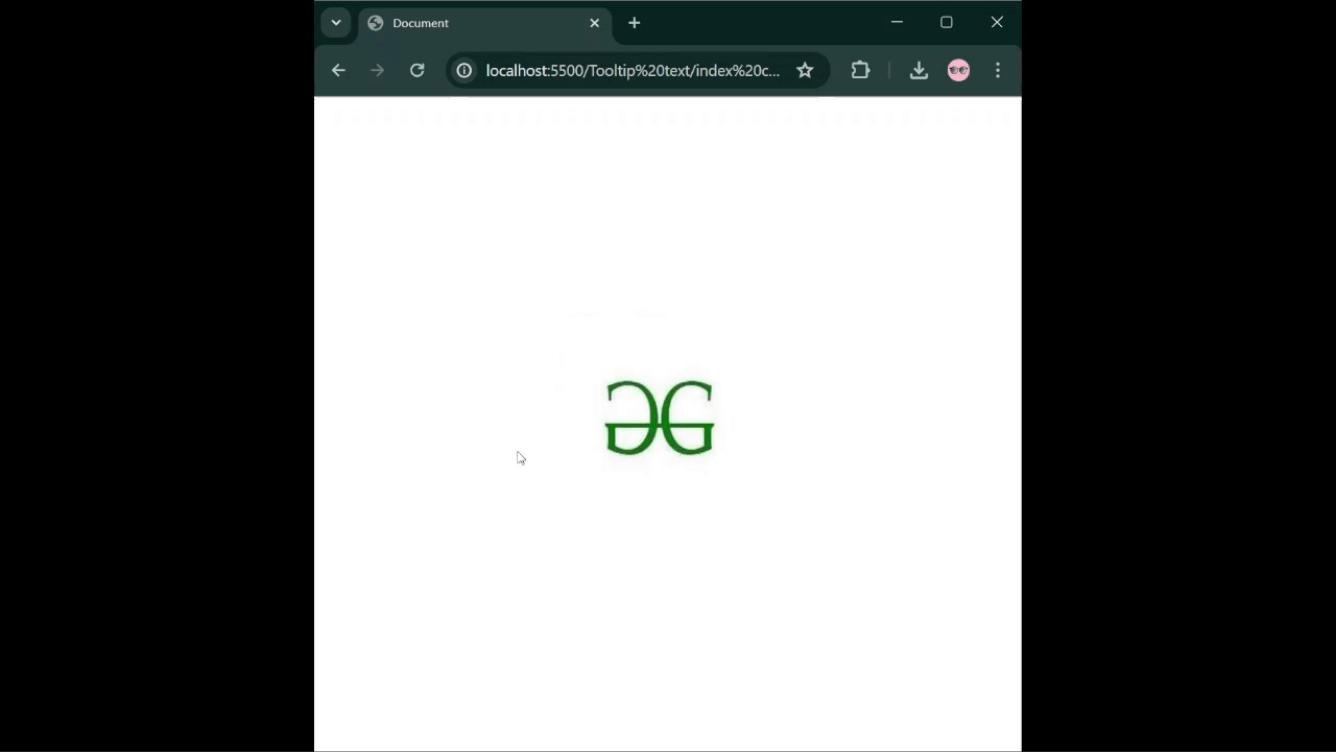
Tooltip with Left Arrow on Image