WebStorm is a cross-platform integrated development environment (IDE) and is used for developing web applications in React, Vue, Angular, Express, Php, Meteor, Ruby, etc. It has been maintained by Jetbrains since its launch and is primarily written in Java. As one of the most popular JavaScript IDEs on the market, it offers a wide range of features such as auto code completion, syntax highlighting, linting, debugging, profiling, smart code navigation, auto code completion, code refactoring, unit testing, integration testing, and a variety of plugins.
This article tells the installation of WebStorm in Windows 10/11.
Installation of WebStorm
Step 1: Download the latest version of the graphical installer from jetbrains.com.
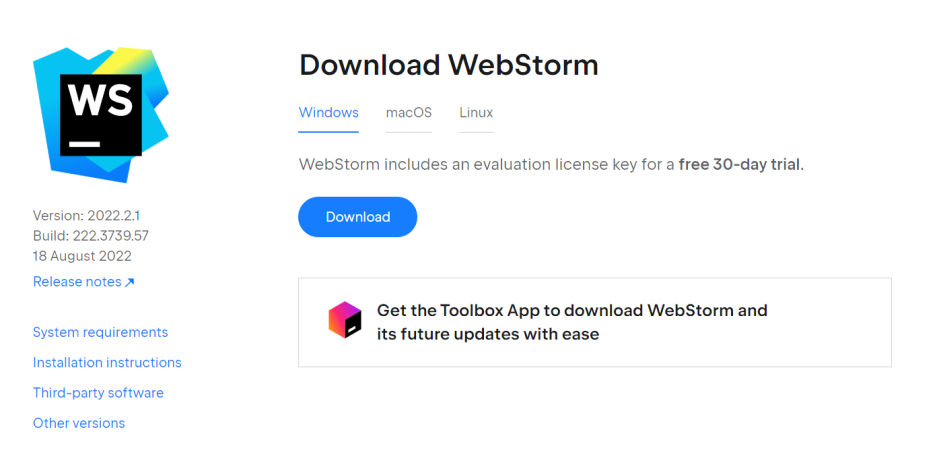
Step 2: Start the installation process by double-clicking the executable file. Click on the Next button.
Step 3: Click on the Browse button, and select the desired installation path.
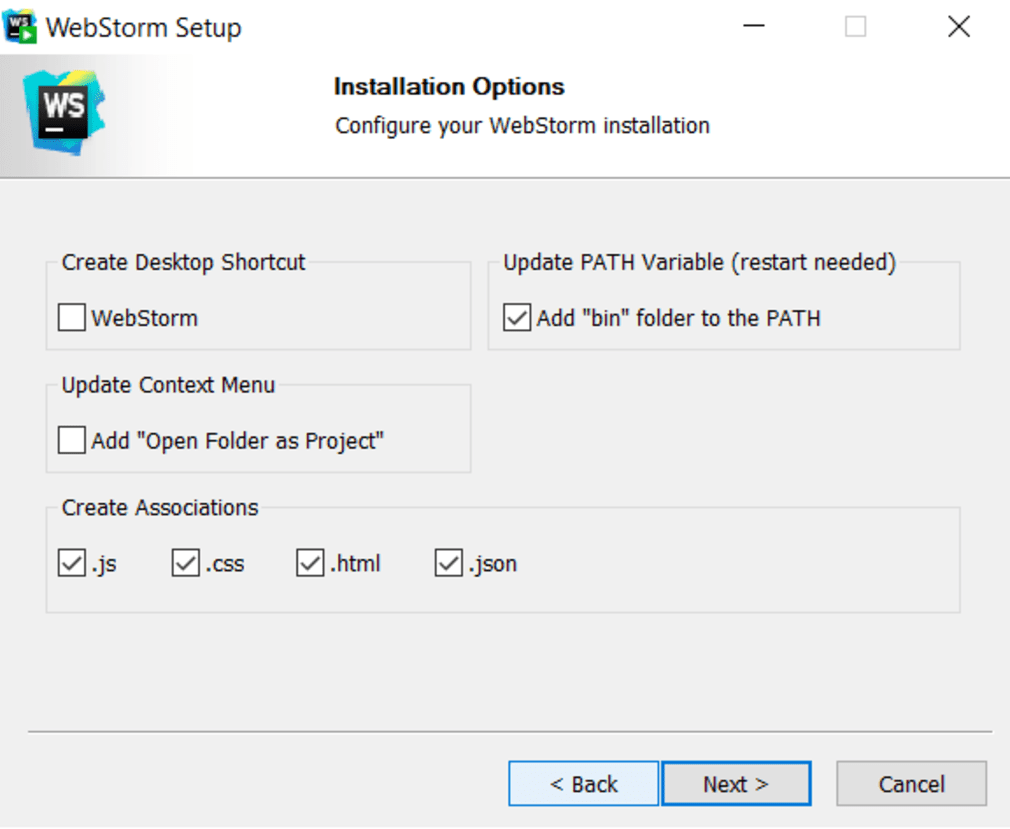
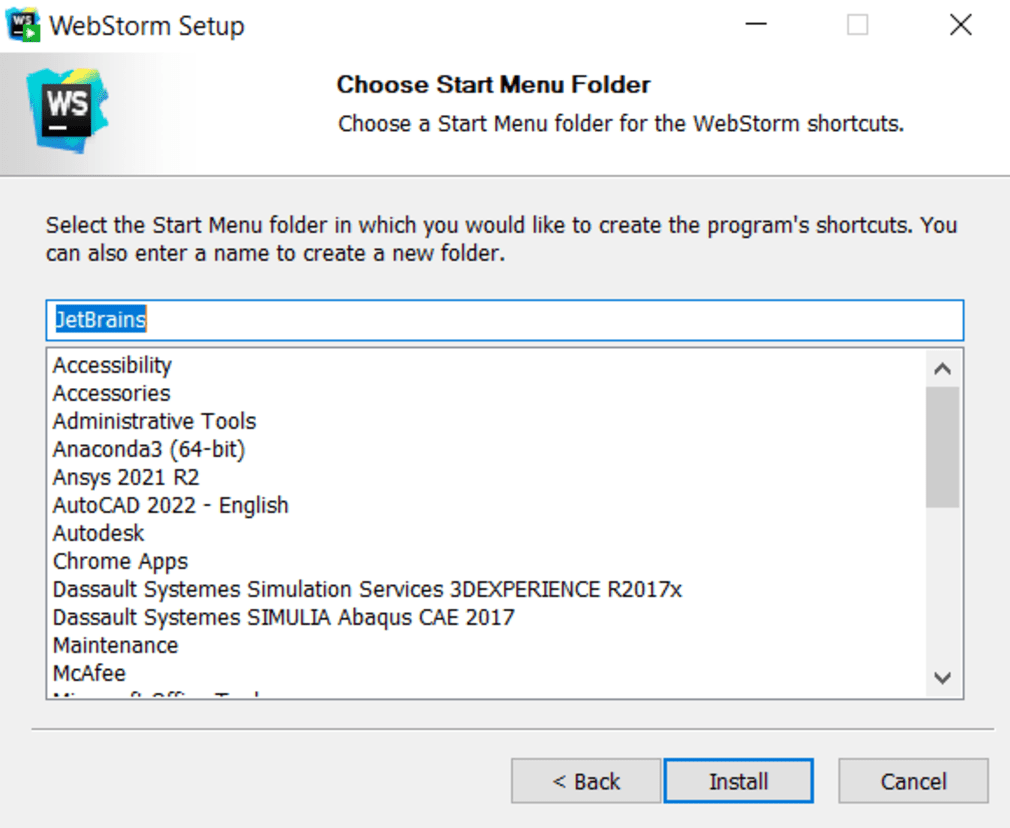
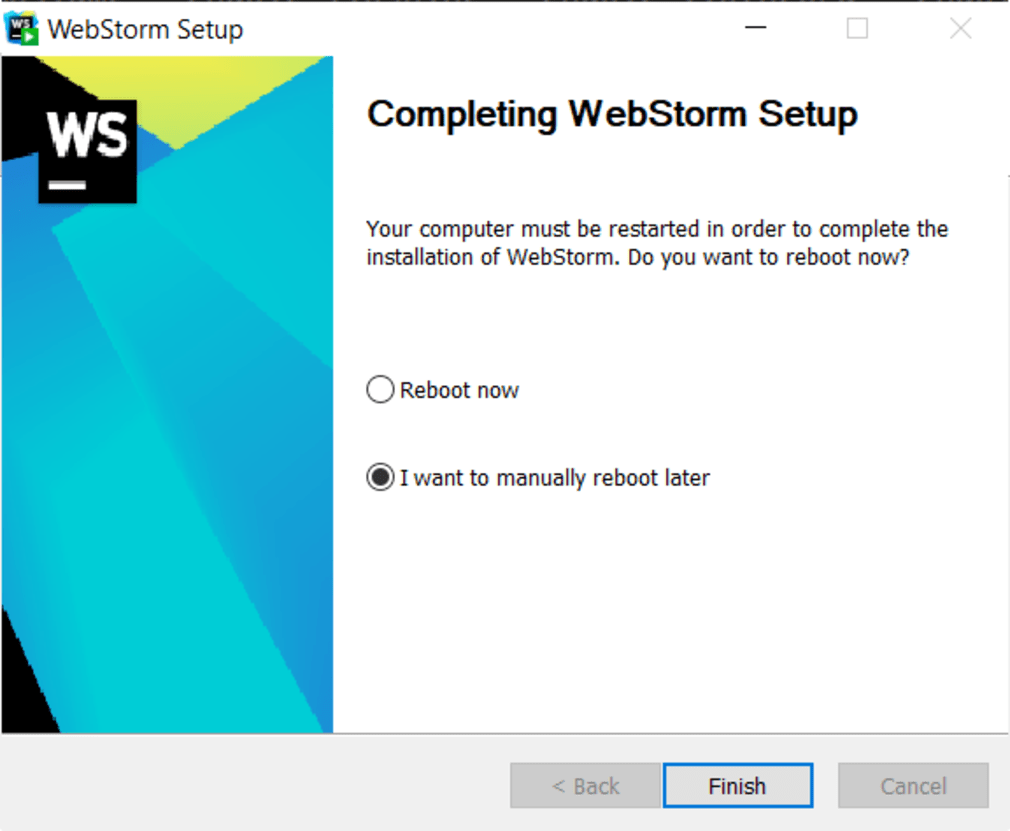
Step 4: In the next step, update the path variable, create a desktop icon, choose the shortcut for the start menu, and wait for the installation to complete.
Step 5: Start WebStorm by searching “webstrom” in the start menu
Step 6: Accept the service agreement
Step 7: JetBrains is a paid software, but students can access it for free, by using their GitHub student developer account login credentials, or if you have a JetBrains account then, login with your JetBrains account.
Step 8: Create a new project by setting the path and selecting the required framework.
Step 9: When the project has been created, start working on it as you would in any other IDE.