By using secure deletion techniques, PrivaZer can completely erase all traces of past delete operations. It can also reset your free disc sectors to zero. Depending on the size of your discs and the quantity of traces identified, the initial scan and cleaning operation may take 20 to 30 minutes. Scheduled cleanings, support for USB keys and external drives, automatic registry backups, and more features are also available. You have the option to carefully analyze the results before choosing to safely delete them from your disc. The tool runs a highly thorough scan that looks for potential traces in your free disc space sectors in addition to the usual traces like registry, Internet history, cookies, etc. In this article, we will learn how to install PrivaZer in windows10.
Uses of PrivaZer
PrivaZer is used for permanent data cleaning from your system and disk space. Some of the features of PrivaZer are:
- Clean up securely with a single click. It is an irreversible cleaning method based on overwriting.
- PrivaZer provides in-depth cleanup for PC and storage devices.
- Smart overwriting: PrivaZer recognizes automatically your type of storage device (magnetic disk, SSD, etc) and adapts erasure algorithms.
- PrivaZer provides privacy protection and prevents recovery of your activities.
Installing PrivaZer on Windows
Step 1: Go to PrivaZer, and click on the download button. An exe name PrivaZer_free.exe will be downloaded. You can also run PrivaZer without installation or generate the portable version by selecting it.
Step 2: Now, right-click on the exe and select run as administrator to process the installation.
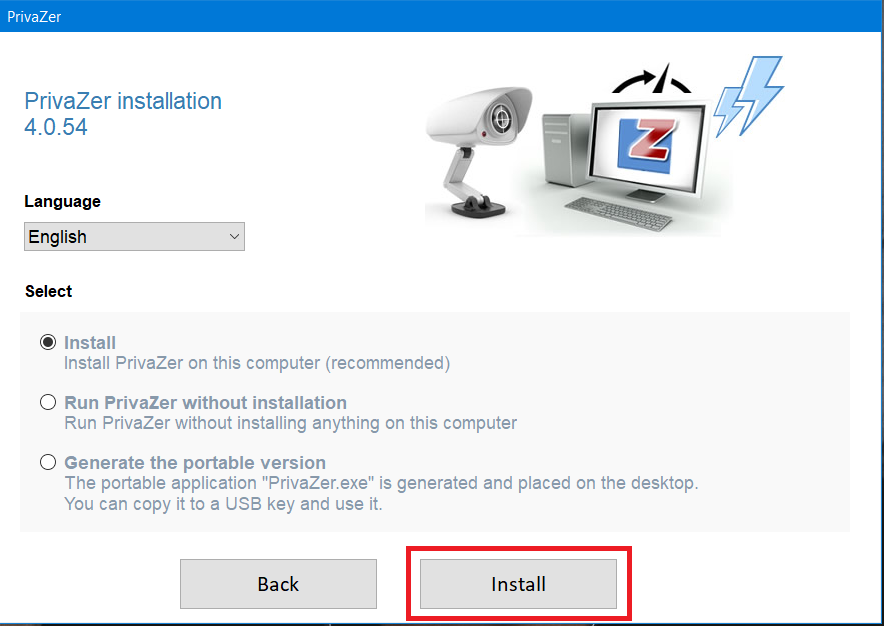
Step 3: Select the language to process the installation. Select as per your need and click on the Install button.
Step 4: On the installation page, the terms and conditions agreement is shown, to agree with the terms and conditions. Select I agree button and click on the Next button.
Step 5: Click on the Browse button, and select the path in which you want to install PrivaZer. Then, click on the Install button. If you want, the default location then simply click on the Install button.
Step 6: After clicking on the install button system automatically starts the installation process. wait for some time to get the installation completed.
Step 7: Select the different packages to install with your PrivaZer. Click on the OK button.
Step 8: The installation, of PrivaZer, is completed. Double-click to open your application.
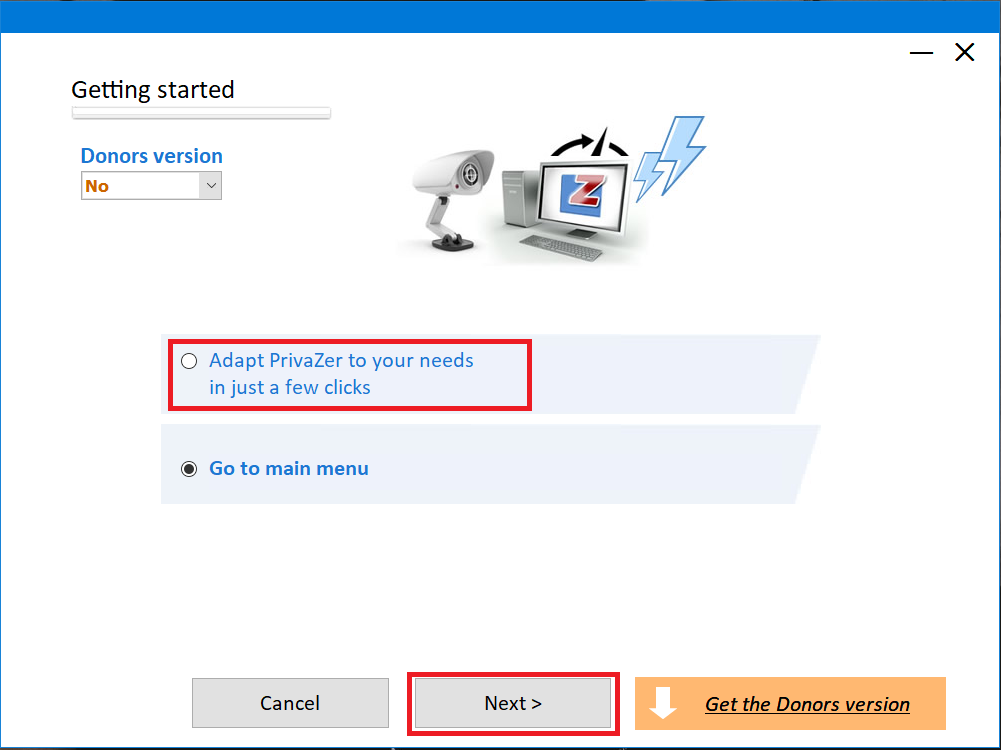
Step 9: After opening the application, it will ask you for two options. First, one is “Adapt PrivaZer to your needs in just a few clicks” or “Go to the main menu”. Select as per your need and click on the Next button. But my recommendation is to go with the “Go to main menu” option.
Step 10: Home Page of PrivaZer is opened.