An applet is a small program that is intended not to be run on its own, but rather to be embedded inside another application. An applet can be embedded into a web page. It runs inside the web browser and works at client side. In this article, we will discuss how to create an applet in Java in eclipse IDE using PApplet class.
The processing library in Java has a class called PApplet which is used in Making Graphical User Interface(GUI). Before creating an applet, let’s understand the basics of the applet class in java:
- The PApplet class must be the superclass of an applet that is to be embedded in a Web page or viewed by the Java Applet Viewer.
- The PApplet class has two main methods namely the setup() and the draw() method.
- The setup method is run once whereas the draw function will run repeatedly drawing the image on the canvas.
- Processing uses active mode rendering, (i.e.), all the animation tasks happen on “Processing Animation Thread”.
- The setup() and the draw() methods are handled by that thread, and events like mouse movement and key presses, which are fired by the event dispatch thread or EDT are queued to be safely handled at the end of draw() method.
- Using PApplet class we can create user-friendly GUI apps, which means the application is user interactive, they have icons, sliders, we can click, drag, drop and play with the app window.
Example: The following is an example to get an understanding of how to create an applet in java. In this applet, we are rendering an image on the canvas. This image can be either from the internet or the local PC. Since it is known that there are two functions which need to be defined, the following is defined in each of these functions:
- setup(): In this function, we will define the size of the canvas and the background of the canvas.
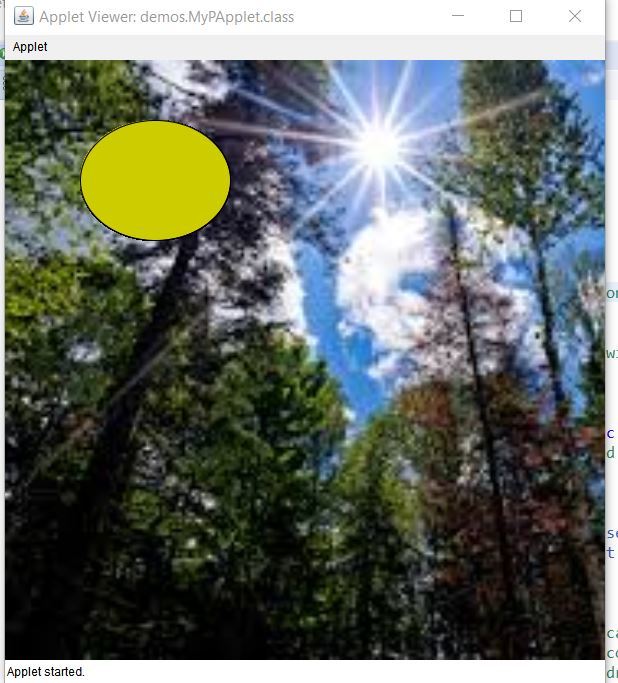
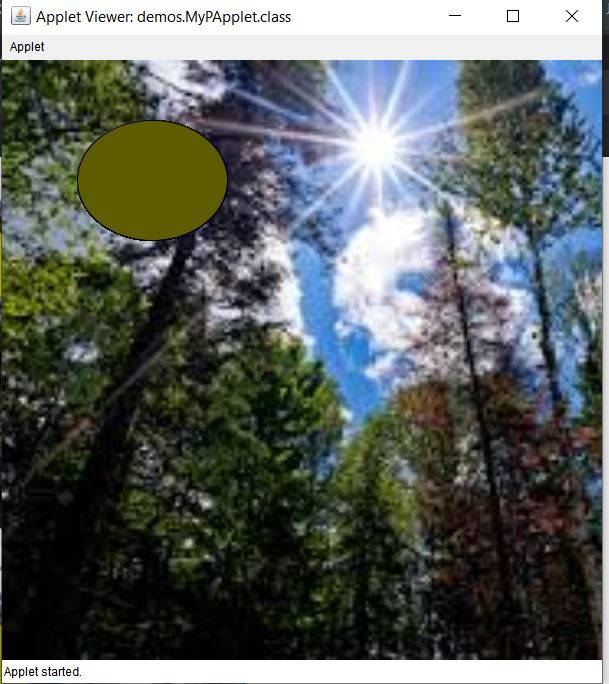
- draw(): In this function, lets define an ellipse which can be assumed as the sun. In this applet, the colour of this ellipse is changed the way the colour of sun changes. Since it might take hours to observe this on real-time scale, we will change the colour of the sun in seconds. The colour of the sun is represented in the form of RGB.
Note: This code will not work on an online IDE. Try to run on the Eclipse IDE.
Below is the implementation of the above applet:
// Java program to demonstrate // how to create an applet import processing.core.PApplet;
import processing.core.PImage;
// Creating a class which extends // the PApplet class public class MyPApplet extends PApplet {
// Defining the image
PImage img;
// The setup function will run once
// and the draw function will run
// repeatedly drawing the image
// on the canvas.
public void setup()
{
// Set the canvas width and height
size(500, 500);
// Set the canvas color
background(255);
// Set the pen color
stroke(0);
// Use any image from the internet
// or PC
// Here, the URL of the image is given
img
+ "-tbn0.gstatic.com/"
+ "images?q=tbn%3AANd9"
+ "GcRNC9SY6P7qRIXxGcK"
+ "vM420UXuISOlev1dOpO5"
+ "_lHpmW2mhVQh7&usqp=CAU",
"jpg");
// Resize the loaded image to
// the full height of canvas
img.resize(0, height);
// Display the image
image(img, 0, 0);
}
// This function is executed repeatedly
public void draw()
{
// Calculate color code for the sun
int[] color = sunColorSec(second());
// Set the colour of the sun
fill(color[0], color[1], color[2]);
// Draw the sun
ellipse(width / 4, height / 5,
width / 4, height / 5);
}
// Function to return the RGB
// color of the sun at the
// number of seconds in the minute
public int[] sunColorSec(float seconds)
{
int[] rgb = new int[3];
// Scale the brightness of the
// yellow based on the seconds.
// 0 seconds is black and
// 30 seconds is bright yellow.
float diffFrom30
= Math.abs(30 - seconds);
// Assigning the ratio of
// RGB in an array
float ratio = diffFrom30 / 30;
rgb[0] = (int)(255 * ratio);
rgb[1] = (int)(255 * ratio);
rgb[2] = 0;
// Return the RGB
return rgb;
}
// Driver code
public static void main(String[] args)
{
PApplet.main(
new String[] {
"--present",
"MyPApplet" });
}
} |
Output: The following is the output which is obtained on running the code. The colour changes are as follows: