This article will show you how to disable the textarea using JavaScript. Disabling a textarea using JavaScript can be done by setting the disabled property of the textarea element to true. This prevents the user from editing the content of the textarea.
There are some reasons to use disabled textarea, these are:
- Disabling a textarea prevents the user from editing its content, but the content remains visible.
- Disabled textareas are not included in form submissions, so their values are not sent to the server.
Table of Content
Approach 1: Disable Textarea using the disabled Property
You can directly manipulate the disabled property of the textarea element to disable it. This approach does not require any additional functions. In this example, clicking the "Disable Textarea" button will disable the textarea with the id myTextarea.
HTML
<!DOCTYPE html>
<html>

<head>
    <title>
        How to Disable Textarea using JavaScript?
    </title>
</head>

<body>
    <textarea id="myTextarea">Welcome to GeeksforGeeks</textarea>
    <br>

    <button onclick="disableTextarea()">
        Disable Textarea
    </button>

    <script>
        function disableTextarea() {
            var textarea = document.getElementById("myTextarea");
            textarea.disabled = true;
        }
    </script>
</body>

</html>
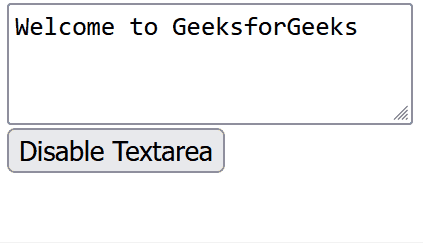
Output:
Approach 2: Disable Textarea using the setAttribute Method
You can also use the setAttribute method to add the disabled attribute to the textarea element. This approach achieves the same result as the previous one.
HTML
<!DOCTYPE html>
<html>

<head>
    <title>
        How to Disable Textarea using JavaScript?
    </title>
</head>

<body>
    <textarea id="myTextarea">Welcome to GeeksforGeeks</textarea>
    <br>

    <button onclick="disableTextarea()">
        Disable Textarea
    </button>

    <script>
        function disableTextarea() {
            let textarea = document.getElementById("myTextarea");
            textarea.setAttribute("disabled", "disabled");
        }
    </script>
</body>

</html>
Output:
Recommended Articles