FastAPI is also an open-source Starlette-ASGI (Asynchronous Server Gateway Interface) micro-web framework written in Python used to create RESTful APIs. Docker is a set of platform-as-a-service (PaaS) products that use OS-level virtualization to deliver software in packages called containers.
Your project has various dependencies and requires different configurations for each task, such as database management, cloud integration, CI/CD, etc. Setting up these configurations can be a hectic task, and they also need to be portable. To overcome this challenge, containers can be used. By building a Docker image and containers, you can develop an isolated environment for your project code with all the necessary dependencies. This article will guide you through the process of creating these containers.
What Is API?
An Application Programming Interface (API) is a set of definitions and protocols that allow two or more computer programs or components to communicate with each other. It's analogous to a waiter who takes requests and communicates them to the chef, and vice versa. For a detailed explanation, go to this article.
What Is FastAPI In Containers?
Packaging your FastAPI application along with its dependencies and project code into a container image is FastAPI in containers, which also allows you to deploy, manage, and perform various operations very easily.
Step-by-Step Guidelines to Run Fast API in Containers
Step 1: Create a new folder for your project and navigate into it.
mkdir fastapi-container
cd fastapi-container
Step 2: Create a new Python virtual environment and activate it.
python -m venv env
.env/Scripts/activate
Step 3: Install FastAPI and Uvicorn in a virtual environment. Uvicorn is an application server used to serve Python web applications
pip install fastapi uvicornStep 4: Create your FastAPI files or add all the necessary files to your folder.
from fastapi import FastAPI

app = FastAPI()


@app.get("/")
def hello():
    return {"Hello": "World"}
Step 5: Create a new file called Dockerfile and add the following code. This will allow you to make docker image and container which will copy all the content from your directory into image.
Note: Make sure filename is Dockerfile
FROM tiangolo/uvicorn-gunicorn-fastapi:python3.9

COPY . .
Step 6: Build the docker image using following syntax.
docker build -t fastapi-docker .-t is a tag flag which allow you to name your docker image, in above case fastapi-docker.explanation,

Docker Build
Step 7: Run your image which will create container and run uvicorn at port 9000 (using -p flag) as given in below syntax.
docker run -p 9000:80 fastapi-docker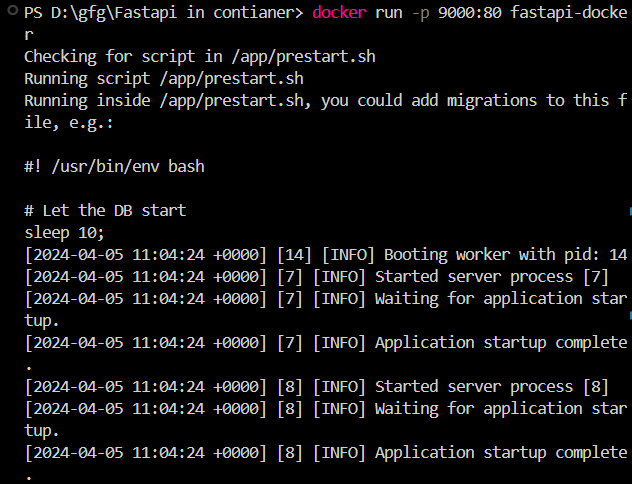
Docker run
Step 8: Goto any browser and search this URL localhost:9000. This will show result from your endpoints.
.png)
Open site
Advantages Of The FastAPI In Containers
- Portability: Containers packs the FastAPI application with its dependencies, making it easy to run across different environments, such as development, testing, and production.
- Isolation: Containers ensures that FastAPI runs independently of the host system. This isolation avoid the conflicts between dependencies and allows for easier management of different versions app.
- Easy Deployment: Containerized FastAPI applications can be easily deployed and updated using container orchestration tools like Docker Swarm or Kubernetes.
Conclusion
FastAPI within Docker containers has various advantages for modern web development projects. Containerization of FastAPI, developers can ensure consistent environments across different platforms, simplify deployment processes, and enhance scalability and portability.
FastAPI In Containers - FAQ's
Is it easy to scale FastAPI using Docker containers?
Yes, Docker's container orchestration tools, such as Docker Swarm or Kubernetes, enable developers to scale FastAPI easily.
What are some best practices to optimize FastAPI Docker images and containers?
1. Lightweight base images 2. Minimizing the number of layers in Dockerfiles 3. Removing unnecessary dependencies and files
Can Docker allow to integrat FastAPI with CI/CD pipelines?
Yes, you can use tools like Jenkins, GithHub Actions, GitLab CI/CD, etc.
Can we change port number and IP for FastAPI?
Yes, use -p flag while running containers to change port number and you can use host variable in uvicorn to change ip.
How to add requirements.txt in docker container?
Use this syntax in Dockerfile and make sure file is present in main folder. RUN pip install -r requirements.txt