Spring Boot provides a lot of features to solve real-time problems. In these features, Auto-Configuration is one of the power features in the Spring Boot framework. The Spring Auto configuration configures beans based on the dependencies and configuration found in our project classpath. We need to follow some steps to display the Auto-Configuration Report in the Spring Boot Application.
To produce an auto-configuration report we have one dependency which is Actuator. This Actuator provides various endpoints to monitor and interact with the spring boot application and also includes an endpoint to display an auto-configuration report. Here, we have defined some configuration properties in the application.properties file, by using these configuration details we can able to display the Auto-Configuration Report in the Spring Boot Application on Java console.
Prerequisites:
- Spring Boot Framework
- Auto-Configuration in Spring Boot
- Spring Boot project creation.
- Configuration of Application properties file
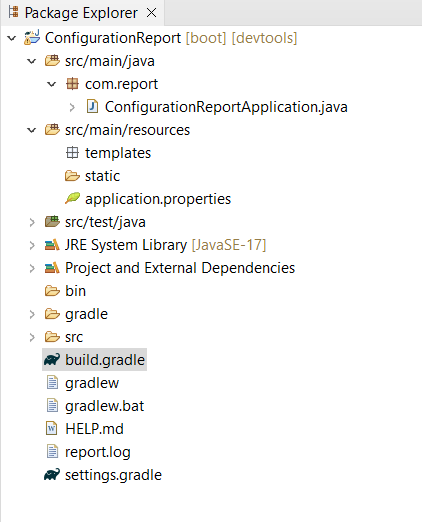
Project Folder Structure:
We need to create a Spring Boot project using Spring Initializr and after successfully creation done, the project structure will look like below image.
Steps to Display Auto-Configuration Report in Spring Boot Application
Below are the implementation steps to display Auto-Configuration Report in Spring Boot Application.
Step 1:
First create a basic Spring Boot Stater project using Spring initializr and add the required project dependencies. This project should be able to display the Auto-Configuration Report in the Spring Boot Application.
Dependencies:
dependencies {
    implementation 'org.springframework.boot:spring-boot-starter-actuator'
    implementation 'org.springframework.boot:spring-boot-starter-web'
    compileOnly 'org.projectlombok:lombok'
    developmentOnly 'org.springframework.boot:spring-boot-devtools'
    annotationProcessor 'org.projectlombok:lombok'
    testImplementation 'org.springframework.boot:spring-boot-starter-test'
  }
Below is the main java class file.
main java class:
package com.report;

import org.springframework.boot.SpringApplication;
import org.springframework.boot.autoconfigure.SpringBootApplication;

@SpringBootApplication
public class ConfigurationReportApplication {

    public static void main(String[] args) {
        SpringApplication.run(ConfigurationReportApplication.class, args);
    }

}
Step 2:
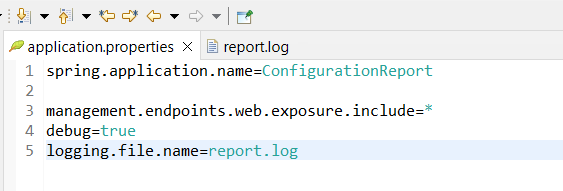
Once the project is successfully created, now we open the application.properties file located in the resource folder and provide some properties for displaying the Auto-Configuration Report in the Spring Boot Application.
Here, we use various configuration details for handling Auto-Configuration. management.endpoints.web.exposure.include=* is used to monitor all API endpoints. After this, we create one log file to save those logs and reports.
spring.application.name=ConfigurationReport
management.endpoints.web.exposure.include=*
debug=true
logging.file.name=report.log
Below we can refer the application.properties file in IDE.
Step 3:
After completing the configuration in the application.properties file, we run this project as a Spring Boot App. By default, this project runs on port 8080 on the Apache Tomcat server.
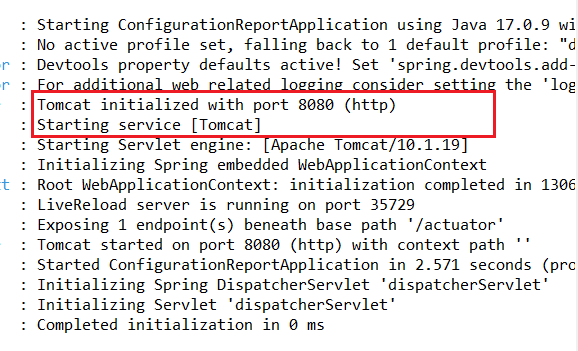
Step 4:
After successfully running this project, we expand the Java Console. Now, we can observe the Auto-Configuration Report in the Spring Boot Application. Below, we provide the image of report for your reference.
Note: To view the report we have by default API end point that is http://localhost:8080/actuator/autoconfigure.
Auto-Configuration Report:
.png)
- Here, we define
management.endpoints.web.exposure.include=*. - This property is used for monitoring and managing the API endpoints.
- Basically, the Auto-Configuration Report in Spring Boot provides information about classes that Spring Boot found in the classpath and configuration automatically.
- The Auto-Configuration Report is used for troubleshoot auto-configuration issues.