Working with Layers in Flash
Last Updated :
10 Dec, 2021
Flash is an ultimate animation software currently owned by Adobe Corporation. It is available for different operating systems like Windows, Mac, Linux, GNU, and even for the blackberry operating system. Due to its large number of functionalities, it is widely used for making different styles of animation. Adobe animate is the latest version of flash and is available with adobe cloud features and support. It is paid software. One can get this software from adobe’s official site. There are different versions of flashed released from 1996 to 2021.
Layers
Layers are one of the core features of flash as it helps in organizing animation work as a stack in the form of layers one over the other. Animation work is divided into different layers so as to edit them individually without interfering with other layers. Different components can be placed on different layers say one layer contains background and the other layer contains some characters or any other foreground component.
The below image contains a single layer named Layer 1. One can add as many layers as needed so there is no limit on adding new layers.

Advantages of using layers:
- Layers make editing and drawing of objects easy as different objects are distributed in different layers so these components do not interfere with one another.
- Layers provide the functionalities to lock them which helps in increasing the speed of animation.
- Layers have the functionality of hiding means making them visible or invisible is possible depending on the need for animation.
- Making only outlines visible of anything is possible with the help of layers.
Adding new layer
There are mainly three ways to insert a layer:
1. Right-click on the existing layer, a list with different options will appear, click on insert layer.
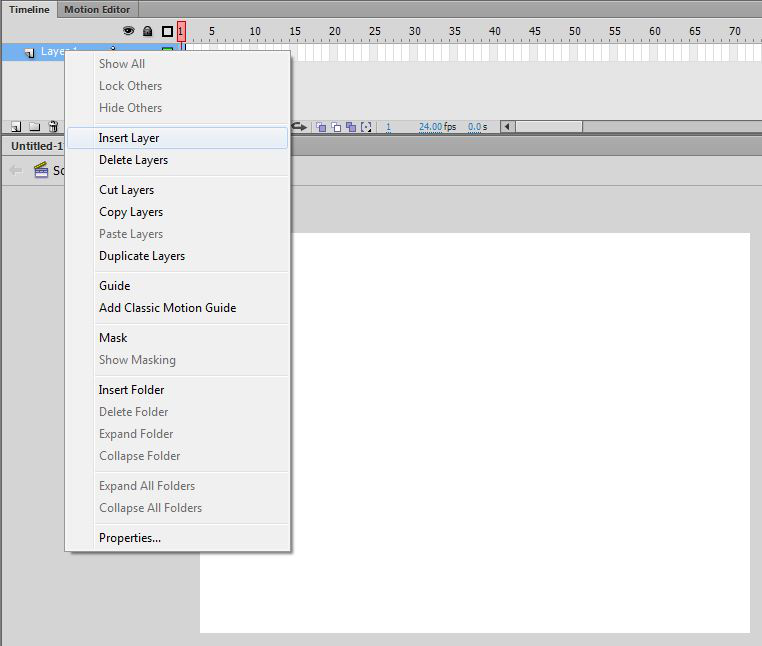
A new layer with the name Layer 2 will be inserted.

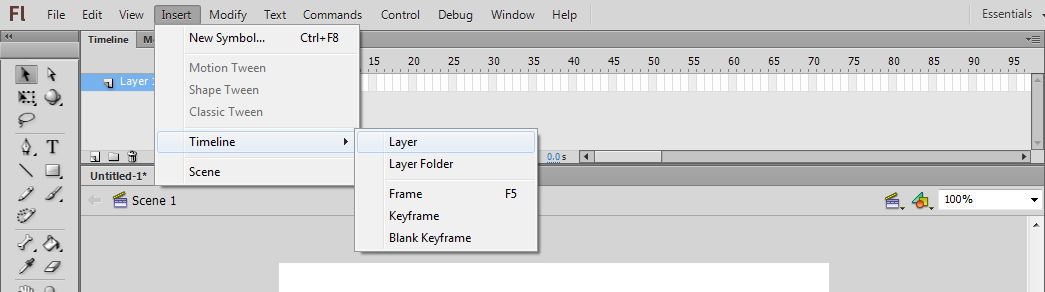
2. Second way to insert a layer is by clicking on Insert then clicking on Timeline and then clicking on Layer, a new layer will be inserted.
3. Third way to insert a layer is by using the layer icon given below the timeline on the leftmost side of the window.

Locking and unlocking layers
Layers can be locked and unlocked easily just by clicking on the black dot under the lock icon on the corresponding layer. In the below image layer 2 is locked while layer 1 is not locked.

Hiding and unhiding layers
While animating there are times when hiding a character or any component is needed so this functionality can be achieved by using the hiding option of the layer. Layers can be hidden and unhide easily just by clicking on the black dot under the eye icon on the corresponding layer. In the below image layer 2 is hidden so all the components of layer 2 are now invisible while layer 1 is not hidden.

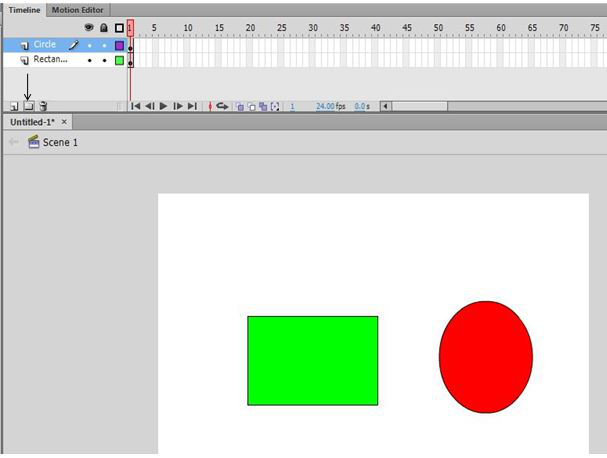
Outline feature of layers
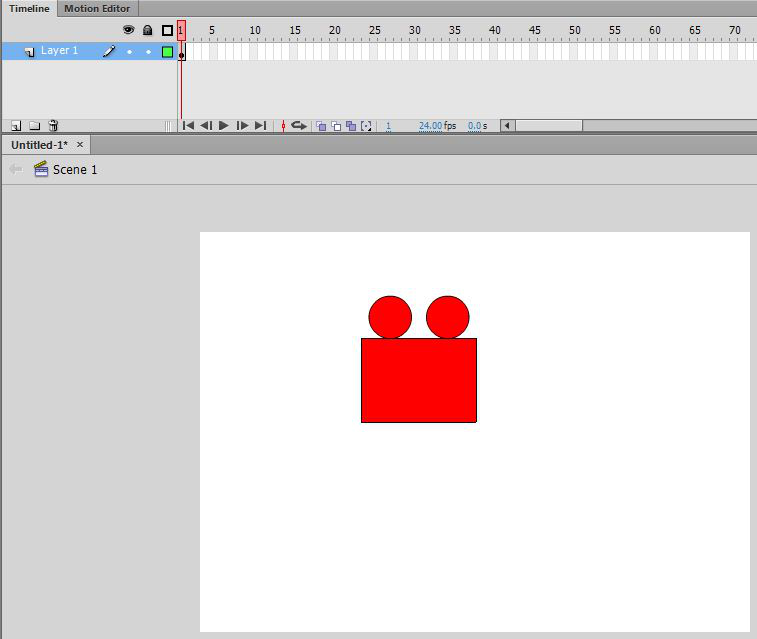
Suppose there is some object drawn on a layer and we need to see its outlines only to understand the geometry then it can be done by using a coloured rectangle under rectangle icon on the corresponding layer. On the below image there is a figure now lets click on the rectangle.
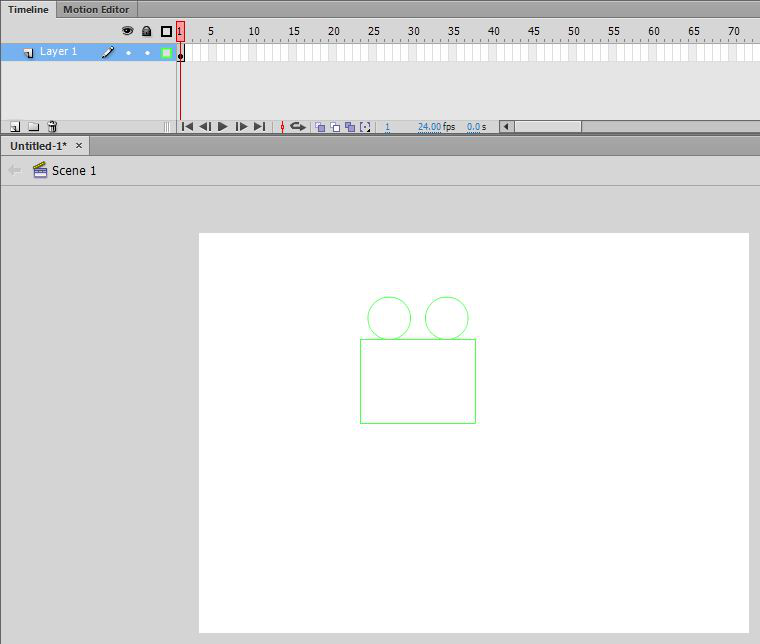
Here only outline of the object is visible and rectangle turns empty.
Moving layers
Layers can be moved up and down to put the objects over one another say background layer should be at the bottom as this layer should be behind and all other objects should be above this layer. So to move this layer in the stack we need to simply pick the layer using a mouse cursor and then drag it up or down.
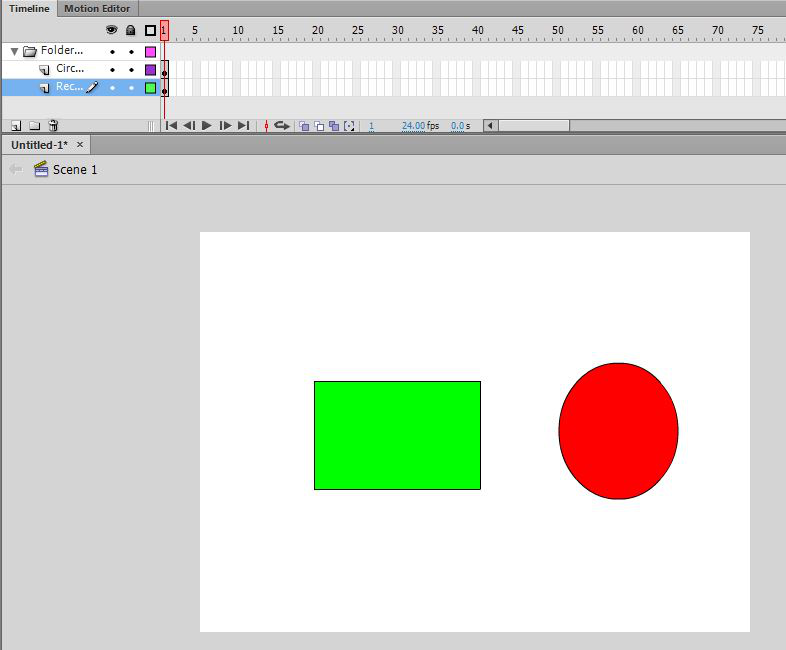
Organizing layers
Layers can be organized into common folder to reduce the visible complexity as there are a number of layers when working on animation of any project so for animators ease grouping of these layers can be done by following the given procedure.
Step 1: Create a folder on clicking the folder icon on the timeline.
Step 2: After clicking on the folder icon, a folder is created, now select and drag the layers in the folder.
Deleting layer
A layer which is not of any use in the final output can be deleted easily by following the given procedure:
Step 1: Select the layer and right click on the layer, a list will open with several options.
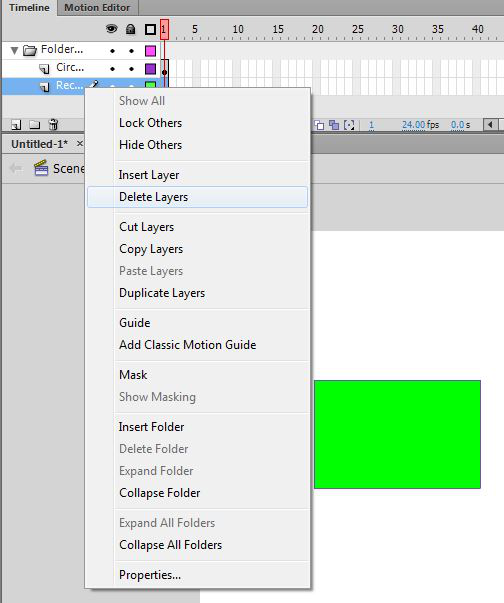
Step 2: Click on the delete layer option, the selected layer will be deleted.

Delete icon adjacent to the folder option on the timeline can also be used to delete a layer.
Like Article
Suggest improvement
Share your thoughts in the comments
Please Login to comment...