Transfer Files to a Remote Server via WinSCP
Last Updated :
15 Jul, 2020
Well if you have ever set up a remote server from scratch then you know how difficult it is to get your server-side code to the remote machine. Again if something fails while deploying, then you need to change your code which is probably located in your local machine, then you again need to get those files to the remote server and this goes on and on.
Obviously, you could set up a CI/CD pipeline for automating that task and that is obviously the best way of doing it but if you are a beginner or you don’t want to go through the hassle of setting up a CI/CD pipeline, then I have a much simpler way for you. What if I tell you that you can simply drag and drop your files into your remote server like you are copying from one folder to another? Yes, that’s right, you can simply drag and drop files from your local machine to the remote server using WinSCP. Pretty cool, right?
Steps To Follow
Step 1: First, we need a remote server. I will be using a Compute Engine of Google Cloud Platform (GCP) but you can use any other service provider like Amazon Web Services (AWS), Linode, Microsoft Azure, etc. Make sure to go through the documentation of your provider to know how you can SSH into the server. In most of the cases, you will be provided with a public IP and you need to set up a user and password and you can ssh into it with the new password.
Since I am using the Google Cloud Platform, the process of SSHing into VM is slightly different. First, I need to create a public and private key. I will be using PuTTYgen since I am on windows. PuTTYgen comes with PuTTY. PuTTY is a terminal emulator, serial console, and network file transfer application. It supports several network protocols, including SCP, SSH, Telnet, rlogin, and raw socket connection. It can also connect to a serial port. You can download PuTTY from this link. Store the public and private key safely. You will need it later on in this tutorial. Next, I need to associate the ssh key with the VM, and after that my remote server is ready.
At this point, the VM has the bare minimum. You need to set it up according to your application.
Step 2: Now let’s copy our code. First, let’s download WinSCP. You can do that from here. After the download is complete, you need to install it (pretty simple). Now, open up your WinSCP. It should look something like this.
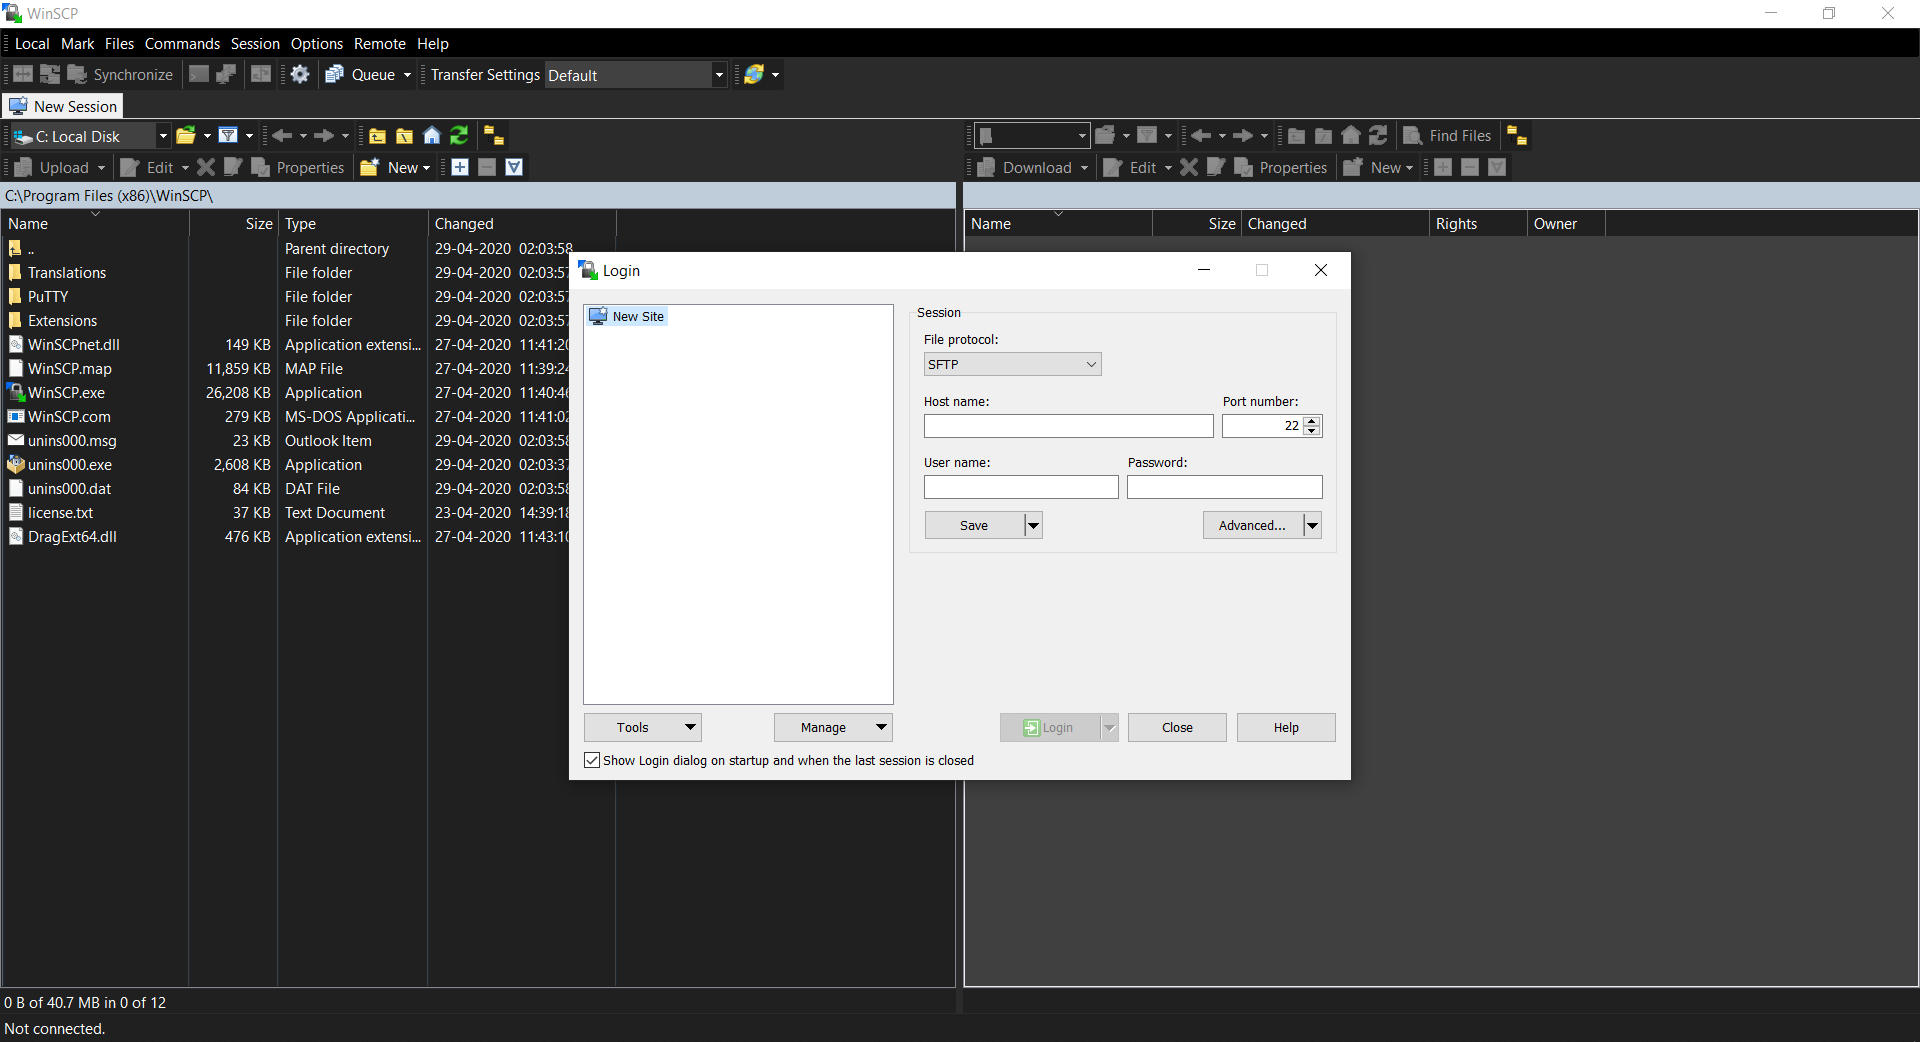
Step 3: Now, in the place of Host Name enter the public IP of your remote server. Also, enter the User name and Password of your remote server. Next, go to Advanced Site Settings. You should see something like this:
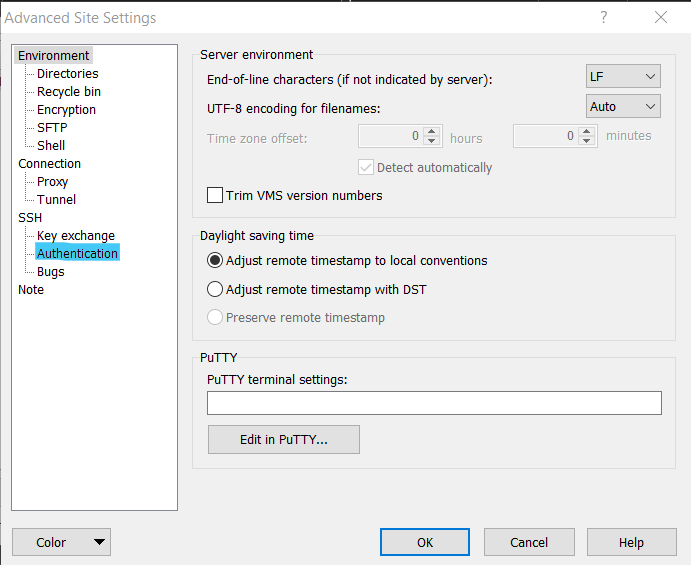
Step 4: Now go to Authentication (highlighted in blue). You should see something like this:
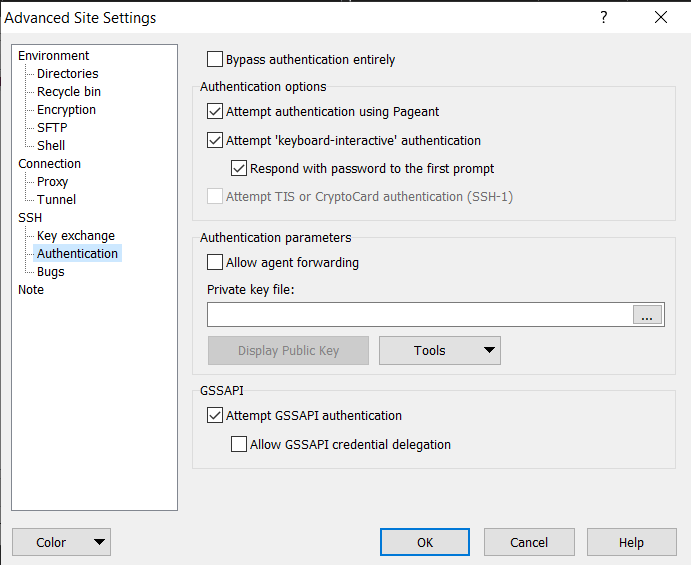
Step 5: Here, select the private key that you generated using PuTTYgen and click on OK.
Step 6: Now you should be on the first window where we started. Here, click on Login. Wait for 2-3 secs and you should see the directories of your remote server on the right-hand side. The directories on the left-hand side are your local directories.
Step 7: Now, you can simply navigate to the folders and drag and drop files from your local machine to your remote server. Simply drag files from the left-hand side to the right-hand side to copy files from local machines to remote servers and vice-versa.
This is a pretty simple yet extremely useful workaround for any software developer be it beginner or intermediate. Keep in mind that this is definitely never used in a production environment or in companies. The best way of doing such a file transfer is definitely by setting up CI/CD pipelines.
Like Article
Suggest improvement
Share your thoughts in the comments
Please Login to comment...