Text Input box with a verification button in kivy (using .kv file)
Last Updated :
16 Jun, 2021
Kivy is a platform-independent GUI tool in Python. As it can be run on Android, IOS, linux and Windows etc. It is basically used to develop the Android application, but it does not mean that it can not be used on Desktops applications.
In this article we will learn how we can add a button with the Text input in kivy using .kv file in python just like the same we have in the input and submit button. So to make this you firstly must know about Textinput widget and Button in kivy.
TextInput: The TextInput widget provides a box for editable plain text. Unicode, multiline, cursor navigation, selection and clipboard features are supported.
Button: The Button is a Label with associated actions that are triggered when the button is pressed (or released after a click/touch). We can add functions behind the button and style the button.
Basic Approach -

1) import kivy
2) import kivyApp
3) import widget
4) import Boxlayout
5) import textinput and Button
6) Set minimum version(optional)
7) Create Widget class
8) Create App class
9) create .kv file (name same as the app class):
        1) create textinput
        2) create Button
10) return Layout/widget/Class(according to requirement)
11) Run an instance of the class
Kivy Tutorial – Learn Kivy with Examples.
Implementation of the Approach
main.py file
Python3
import kivy
from kivy.app import App
kivy.require('1.9.1')
from kivy.uix.widget import Widget
from kivy.uix.textinput import TextInput
from kivy.uix.boxlayout import BoxLayout
from kivy.config import Config
Config.set('graphics', 'resizable', True)
class BtnTextInput(BoxLayout):
pass
class MainApp(App):
def build(self):
return BtnTextInput()
if __name__ == '__main__':
MainApp().run()
|
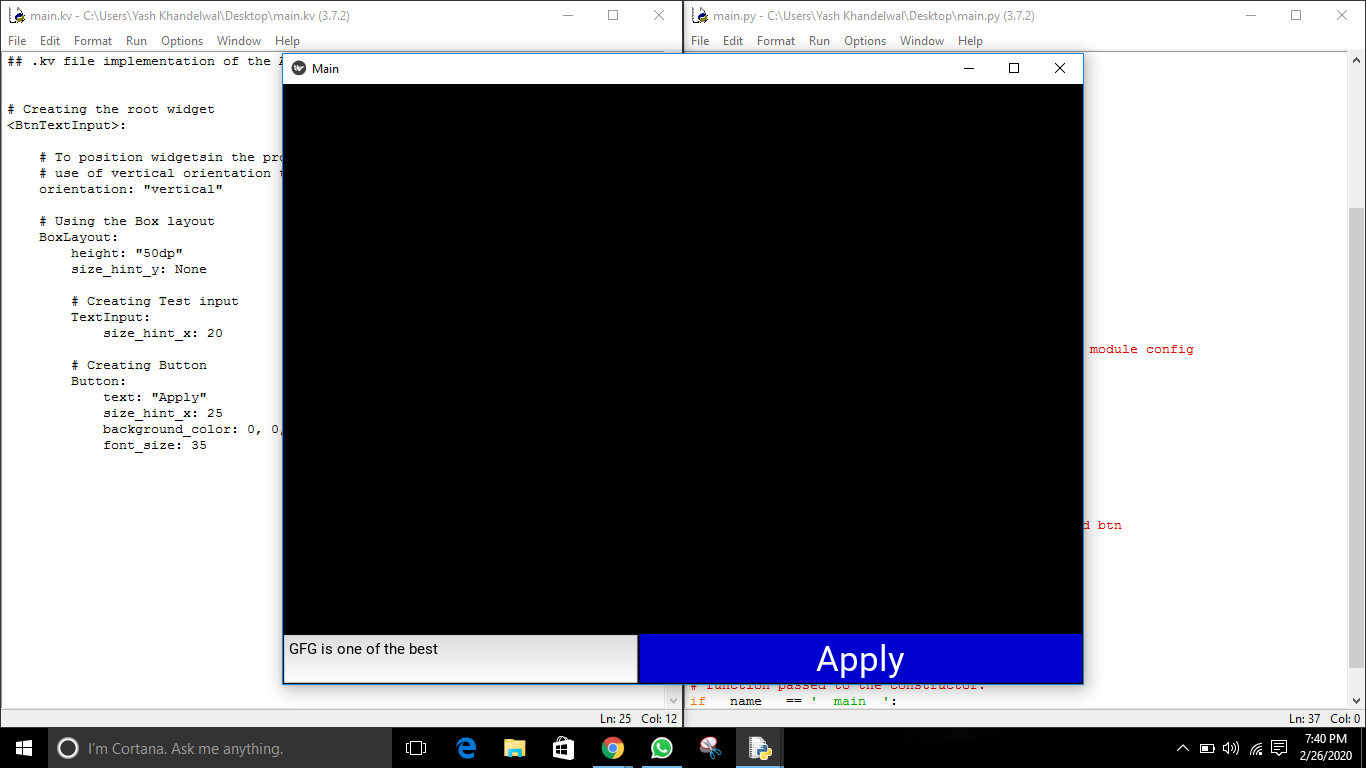
.kv file implementation
Python3
<BtnTextInput>:
orientation: "vertical"
BoxLayout:
height: "50dp"
size_hint_y: None
TextInput:
size_hint_x: 20
Button:
text: "Apply"
size_hint_x: 25
background_color: 0, 0, 1, 1
font_size: 35
|
Output:
Button is pressed
Button not pressed

Simple view (Close)

Like Article
Suggest improvement
Share your thoughts in the comments
Please Login to comment...