Text Detection and Extraction using OpenCV and OCR
Last Updated :
16 Sep, 2021
OpenCV (Open source computer vision) is a library of programming functions mainly aimed at real-time computer vision. OpenCV in python helps to process an image and apply various functions like resizing image, pixel manipulations, object detection, etc. In this article, we will learn how to use contours to detect the text in an image and save it to a text file.
Required Installations:
pip install opencv-python
pip install pytesseract
OpenCV package is used to read an image and perform certain image processing techniques. Python-tesseract is a wrapper for Google’s Tesseract-OCR Engine which is used to recognize text from images.
Download the tesseract executable file from this link.
Approach:
After the necessary imports, a sample image is read using the imread function of opencv.
Applying image processing for the image:
The colorspace of the image is first changed and stored in a variable. For color conversion we use the function cv2.cvtColor(input_image, flag). The second parameter flag determines the type of conversion. We can chose among cv2.COLOR_BGR2GRAY and cv2.COLOR_BGR2HSV. cv2.COLOR_BGR2GRAY helps us to convert an RGB image to gray scale image and cv2.COLOR_BGR2HSV is used to convert an RGB image to HSV (Hue, Saturation, Value) color-space image. Here, we use cv2.COLOR_BGR2GRAY. A threshold is applied to the converted image using cv2.threshold function.
There are 3 types of thresholding:
- Simple Thresholding
- Adaptive Thresholding
- Otsu’s Binarization
For more information on thresholding, refer Thresholding techniques using OpenCV.
cv2.threshold() has 4 parameters, first parameter being the color-space changed image, followed by the minimum threshold value, the maximum threshold value and the type of thresholding that needs to be applied.
To get a rectangular structure:
cv2.getStructuringElement() is used to define a structural element like elliptical, circular, rectangular etc. Here, we use the rectangular structural element (cv2.MORPH_RECT). cv2.getStructuringElement takes an extra size of the kernel parameter. A bigger kernel would make group larger blocks of texts together. After choosing the correct kernel, dilation is applied to the image with cv2.dilate function. Dilation makes the groups of text to be detected more accurately since it dilates (expands) a text block.
Finding Contours:
cv2.findContours() is used to find contours in the dilated image. There are three arguments in cv.findContours(): the source image, the contour retrieval mode and the contour approximation method.
This function returns contours and hierarchy. Contours is a python list of all the contours in the image. Each contour is a Numpy array of (x, y) coordinates of boundary points in the object. Contours are typically used to find a white object from a black background. All the above image processing techniques are applied so that the Contours can detect the boundary edges of the blocks of text of the image. A text file is opened in write mode and flushed. This text file is opened to save the text from the output of the OCR.
Applying OCR:
Loop through each contour and take the x and y coordinates and the width and height using the function cv2.boundingRect(). Then draw a rectangle in the image using the function cv2.rectangle() with the help of obtained x and y coordinates and the width and height. There are 5 parameters in the cv2.rectangle(), the first parameter specifies the input image, followed by the x and y coordinates (starting coordinates of the rectangle), the ending coordinates of the rectangle which is (x+w, y+h), the boundary color for the rectangle in RGB value and the size of the boundary. Now crop the rectangular region and then pass it to the tesseract to extract the text from the image. Then we open the created text file in append mode to append the obtained text and close the file.
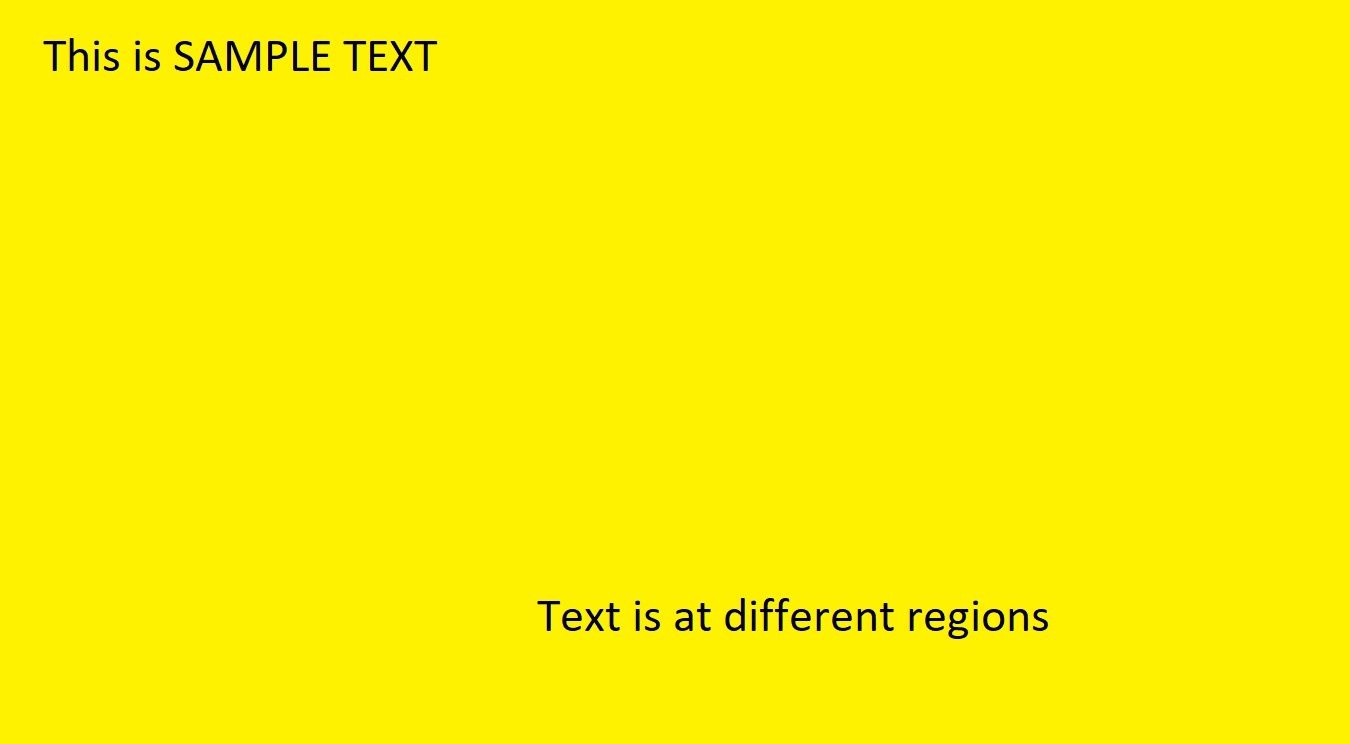
Sample image used for the code:
Python3
import cv2
import pytesseract
pytesseract.pytesseract.tesseract_cmd = 'System_path_to_tesseract.exe'
img = cv2.imread("sample.jpg")
gray = cv2.cvtColor(img, cv2.COLOR_BGR2GRAY)
ret, thresh1 = cv2.threshold(gray, 0, 255, cv2.THRESH_OTSU | cv2.THRESH_BINARY_INV)
rect_kernel = cv2.getStructuringElement(cv2.MORPH_RECT, (18, 18))
dilation = cv2.dilate(thresh1, rect_kernel, iterations = 1)
contours, hierarchy = cv2.findContours(dilation, cv2.RETR_EXTERNAL,
cv2.CHAIN_APPROX_NONE)
im2 = img.copy()
file = open("recognized.txt", "w+")
file.write("")
file.close()
for cnt in contours:
x, y, w, h = cv2.boundingRect(cnt)
rect = cv2.rectangle(im2, (x, y), (x + w, y + h), (0, 255, 0), 2)
cropped = im2[y:y + h, x:x + w]
file = open("recognized.txt", "a")
text = pytesseract.image_to_string(cropped)
file.write(text)
file.write("\n")
file.close
|
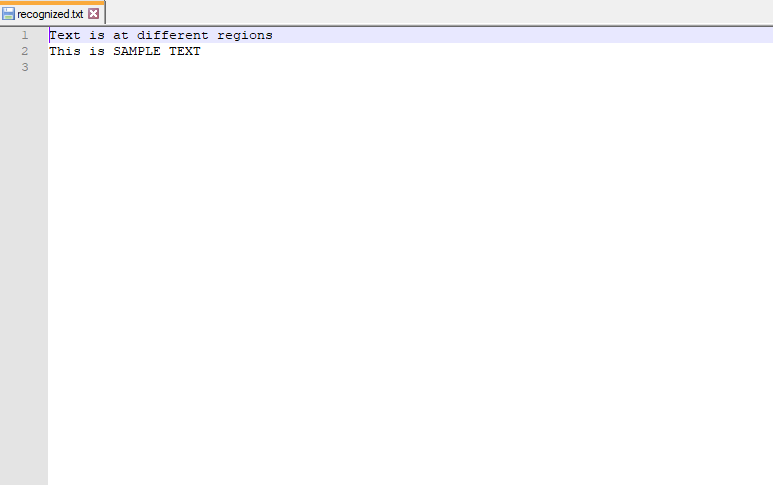
Output:
Final text file:
Blocks of text detected:

Like Article
Suggest improvement
Share your thoughts in the comments
Please Login to comment...