Tailwind CSS Cursor
Last Updated :
23 Mar, 2022
This class accepts lots of value in tailwind CSS in which all the properties are covered in class form. This class is used to specify the mouse cursor to be displayed while pointing at an element. In CSS we did that by using the CSS cursor property.
Cursor Classes:
- cursor-auto: This is the default class where the browser sets a cursor.
- cursor-default: This is the default cursor class.
- cursor-pointer: In this class, the cursor is a pointer and indicates a link
- cursor-wait: In this class, the cursor indicates that the program is busy.
- cursor-text: In this class, the cursor indicates text that may be selected.
- cursor-move: In this class, the cursor indicates something to be moved.
- cursor-help:
- cursor-not-allowed: In this class, the cursor indicates that the requested action will not be executed.
Syntax:
<element class="cursor-{behaviour}">...</element>
Example:
HTML
<!DOCTYPE html>
<html>
<head>
<link href=
rel="stylesheet">
</head>
<body class="text-center">
<h1 class="text-green-600 text-5xl font-bold">
GeeksforGeeks
</h1>
<b>Tailwind CSS Cursor Class</b>
<div id="main" class="p-2 justify-around ml-32 h-26 w-2/3 flex
items-stretch
bg-green-200 border-solid border-4
border-green-900 gap-4">
<div class="cursor-auto bg-blue-600
w-full h-8 rounded-lg">
Hover over
</div>
<div class="cursor-default bg-yellow-600
w-full h-8 rounded-lg">
Hover over
</div>
<div class="cursor-pointer bg-purple-600
w-full h-8 rounded-lg">
Hover over
</div>
<div class="cursor-wait bg-green-600
w-full h-8 rounded-lg">
Hover over
</div>
</div>
</body>
</html>
|
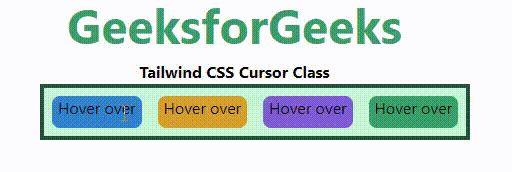
Output:
Like Article
Suggest improvement
Share your thoughts in the comments
Please Login to comment...