Setup GitLab Repository On Windows 10
Last Updated :
22 Mar, 2024
GitLab is a place where we can manage our git repositories. It can be considered as an alternate of GitHub and Bitbucket. Currently, Gitlab is offering four versions namely Core, Starter, Premium, and Ultimate.
- Core: For small and personal projects. Free of cost.
- Starter: For small and personal projects who need professional support. It is paid.
- Premium: For teams who need high availability, high performance, and/or 24/7 support.
- Ultimate: For large enterprises who want to align strategy and execution with security and compliance.
In this article, we will use Core version and learn how to setup GitLab Repository on Windows System in order to manage your codes and projects. So let’s start: 1. Create Account on GitLab.
Username or Email:  abc@gmail.com
Password:  **********
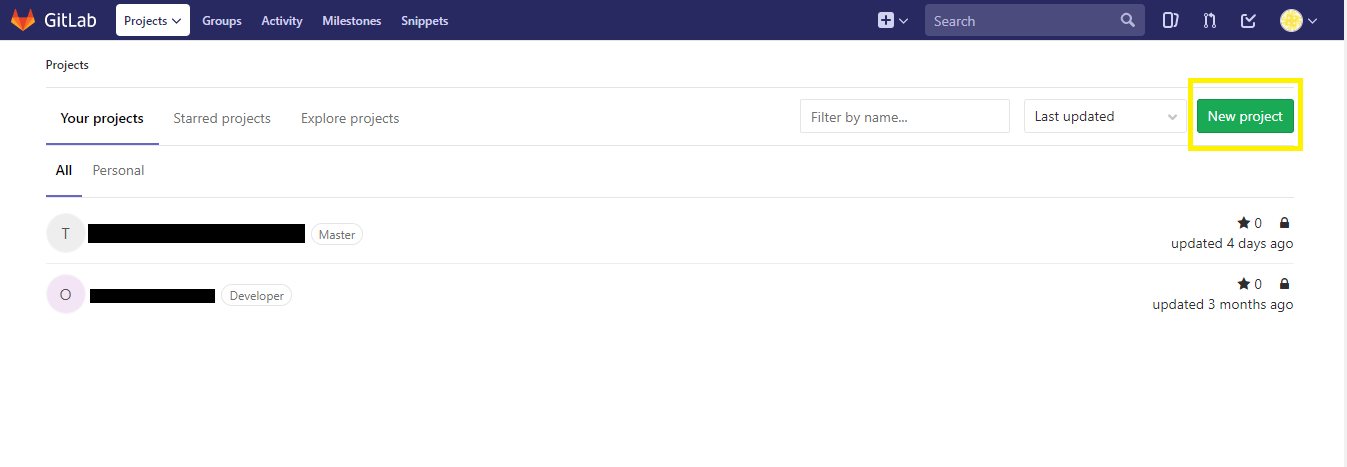
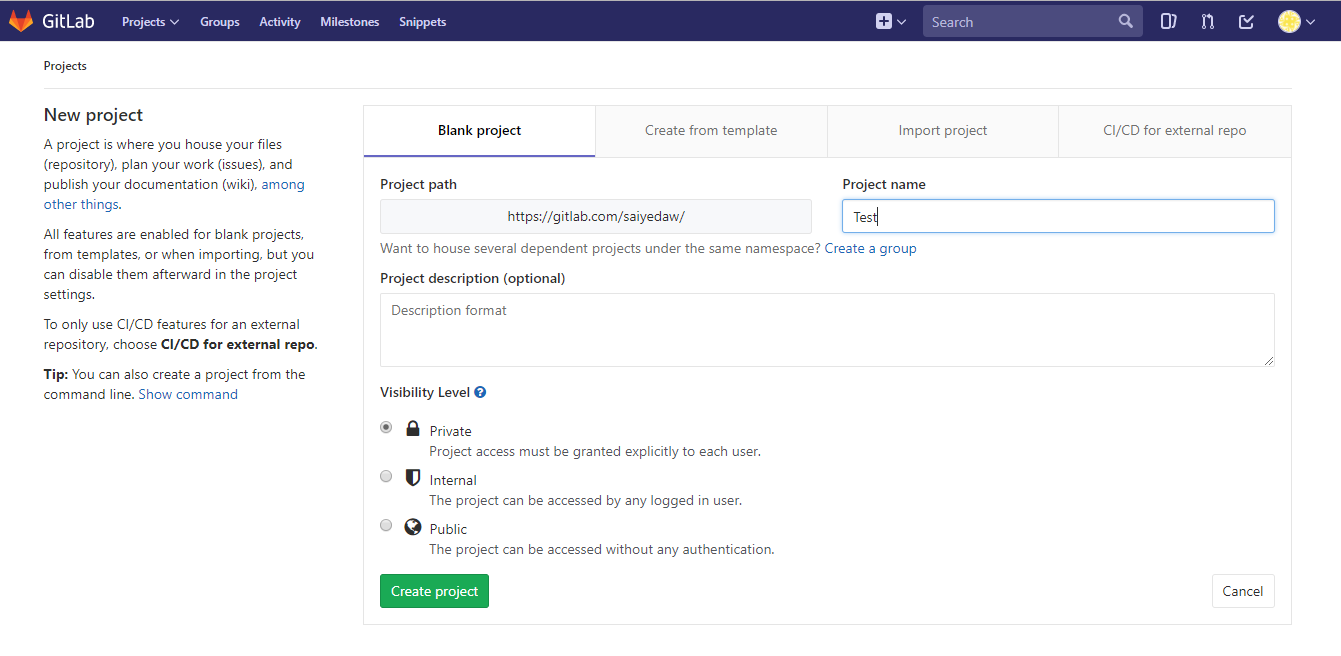
2. Create New Project, named as “Test”.
3.
Download
Git for Windows and install it. 4. Open Cmd and run following command to check the successful installation of Git.
git --version

5. Set username and email
git config --global user.name ABC
git config --global user.email “abc@gmail.com”
Note: Username and email should be same as your Gitlab Account. 6. Check for Success:
git config --global --list

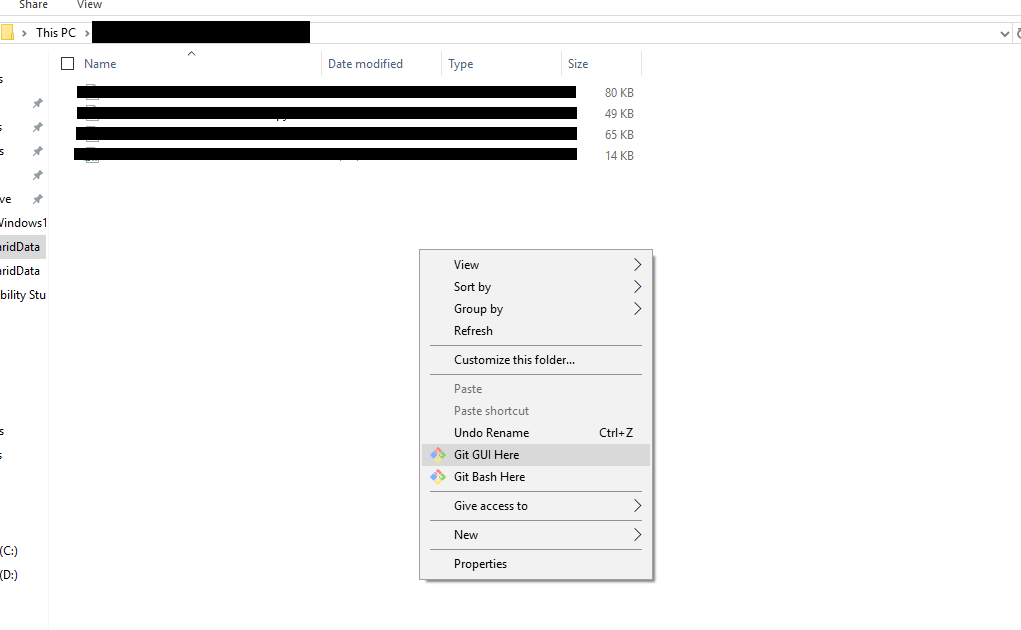
7. Go to Directory from where you want to upload project. Right Click there and open “Git Bash Here”.
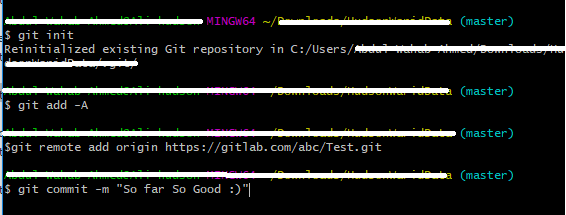
8. Initialize Git here.
git init

9. Add changes from all tracked and untracked files.
git add -A

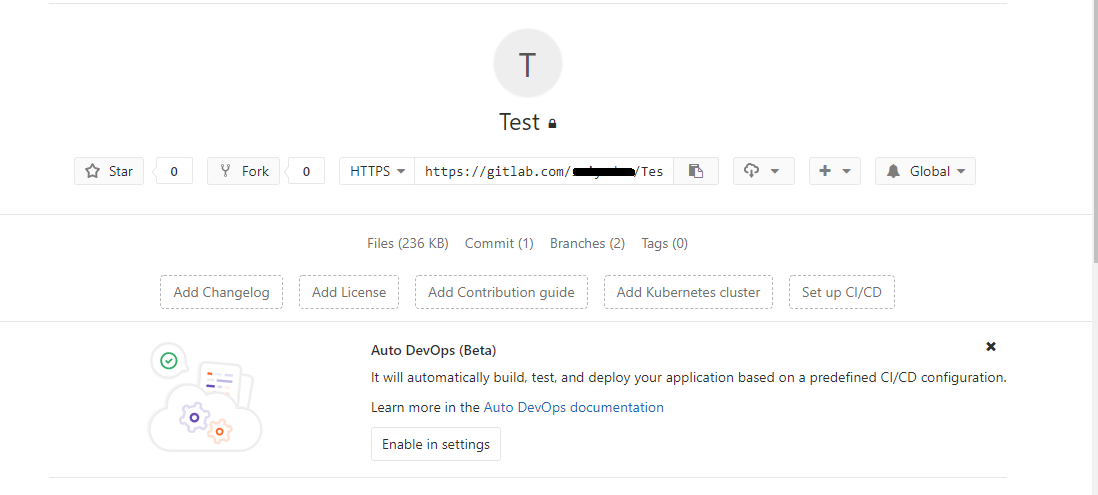
10. To add a new remote, use Project URL from GitLab:
git remote add origin https://gitlab.com/abc/Test.git
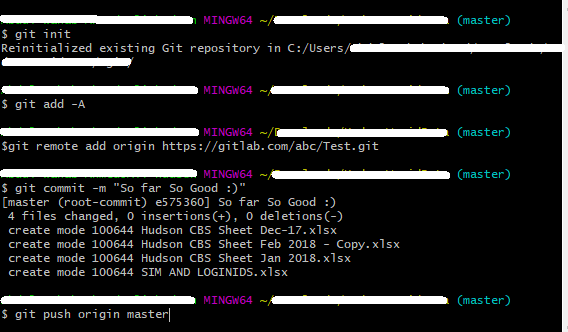
11. Commit changes with message:
git commit -m "Your_Message"
12. Now push project on GitLab
git push origin master
Pull GitLab Repository
13. Go to the master branch to pull the latest changes from there
git checkout master
14. Download the latest changes in the project
git pull REMOTE NAME-OF-BRANCH -u
(REMOTE: origin) (NAME-OF-BRANCH: could be “master” or an existing branch)
Create New Branch
15. Create a branch. Spaces won’t be recognized, so you will need to use a hyphen or underscore.
git checkout -b NAME-OF-BRANCH
16. Work on a branch that has already been created
git checkout NAME-OF-BRANCH
17. View the changes you’ve made
git status
18. Add changes to commit. You’ll see your changes in red when you type “git status”.
git add CHANGES IN RED
git commit -m "DESCRIBE THE INTENTION OF THE COMMIT"
19. Send changes to gitlab.com
git push REMOTE NAME-OF-BRANCH
Like Article
Suggest improvement
Share your thoughts in the comments
Please Login to comment...