Setting up the environment in C#
Last Updated :
06 Jun, 2019
Prerequisite : Introduction to C#
C# is a general-purpose, modern and object-oriented programming language pronounced as “C sharp”. It was developed by Microsoft led by Anders Hejlsberg and his team within the .Net initiative and was approved by the European Computer Manufacturers Association (ECMA) and International Standards Organization (ISO). C# is among the languages for Common Language Infrastructure and the current version of C# is version 7.2. C# is a lot similar to Java syntactically and is easy for the users who have knowledge of C, C++ or Java.
Basic Components involved in process of Setting up the environment in C#
- .Net Framework
The .NET Framework is a platform for building, deploying, and running Web Services and applications. To run C# applications or any program, it requires installing a .NET Framework component on the system. .NET also supports a lot of programming languages like Visual Basic, Visual C++, etc. And C# is one of the common languages which is included in the .NET Framework. It is consist of two basic components:
-
Common Language Runtime (CLR): The .NET Framework contains a run-time environment known as CLR which runs the codes. It provides services to make the development process easy.
-
Framework Class Library(FCL): It is a library of classes, value types, interfaces that provide access to system functionality.
In Windows Operating System, .NET Framework is installed by default. To know more about .NET Framework versions, click on .NET Framework Versions. of Microsoft Document.
- Visual Studio IDE
Microsoft has provided an IDE(Integrated Development Environment) tool named Visual Studio to develop applications using different programming languages such as C#, VB(Visual Basic) etc. To install and use Visual Studio for the commercial purpose it must buy a license from Microsoft. For learning (non-commercial) purpose, Microsoft provided a free Visual Studio Community Version.
Steps for Setting up C# Environment for Windows
Step 1: Download the Visual Studio Community Version
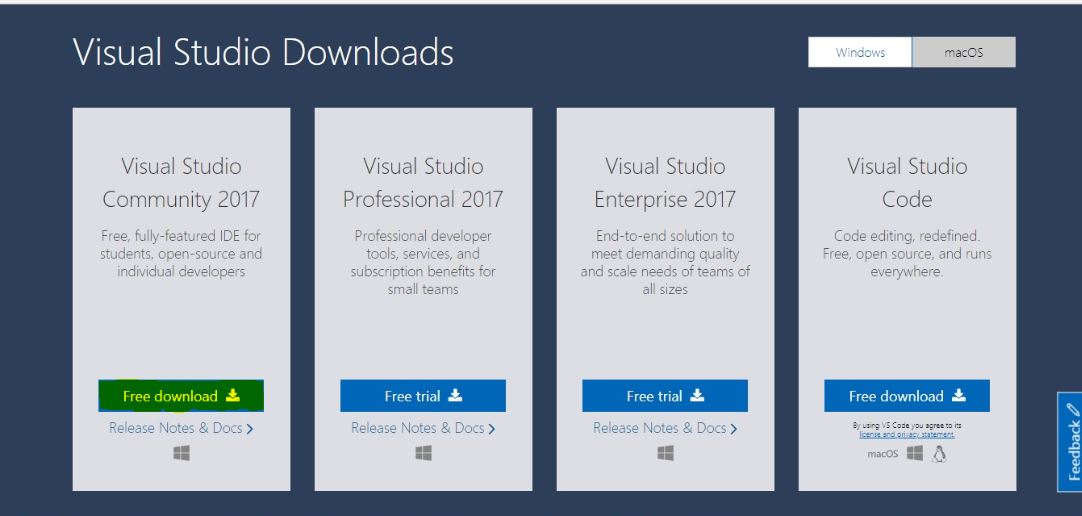
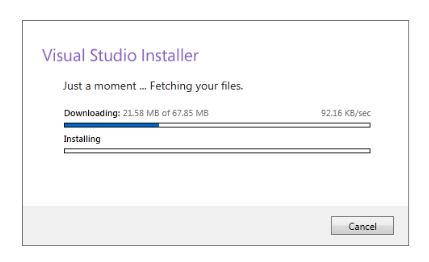
Step 2: Run the .exe file and follow the instructions to install Visual Studio Community Version on the system.
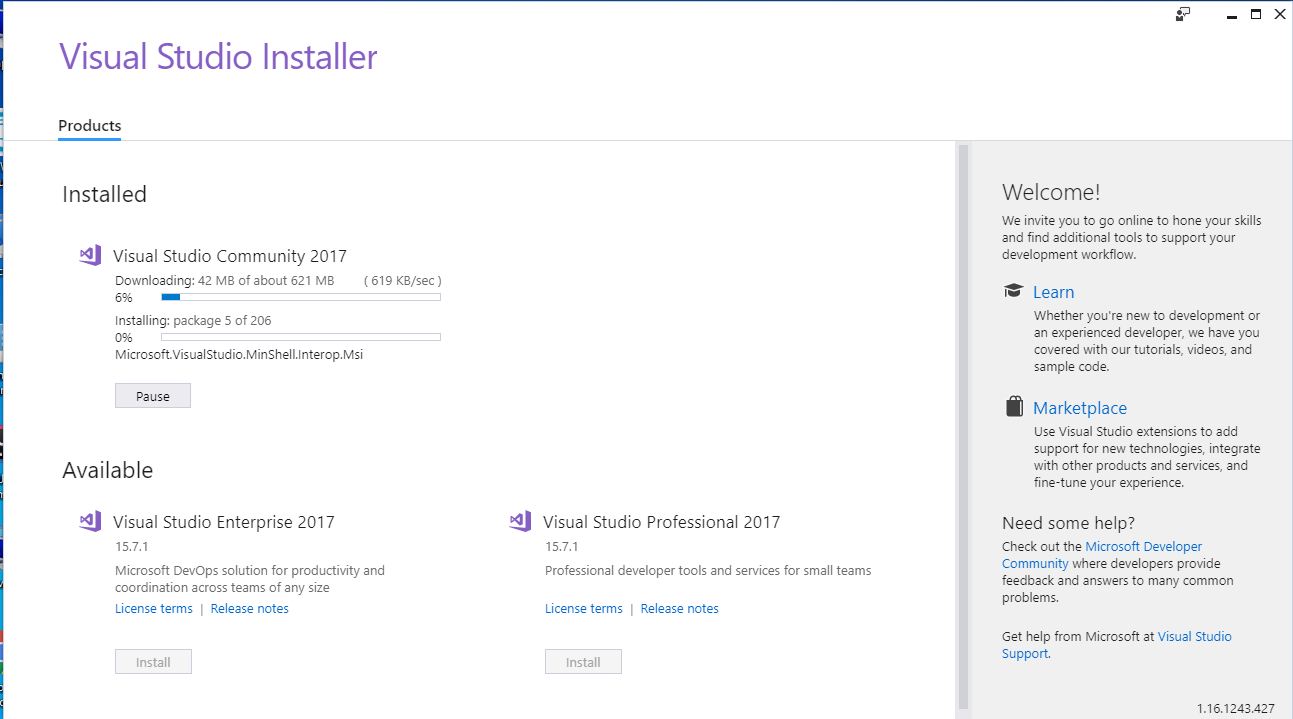
Step 3: Select .Net Desktop Development from the options and click to install in bottom right corner as shown below :

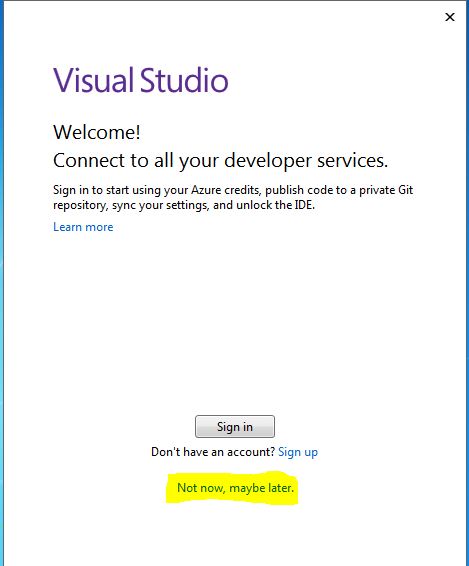
Step 4: Open it and it will be prompted to sign in for the first time. The sign-in step is optional so it can be skipped.
Step 5: The dialog box will appear for first time only and ask to choose Development Settings and color theme. Once select required options, click on Start Visual Studio option like as shown below :
 .
.
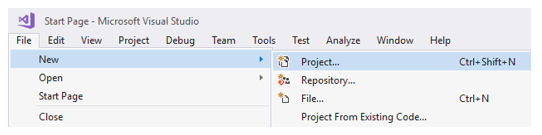
Step 6: To create a new console application using C#, Go to File –> New –>Project like as shown below
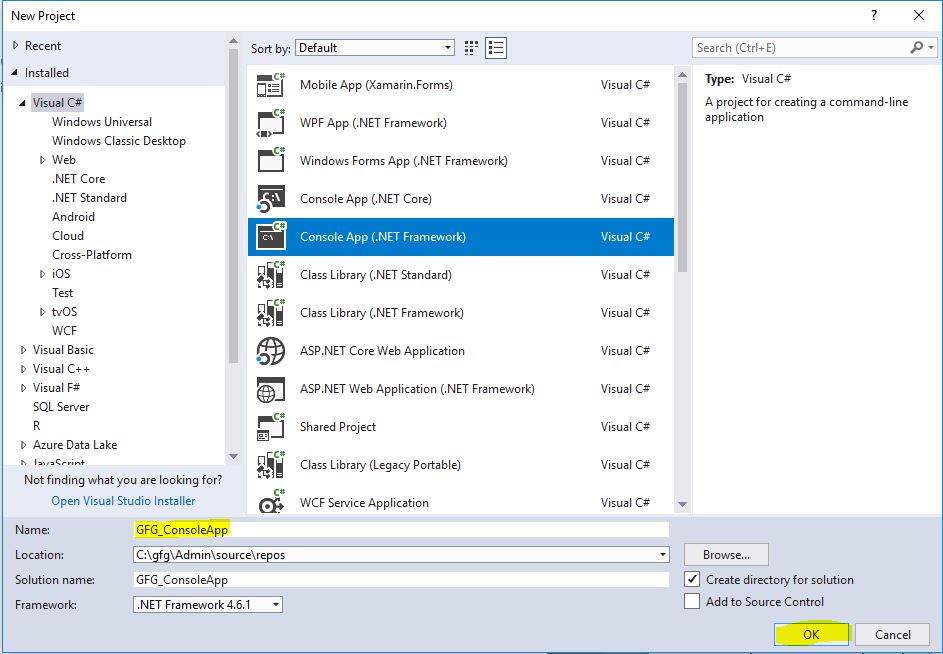
Step 7: Choose Console App, write the name of the project and select location path to save project files and then click OK like as shown below.
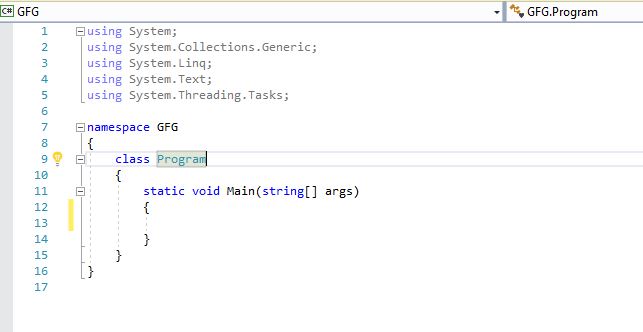
Step 8: After clicking OK a predefined template will come and start writing C# code.
Like Article
Suggest improvement
Share your thoughts in the comments
Please Login to comment...