screenshot_as_base64 element method – Selenium Python
Last Updated :
30 Apr, 2020
Selenium’s Python Module is built to perform automated testing with Python. Selenium Python bindings provides a simple API to write functional/acceptance tests using Selenium WebDriver. To open a webpage using Selenium Python, checkout – Navigating links using get method – Selenium Python. Just being able to go to places isn’t terribly useful. What we’d really like to do is to interact with the pages, or, more specifically, the HTML elements within a page. There are multiple strategies to find an element using Selenium, checkout – Locating Strategies
This article revolves around how to use screenshot_as_base64 method in Selenium. screenshot_as_base64 method is used to gets the screenshot of the current element as a base64 encoded string.
Usage:
img_b64 = element.screenshot_as_base64
Syntax –
element.screenshot_as_base64
Example –
<input type="text" name="passwd" id="passwd-id" />
|
To find an element one needs to use one of the locating strategies, For example,
element = driver.find_element_by_id("passwd-id")
element = driver.find_element_by_name("passwd")
element = driver.find_element_by_xpath("//input[@id='passwd-id']")
Also, to find multiple elements, we can use –
elements = driver.find_elements_by_name("passwd")
Now one can get screenshot of this element with base as 64 –
element.screenshot_as_base64
How to use screenshot_as_base64 element method in Selenium Python ?
Let’s try to get element and its screenshot at geeksforgeeks using screenshot_as_base64 method.
Program –
from selenium import webdriver
driver = webdriver.Firefox()
element = driver.find_element_by_id("gsc-i-id2")
print(element.screenshot_as_base64)
|
Output-

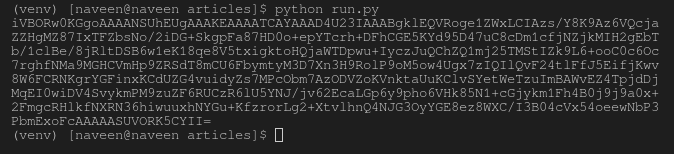
Terminal Output –
Like Article
Suggest improvement
Share your thoughts in the comments
Please Login to comment...