Scaling image in R
Last Updated :
06 Jun, 2021
In digital image processing or D.I.P., image scaling refers to the resizing of a digital image. Here, we are scaling an image using R Programming language. This is a subpart of the topic image transformations in digital image processing. If we are increasing the size of an image then it means that we are scaling it up and if we are decreasing or making the image the smaller, then it means we are scaling it down.
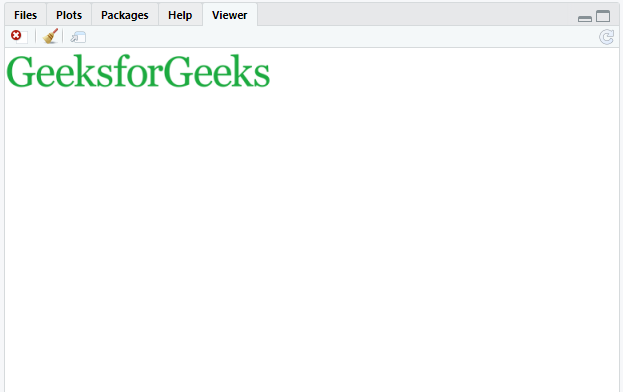
Image in use:

Method 1: Using OpenImageR
First install OpenImageR package in Rstudio. OpenImageR is an image processing Toolkit that Incorporates functions for image preprocessing, filtering and image recognition.
The image to be resized is imported to the environment and the required resizing is done using image_scale() function. The image_scale() function is a helper function to draw scale for image. It plots a scale in the right margin of a plot, typically an image plot. We will pass the image and the value as arguments in the function.
Syntax:
image_scale(img,”size”)
The only difference in scaling up or down comes from the size value passed to image_scale() function. To scale up down pass a value smaller than 100 and to up scale a value greater than 100.
Program:
R
library(OpenImageR)
img = image_read("gfg.png")
image_scale(img,"30%")
|
Output :

Method 2: Using magick
magick is a module in R programming language that provides modern and simple toolkit for image processing. The process completely similar to the above method the difference the package.
image_scale() can also be used to resize image here too and can be deal with height and width at the same time.
Syntax:
image_scale( image_scale (image, “width”), “height”)
Example:
R
library(magick)
img = image_read("gfg.png")
image_scale(image_scale(img,"50%"),"80%")
|
Output:

Like Article
Suggest improvement
Share your thoughts in the comments
Please Login to comment...