Robotic Process Automation (RPA) – Email Automation using UIPath
Last Updated :
13 Nov, 2020
In this article, we are going to learn how we can automate sending emails using Uipath Studio. This project is a basic application of Robotic Process Automation (RPA). The user just needs to provide their login credentials and the user email they want to send the email and that is it, rest of the work will be done by the bot that we are going to create using the steps mentioned below –
Note : For this automation to work you need to enable access from Less Secure apps on your Gmail account.
Step-1 : Create a new process in Uipath Studio by clicking on the Process Tab.
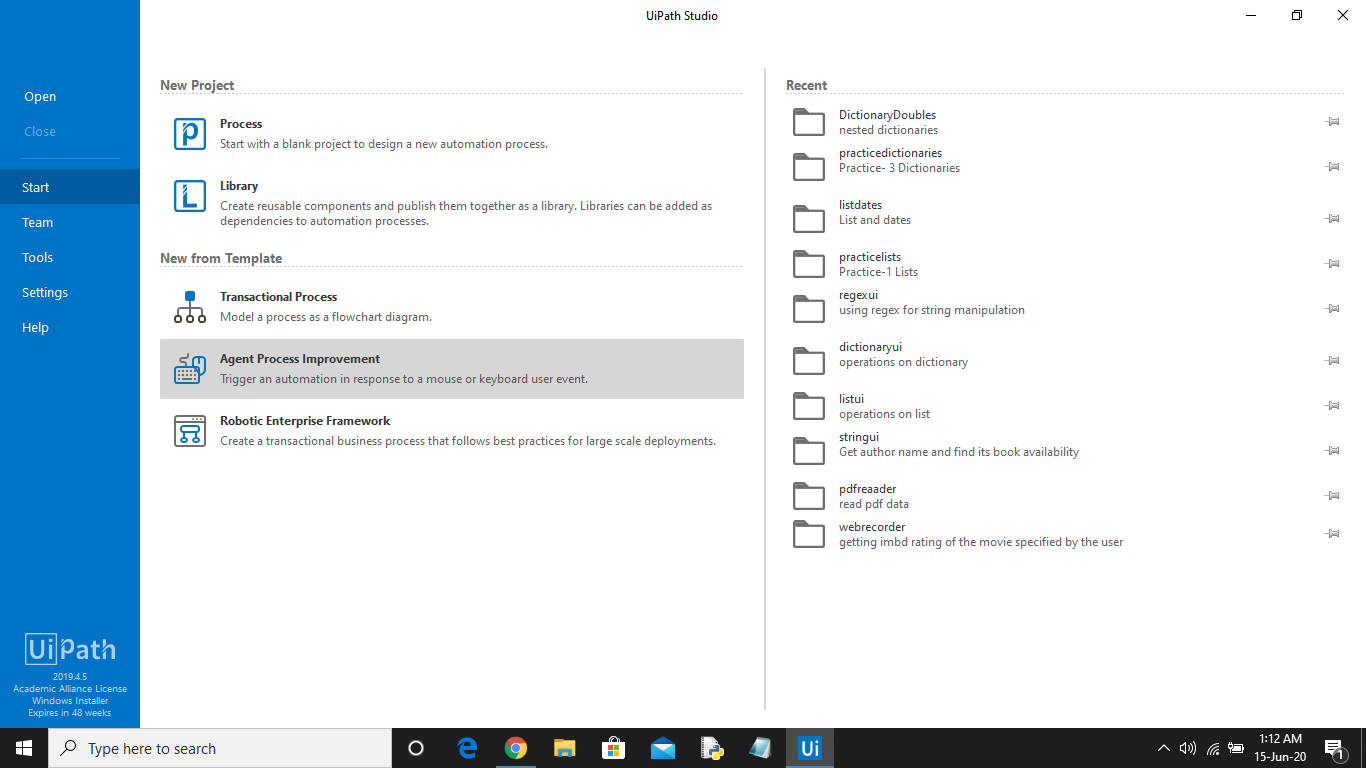
Step-2 : Set the name of the process, give a brief description, and click on Create. The Uipath studio will automatically load and add all the dependencies of the project.

The following screen will be opened.

Step-3 : Now in the activities panel search for Sequence activity. Drag and drop it in the designer window.
Step-4 : Now in the sequence add an Input dialog box using the search activity panel.
Step-5 : Now click on the Variables tab to create a variable of string type that will store the personal email id entered by the user. In the properties panel of the Input Dialog activity add the variable in the Output area.
Create two more string variables, one for storing the password of the user and the second for storing the recipient email id.
Step-6 : Now add another Input dialog box and pass the variable created earlier to store the password in the Output Area of the properties panel. Click the checkbox IsPassword for this activity.
Step-7 : Finally add another Input dialog box for taking the recipient email id from the user. Pass the variable created earlier in the Output Area.

Step-8 : Now in the Activity Panel search for Send SMTP Mail Message activity. Drag and drop it to the sequence.
Step-9 : In the To field pass the variable that stores the recipient email id. Specify the subject and body of the mail.

Step-10 : In the Properties panel, set Port no. to 587 and Server to smtp.gmail.com. Pass the variables that store user credentials in the email and password field respectively.

Step-11 : Finally add a Message Box activity. Specify the message you want to display as a notification that the email was sent successfully.

Step-12 : Save the process using the Save button in the design panel and then click on Run. Your bot is ready for sending automated emails. The below video shows the working of the bot.
Like Article
Suggest improvement
Share your thoughts in the comments
Please Login to comment...