Reduce Data Consumption on Windows OS
Last Updated :
08 Jan, 2021
On a Windows machine, there is an option of “Data usages” settings to monitor your network consumption and avoid going over your data plan when using a limited internet connection. Windows introduced so many features like a built-in network traffic monitor for your system.

In this article, we will look into 6 ways to reduce your data usages on Windows 10.
1. Set Data Limit
Step 1: Open Window Settings
Step 2: Click on Network & Internet.
Step 3: Click on Data Usage
Step 4: Select the wireless or wired network adapter from the “Show settings” menu as per your requirement.
Step 5: Set the limit on the data usages by clicking the Set Limit button under “Data limit”.

Step 6: Select the limit type from Monthly, One time, and Unlimited. Then set the data limit and click on Save.

This will set your network adapter as metered and pause other activities like backup.
2. Turn off Background Data usages
Restricting the usage of data by background applications, not in use currently can also reduce data consumption on a limited network. To do so follow the below steps:
Step 1: Open Window Settings
Step 2: Click on Network & Internet.
Step 3: Click on Data Usage.
Step 4: Under the Background data section you can set a limit on data usages by the Windows and store app features as shown below:

3. Restrict Background Applications from Using Data
You can specifically restrict selected applications from using data in the background. To do so follow the below steps:
Step 1: Open Window Settings
Step 2: Click on Privacy.
Step 3: Click on App Permissions
Step 4: Select the apps you want not to run in the background from the “Background apps” section as shown below:

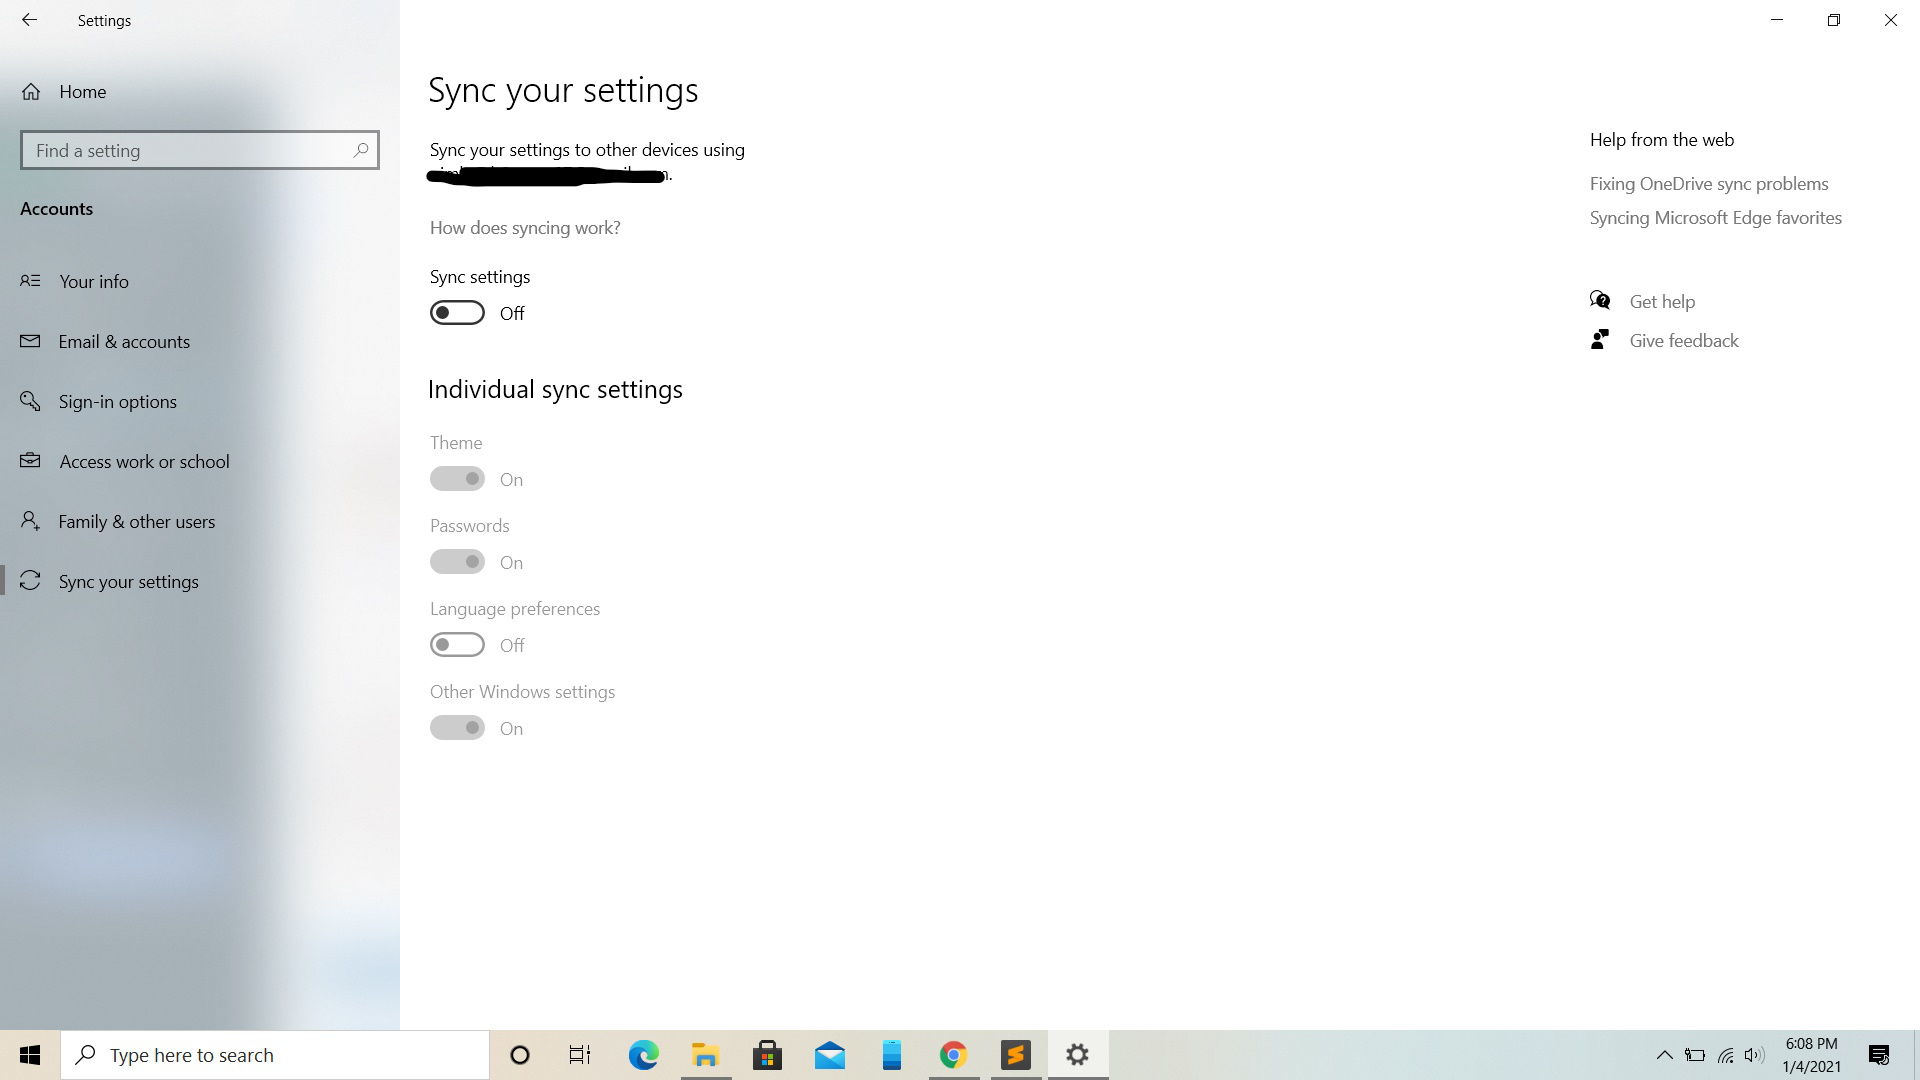
4. Disable Settings Synchronization
You can disable the synchronization of your machine with the cloud. To do so follow the below steps:
Step 1: Open Window Settings
Step 2: Click on Accounts.
Step 3: Click on Sync your settings.
Step 4: Select off under “sync settings” as shown below:
5. Turn Off Microsoft Store Update
You can turn off the Microsoft Store Update by following the below steps: t
Step 1: Open Microsoft Store.
Step 2: Click on Accounts.
Step 3: Set off the button under “App updates” as shown below:
Step 4: Select off under “sync settings” as shown below:

6. Pause Windows Updates
This also consumes a large amount of data. To turn off Windows automatic update follow the below steps:
Step 1: Open Window Settings.
Step 2: Click on Update & security.
Step 3: Click on Windows update.
Step 4: Click on Advance options.
Step 5: In the “Update options” select the button under“Pause updates” and set the duration for which the updates will be paused as shown below:

Like Article
Suggest improvement
Share your thoughts in the comments
Please Login to comment...