React-Bootstrap Tables Component
Last Updated :
07 Mar, 2024
React-Bootstrap is a front-end framework that was designed keeping react in mind. Bootstrap was re-built and revamped for React, hence it is known as React-Bootstrap.
Tables in react-bootstrap come with predefined style classes which are both responsive and reliable.
Table props:
- bordered: Adds borders on all sides of the tables and cells.
- borderless: Removes borders on all sides including table header.
- variant: It is used to invert the colors of the table from dark to light and vice versa.
- size: It is used to set the size of the table. When we set it as ‘sm’ the cell padding is reduced by half.
- bsPrefix: It is an escape hatch for working with strongly customized bootstrap CSS.
Creating React Application And Installing Module:
Step 1: Create a React application using the following command:
npx create-react-app foldername
Step 2: After creating your project folder i.e. foldername, move to it using the following command:
cd foldername
Step 3: After creating the ReactJS application, Install the required modules using the following command:
npm install react-bootstrap bootstrap
Step 4: Add the below line in index.js file:
import 'bootstrap/dist/css/bootstrap.css';
Project Structure: It will look like the following.

Example: Now write down the following code in the App.js file. Here, App is our default component where we have written our code.
Filename: App.js
Javascript
import React from 'react';
import Table from 'react-bootstrap/Table'
export default function TableExample() {
return (
<>
<h3>Default Variant Small Size Theme Table</h3>
<Table stripped bordered hover size="sm">
<thead>
<tr>
<th width="170">Student Name</th>
<th width="170">Reg.no</th>
<th width="170">Course</th>
<th width="870">City Name</th>
<th width="1950">Percentage</th>
</tr>
</thead>
<tbody>
<tr>
<td>Rakesh</td>
<td>1123</td>
<td>CSE</td>
<td>Mumbai</td>
<td>86.9%</td>
</tr>
<tr>
<td>Jackson</td>
<td>1124</td>
<td>ECE</td>
<td>Hyderabad</td>
<td>72.4%</td>
</tr>
<tr>
<td>Keshav</td>
<td>1124</td>
<td>CSE</td>
<td>Chennai</td>
<td>88%</td>
</tr>
<tr>
<td>Neilesh Jain</td>
<td>1125</td>
<td>EEE</td>
<td>Gwalior</td>
<td>66.9%</td>
</tr>
<tr>
<td>Akbar sheikh</td>
<td>1126</td>
<td>Mechanical</td>
<td>Indore</td>
<td>96.5%</td>
</tr>
<tr>
<td>Sarita</td>
<td>1127</td>
<td>CSE</td>
<td>Delhi</td>
<td>96.9%</td>
</tr>
</tbody>
</Table>
<h3>Dark Variant Small Size Table</h3>
<Table stripped bordered hover variant="dark" size="sm">
<thead>
<tr>
<th width="170">Student Name</th>
<th width="170">Reg.no</th>
<th width="170">Course</th>
<th width="870">City Name</th>
<th width="1950">Percentage</th>
</tr>
</thead>
<tbody>
<tr>
<td>Rakesh</td>
<td>1123</td>
<td>CSE</td>
<td>Mumbai</td>
<td>86.9%</td>
</tr>
<tr>
<td>Jackson</td>
<td>1124</td>
<td>ECE</td>
<td>Hyderabad</td>
<td>72.4%</td>
</tr>
<tr>
<td>Keshav</td>
<td>1124</td>
<td>CSE</td>
<td>Chennai</td>
<td>88%</td>
</tr>
<tr>
<td>Neilesh Jain</td>
<td>1125</td>
<td>EEE</td>
<td>Gwalior</td>
<td>66.9%</td>
</tr>
<tr>
<td>Akbar sheikh</td>
<td>1126</td>
<td>Mechanical</td>
<td>Indore</td>
<td>96.5%</td>
</tr>
<tr>
<td>Sarita</td>
<td>1127</td>
<td>CSE</td>
<td>Delhi</td>
<td>96.9%</td>
</tr>
</tbody>
</Table>
</>
);
}
|
Step to Run Application: Run the application using the following command from the root directory of the project:
npm start
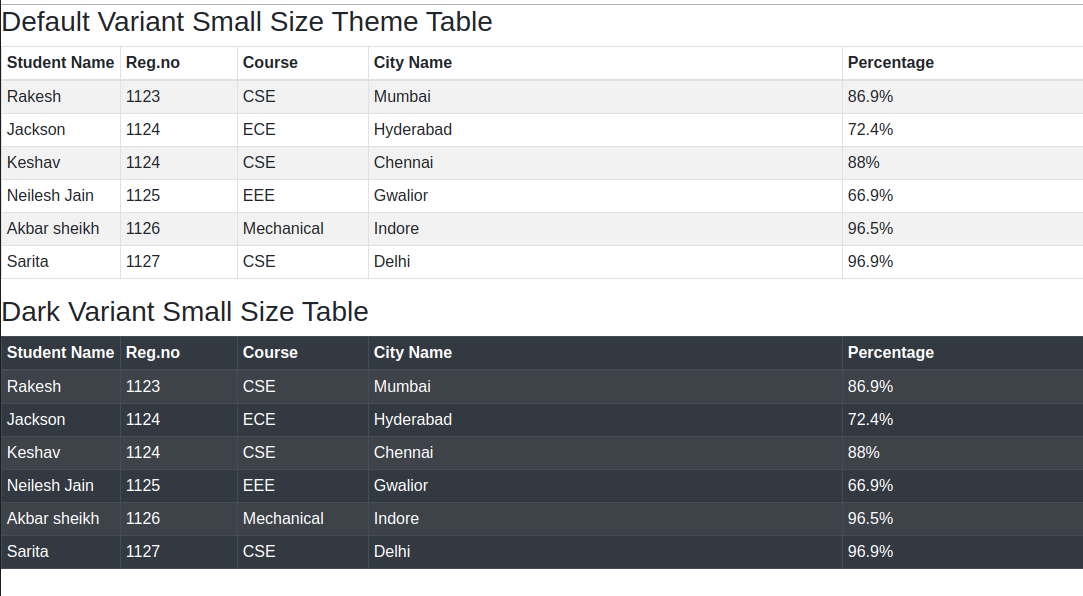
Output: Now open your browser and go to http://localhost:3000/, you will see the following output.
Like Article
Suggest improvement
Share your thoughts in the comments
Please Login to comment...