Python | wxPython module Introduction
Last Updated :
19 May, 2021
Python provides wxpython module which allows us to create high functional graphical user interface. It is an Open Source module, which means it is free for anyone to use and the source code is available for anyone to look and modify.
It is implemented as a set of extension modules that wrap the GUI components of wxWidgets library which is written in C++. It is cross platform GUI toolkit for python, Phoenix version Phoenix is the improved next-generation wxPython and it mainly focused on speed, maintain ability and extensibility.
Install using this command:
pip install wxpython
Creating GUI using wxpython:
- First import wx module.
- Create an object for application class.
- Create an object for frame class and other controls are added to frame object so its layout is maintained using panel .
- Then add a Static text object to show Hello World .
- Show the frame window by using show method.
- Run the app till the window is closed by using main event loop application object.
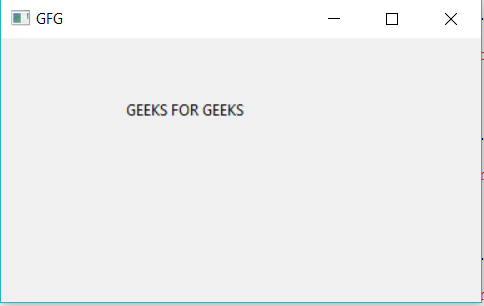
Example #1: A simple GUI application which says GEEKS FOR GEEKS using wxpython.
Python3
import wx
app1 = wx.App()
frame = wx.Frame(None, title ="GFG")
pa = wx.Panel(frame)
text1 = wx.StaticText(pa, label ="GEEKS FOR GEEKS", pos =(100, 50))
frame.Show()
app1.Mainloop()
|
Output:
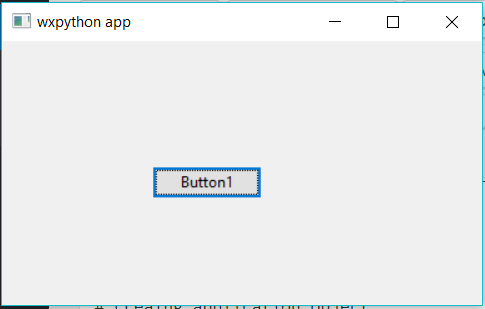
Example #2: Creating Buttons using wx module
Python3
import wx
app1 = wx.App()
frame = wx.Frame(None, title ="wxpython app")
pa = wx.Panel(frame)
e = wx.Button(pa, -1, "Button1", pos = (120, 100))
frame.Show()
app1.Mainloop()
|
Output:
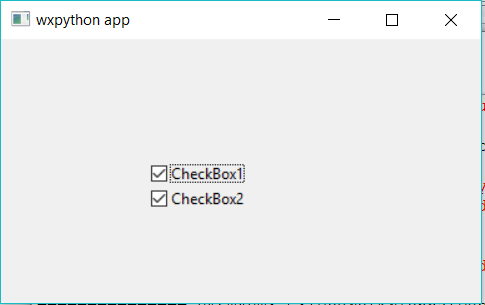
Example #3: CheckBox using wxpython
Python3
import wx
app1 = wx.App()
frame = wx.Frame(None, title ="wxpython app")
pa = wx.Panel(frame)
e = wx.CheckBox(pa, -1, "CheckBox1", pos = (120, 100))
e = wx.CheckBox(pa, -1, "CheckBox2", pos = (120, 120))
frame.Show()
app1.Mainloop()
|
Output:
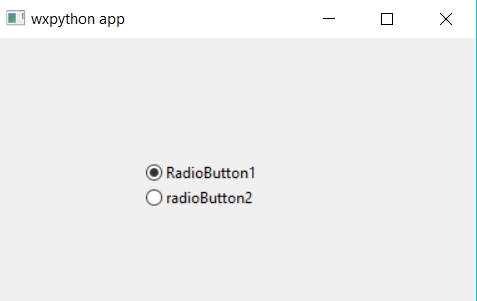
Example #4: RadioButtons using wxpython
Python3
import wx
app1 = wx.App()
frame = wx.Frame(None, title ="wxpython app")
pa = wx.Panel(frame)
e = wx.RadioButton(pa, -1, "RadioButton1", pos = (120, 100))
e = wx.RadioButton(pa, -1, "radioButton2", pos = (120, 120))
frame.Show()
app1.Mainloop()
|
Output:
Like Article
Suggest improvement
Share your thoughts in the comments
Please Login to comment...