Python Tkinter | Create LabelFrame and add widgets to it
Last Updated :
23 Dec, 2022
Tkinter is a Python module which is used to create GUI (Graphical User Interface) applications. It is a widely used module which comes along with the Python. It consists of various types of widgets which can be used to make GUI more user-friendly and attractive as well as functionality can be increased. LabelFrame can be created as follows:
-> import tkinter
-> create root
-> create LabelFrame as child of root
label_frame = ttk.LabelFrame(parent, value = options, ...)
Code #1: Creating LabelFrame and adding a message to it.
Python3
from tkinter import Tk, mainloop
from tkinter.ttk import Label, LabelFrame
root = Tk()
root.geometry('250x150')
label_frame = LabelFrame(root, text='This is Label Frame')
label_frame.pack(expand='yes', fill='both')
label1 = Label(label_frame, text='1. This is a Label.')
label1.place(x=0, y=5)
label2 = Label(label_frame, text='2. This is another Label.')
label2.place(x=0, y=35)
label3 = Label(label_frame,
text='3. We can add multiple\n widgets in it.')
label3.place(x=0, y=65)
mainloop()
|
Output: 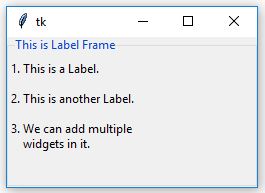 Code #2: Adding Button and CheckButton widgets inside LabelFrame.
Python3
from tkinter import Tk, mainloop
from tkinter.ttk import Checkbutton, Button, LabelFrame
root = Tk()
root.geometry('250x150')
label_frame = LabelFrame(root, text='This is Label Frame')
label_frame.pack(expand='yes', fill='both')
btn1 = Button(label_frame, text='Button 1')
btn1.place(x=30, y=10)
btn2 = Button(label_frame, text='Button 2')
btn2.place(x=130, y=10)
chkbtn1 = Checkbutton(label_frame, text='Checkbutton 1')
chkbtn1.place(x=30, y=50)
chkbtn2 = Checkbutton(label_frame, text='Checkbutton 2')
chkbtn2.place(x=30, y=80)
mainloop()
|
Output: 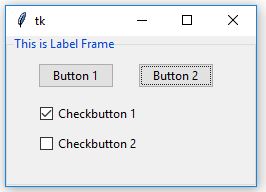 Note: One can also add another LabelFrame inside another LabelFrame, as well as one can do styling of any LabelFrame like we do the styling of other widgets.
Like Article
Suggest improvement
Share your thoughts in the comments
Please Login to comment...