Python Pillow – Working with Images
Last Updated :
24 Oct, 2021
In this article, we will see how to work with images using Pillow in Python. We will discuss basic operations like creating, saving, rotating images. So let’s get started discussing in detail but first, let’s see how to install pillow.
Installation
To install this package type the below command in the terminal.
pip install pillow
Creating new image
You can create a new image using PIL.Image.new() method. This method creates a new image with the given mode and size. Size is given as a (width, height)-tuple, in pixels
Syntax: PIL.Image.new(mode, size, color)
Code:
Python3
import PIL
image = PIL.Image.new(mode = "RGB",
size = (200, 200),
color = (255, 153, 255))
image.show()
|
Output:

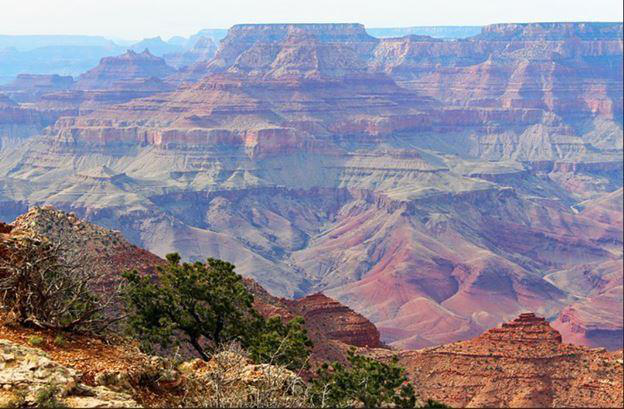
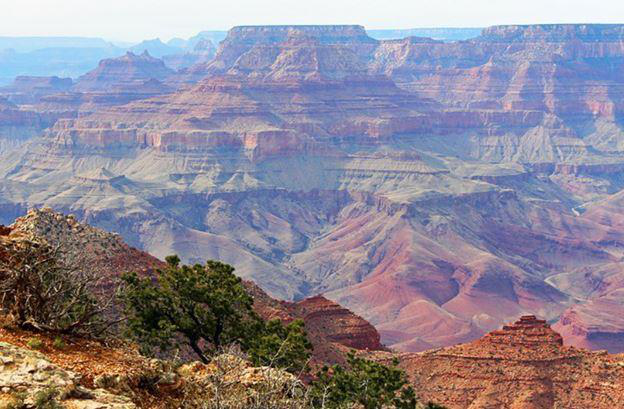
Opening image
You can open any image using PIL.Image.open() method.
Syntax: PIL.Image.open(fp, mode=’r’)
Code:
Python3
from PIL import Image
image = Image.open('nature.jpg')
image.show()
|
Output:

Getting Information about the image
- Getting the format of the image: obj.format method returns the format of the image file.
Python3
from PIL import Image
img = Image.open("test.png")
print(img.format)
|
Output:
PNG
- Getting the size of the image: obj.size attribute provides the size of the image. It returns a tuple that contains width and height.
Python3
from PIL import Image
img = Image.open("test.png")
print(img.size)
|
Output:
(180, 263)
Renaming and Saving Image
We can change the name, format of the image, and can also rename it using the image.save() method.
Syntax: Image.save(fp, format=None, **params)
Code:
Python3
from PIL import Image
image = Image.open('nature.jpg')
image.show()
image.save('nature1.bmp')
image1 = Image.open('nature1.bmp')
image1.show()
|
Output:
Before change
After change
Cropping the image
PIL is the Python Imaging Library which provides the python interpreter with image editing capabilities. PIL.Image.crop() method is used to crop a rectangular portion of any image.
Syntax: PIL.Image.crop(box = None)
Code:
Python3
from PIL import Image
im = Image.open("nature.jpg")
im.show()
im = im.crop((0,0,50,50)
im.show()
|
Output:
Before rotation

Cropped Image
Rotating the image
PIL.Image.Image.rotate() method is used to rotate a given image to the given number of degrees counterclockwise around its center.
Syntax: new_object = PIL.Image.Image.rotate(image_object, angle, resample=0, expand=0) OR new_object = image_object.rotate(angle, resample=0, expand=0)
Code:
Python3
from PIL import Image
im = Image.open("nature.jpg")
im.show()
im = im.rotate(45)
im.show()
|
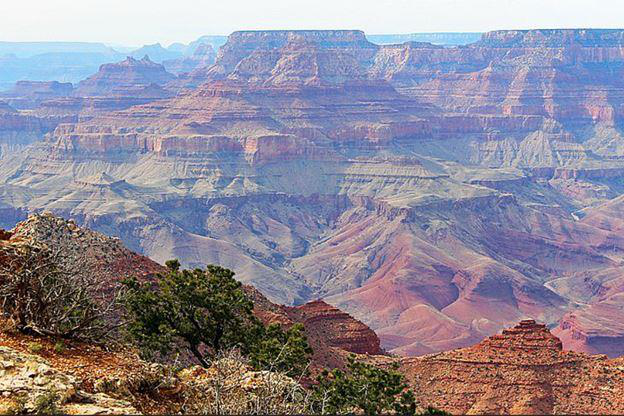
Output:
Before rotation
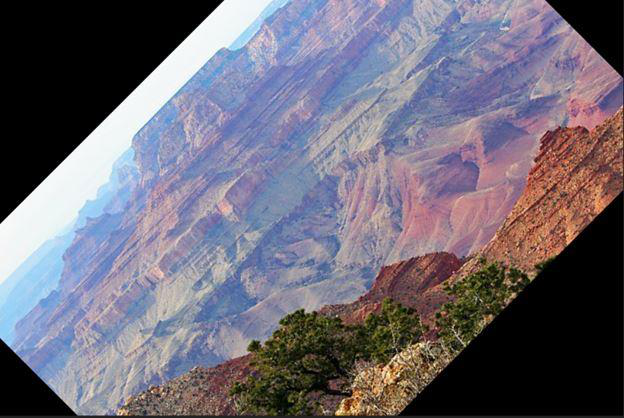
After rotation
Filtering the image
The current version of the Pillow library provides the below-mentioned set of predefined image enhancement filters.
- BLUR
- CONTOUR
- DETAIL
- EDGE_ENHANCE
- EDGE_ENHANCE_MORE
- EMBOSS
- FIND_EDGES
- SHARPEN
- SMOOTH
- SMOOTH_MORE
The ImageFilter module contains definitions for a pre-defined set of filters, which can be used with the Image.filter() method.
Syntax: Filter(Kernel)
Takes in a kernel (predefined or custom) and each pixel of the image through it (Kernel Convolution).
Code:
Python3
from PIL import Image, ImageFilter
from PIL.ImageFilter import (
BLUR, CONTOUR, DETAIL, EDGE_ENHANCE, EDGE_ENHANCE_MORE,
EMBOSS, FIND_EDGES, SMOOTH, SMOOTH_MORE, SHARPEN
)
img = Image.open('nature.jpg')
img1 = img.filter(SHARPEN)
img1.show()
|
Output:
Before filter

After SHARPEN filter
Creating a Watermark on the image
Here, you can create a watermark by using ImageDraw.Draw.text() This method draws the string at the given position.
Syntax: ImageDraw.Draw.text(xy, text, fill=None, font=None, anchor=None, spacing=0, align=”left”)
Code:
Python3
from PIL import Image, ImageDraw, ImageFont
im = Image.open('nature.jpg')
width, height = im.size
draw = ImageDraw.Draw(im)
text = "lovely nature"
font = ImageFont.truetype('arial.ttf', 36)
textwidth, textheight = draw.textsize(text, font)
x = 100
y = 50
draw.text((x, y), text, font=font)
im.show()
im.save('watermark.jpg')
|
Output:
Before Watermark/text
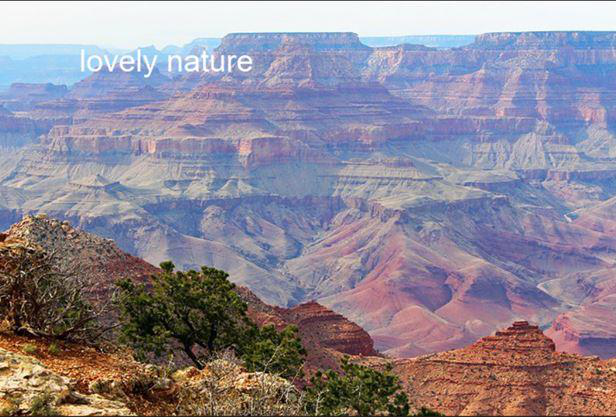
After Watermark/text
Like Article
Suggest improvement
Share your thoughts in the comments
Please Login to comment...