Python – Channel Drop using Pillow
Last Updated :
06 Dec, 2022
A channel drop is a method of removing one of the channels of a multichannel image. By removing means turning the color value of a particular channel to 0 (all pixels), i.e. that particular channel doesn’t have any effect on the final image (assuming colors are blended `normally`). Color theory (Color Wheel) is followed when dropping color channels. Once a channel is removed, the values of other channels are added to create the new image. This method is used extensively in image processing packages such as Adobe Photoshop, Gimp etc. We would be using pillow library for implementing channel drop. To install the library, execute the following command in the command-line:
pip install pillow
In one of the later methods we would be utilizing elementwise operations offered by the numpy library. To install numpy, execute the following command in the command-line:
pip install numpy
METHOD 1: In this method we would be using the transform matrix passed as an argument to Image.convert(). The transform matrix is:
newRed   = 1*oldRed  +  0*oldGreen  +  0*oldBlue  + constant
newGreen = 0*oldRed  +  1*OldGreen  +  0*OldBlue  + constant
newBlue  = 0*oldRed  +  0*OldGreen  +  1*OldBlue  + constant
A normal RGB image would have a matrix as shown above.
(1, 0, 0, 0,
 0, 1, 0, 0,
 0, 0, 1, 0)
In the above matrix, by changing the 1 to 0 would remove that particular channel. For our purpose we don’t have to change values at other offsets, as they lead to different effects which isn’t required. SAMPLE IMAGE: 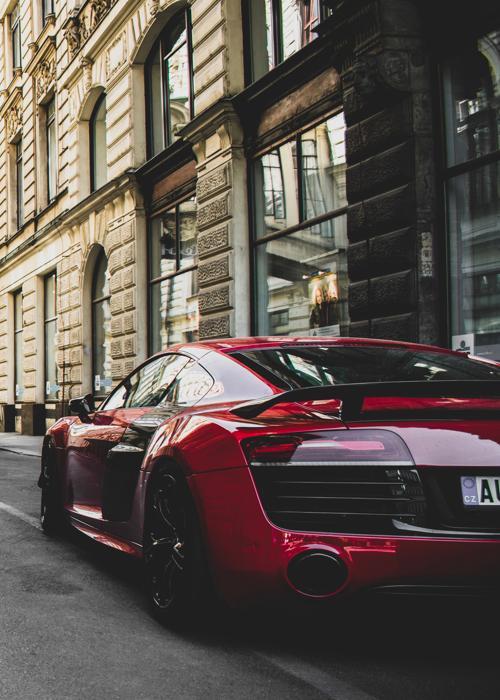 CODE:
CODE:
Python3
from PIL import Image
img = Image.open(r'sample.jpg')
matrix = ( 1, 0, 0, 0,
0, 0, 0, 0,
0, 0, 1, 0)
img = img.convert("RGB", matrix)
img.show()
|
OUTPUT IMAGE:  EXPLANATION: Firstly, we created the image object by opening the image using Image.open() and then saving the returned object in variable img. Then we populated our transform matrix (matrix variable) with values, that would lead to Green channel being removed from the image. Since, the green channel is removed (null’d) from the image the final image would have pixel values dependent on red and blue channel of the image (giving shades of magenta, as red+blue = magenta). Then we sent the transform matrix to the convert() method and saved the returned image. In the end, we displayed the image using img.show(). The same effect could be applied on multiple channels, by changing several 1’s to 0’s. Examples: The same code but with the matrix:
matrix = ( 0, 0, 0, 0,
           0, 0, 0, 0,
           0, 0, 1, 0)
would produce the image  Which is an image in which the red and green channels are dropped (as their positional values are 0). Due to which the resultant image is blue in color. The same code with the matrix:
matrix = ( 1, 0, 0, 0,
           0, 1, 0, 0,
           0, 0, 1, 0)
would produce the image Which is the original image as all the positional values are 1, therefore all the color channels are preserved. METHOD 2: In this method, we would use elementwise multiplication operation (broadcasting in our case) offered by the numpy library, to negate a color channel of the image. CODE:
Python3
from PIL import Image
import numpy as np
img = Image.open(r'sample.jpg')
img_arr = np.array(img, np.uint8)
img_arr[::, ::, 2] = 0
img = Image.fromarray(img_arr)
img.show()
|
OUTPUT IMAGE: 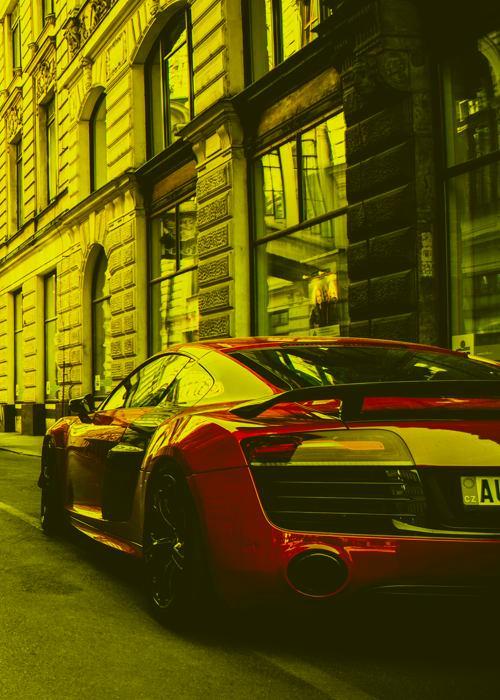 EXPLANATION: Firstly, we obtained an image object for our sample image, and stored it in the variable img. Then we converted the image to an numpy array using the function np.array() with the datatype np.uint8 (8 bit unsigned integer). After which we assigned 0 as value of every pixel in the Blue channel, using the img_arr[::, ::, 2] = 0 which means give every row and column of the 3’rd channel (blue) of this multichannel matrix a value of 0. Then we used this array to create a new image using Image.fromarray(). In the end, we displayed the image. NOTE:The reason why 2 at the third argument is treated as blue channel (3rd channel) is because numpy uses 0 based indexing, due to which the first element is at index 0 rather than 1 consequently making the element at index 2 the third element.
Like Article
Suggest improvement
Share your thoughts in the comments
Please Login to comment...