Python Automation Drawing In Paint Application
Last Updated :
22 Jun, 2022
In this article, we are going to know how to automate paint applications using Python.
Introduction
To automate the Paint application in Python, we’ll use a Python library PyAutoGUI which lets the user control keyboard and mouse movements and hence automate interaction with other applications on the system using Python. This library has various methods that will come in handy. It is used to stimulate mouse cursor moves and keyboard button presses. We can automate several applications using this module. It is mostly used for UI testing. This module has a lot of useful methods that make our tasks easier.
Prerequisites
- We must have basic knowledge of python.
- pyautogui module should be installed on the system.
Installation
To install the PyAutoGUI module. Type the following in the command prompt.
pip install pyautogui
We’ll be using two methods of the PyAutoGUI module.
click()
This method is used to send a virtual mouse click to the computer and by default, it uses the left mouse button.
Syntax: pyautogui.click()
Parameters: It takes three parameters. x – coordinate, y – coordinate and duration which is optional.
Return type: Doesn’t return anything, simply performs a click.
For example, pyautogui.click(10, 5, button=’left’) will click the left mouse button at the coordinates (10, 5).
dragRel()
This method is used to drag the mouse. By dragging, we mean holding the mouse button and dragging the cursor. It also takes 3 arguments; x – coordinate, y – coordinate and button (this is optional).
Syntax: pyautogui.dragRel()
Parameters: It takes three parameters. x – coordinate, y – coordinate and duration which is optional.
Return type: Returns nothing, just drags the mouse cursor to the specified location in the form of parameters.
For example, pyautogui.dragRel(20, 40, 5) will drag the mouse cursor to the specified location in the form of the parameter.
Example 1:
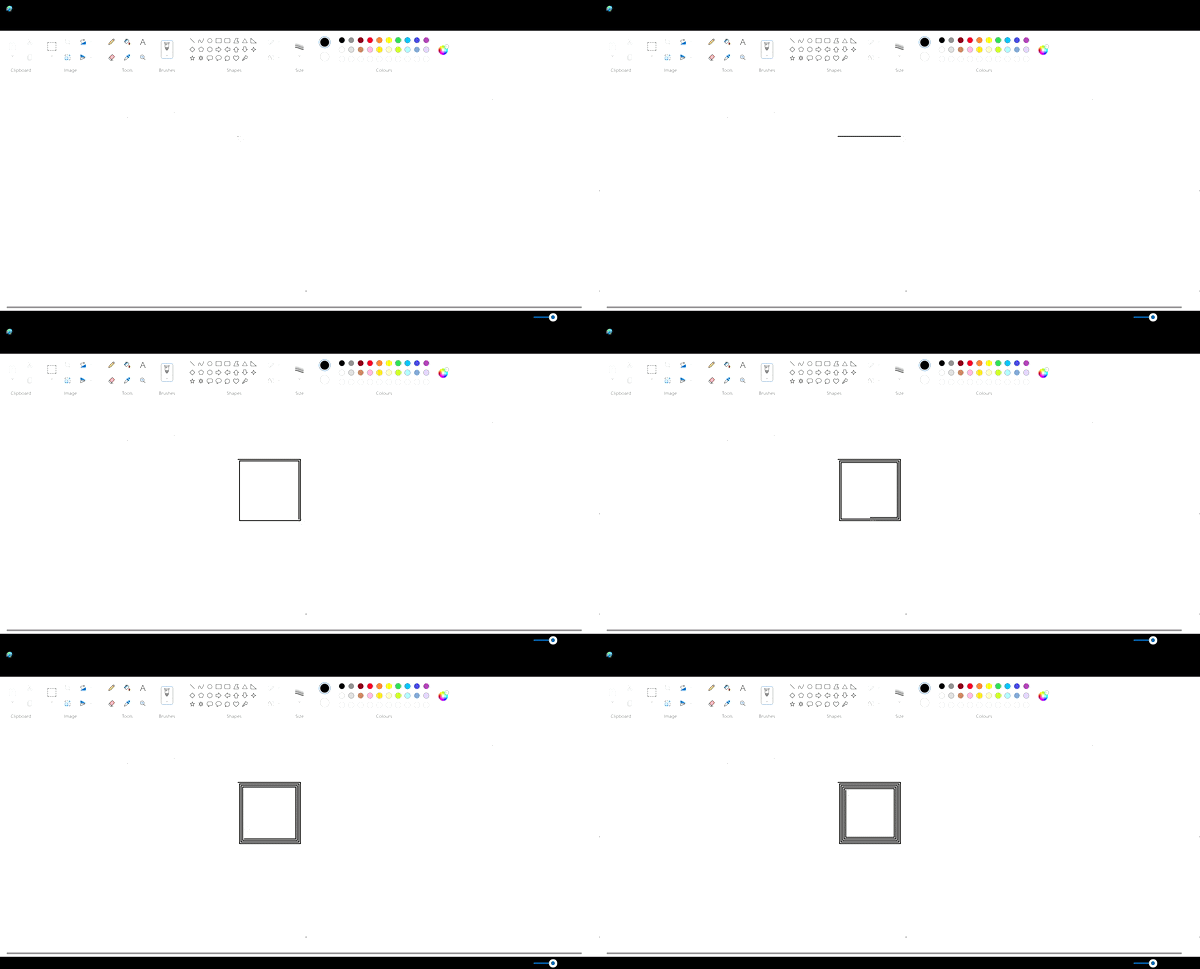
In this example, We are going to automate the drawing of square spiral in paint application without using mouse. To implement this we are going to use two methods of pyautogui module which are click() and dragRel() that are used inside the while loop to make the square spiral. click() is used to click inside the canvas of paint application and dragRel() is used to move the mouse cursor to make the spiral by incrementing and decrementing the values of parameters of dragRel() method.
Python3
import pyautogui
pyautogui.click()
distance = 200
while (distance):
pyautogui.dragRel(distance, 0, duration=0.2)
distance = distance - 5
pyautogui.dragRel(0, distance, duration=0.2)
pyautogui.dragRel(-distance, 0, duration=0.2)
distance = distance - 5
pyautogui.dragRel(0, -distance, duration=0.2)
|
Output:

Square spiral
Example 2:
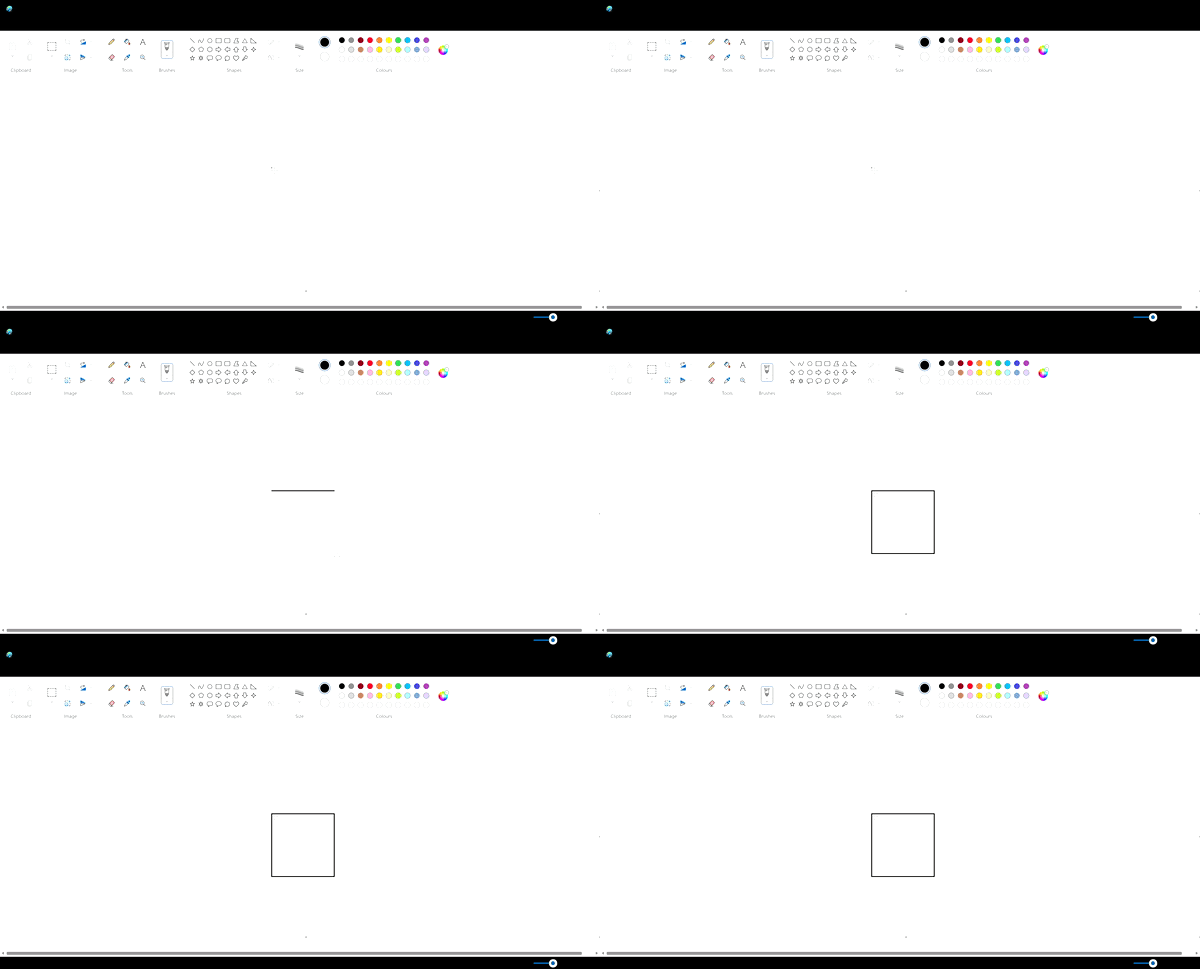
In this example, We are going to automate the drawing of squares in the paint application without using a mouse. we are going to use sleep() method of the time module for delaying the process of drawing squares. After that click() method is used to press click on the canvas of paint and then dragRel() method is used to draw a square.
Python3
import pyautogui
import time
time.sleep(2)
pyautogui.click()
l = 200
a = 4
pyautogui.dragRel(200, 0, 0.1)
a -= 1
pyautogui.dragRel(0, 200, 0.1)
a -= 1
pyautogui.dragRel(-200, 0, 0.1)
a -= 1
pyautogui.dragRel(0, -200, 0.1)
a -= 1
|

square
Example 3:
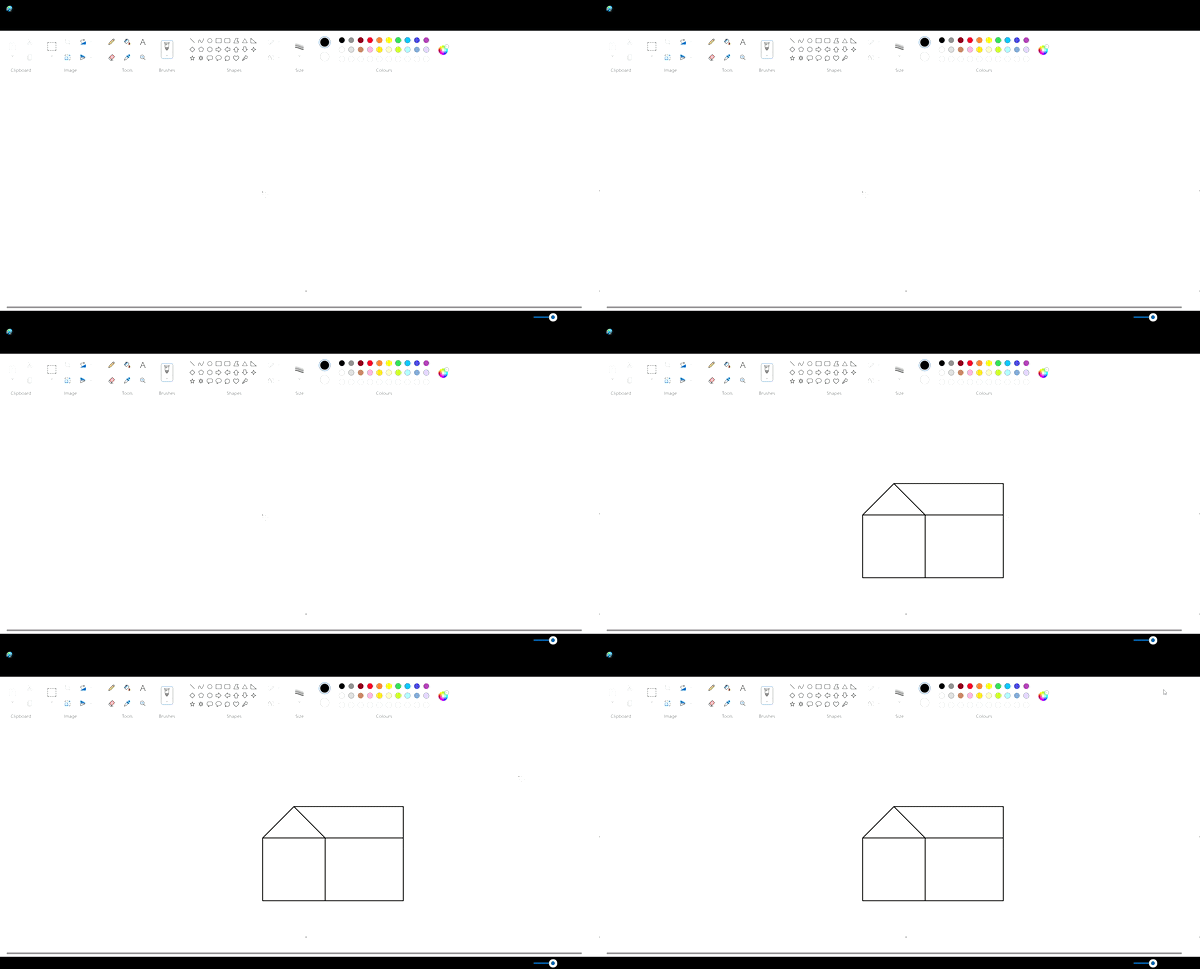
In this example, We are going to automate the drawing of the hut in the paint application without using a mouse. Again we are using sleep() function to delay the process and then firstly, draw the rectangle after that draw the triangle and at last draw the rest of the part of the hut.
Python3
import pyautogui
import time
time.sleep(5)
pyautogui.click()
l = 200
a = 4
x, y = pyautogui.position()
pyautogui.dragRel(200, 0, 0.2)
x1, y1 = pyautogui.position()
a -= 1
pyautogui.dragRel(0, 200, 0.2)
a -= 1
pyautogui.dragRel(-200, 0, 0.2)
a -= 1
pyautogui.dragRel(0, -200, 0.2)
a -= 1
pyautogui.click(x, y)
pyautogui.dragRel(100, -100, 0.2)
pyautogui.click(x1, y1)
pyautogui.dragRel(-100, -100, 0.2)
pyautogui.dragRel(350, 0, 0.2)
pyautogui.dragRel(0, 300, 0.2)
pyautogui.dragRel(-290, 0, 0.2)
pyautogui.click(x1, y1)
pyautogui.dragRel(250, 0, 0.2)
|
Output:

Hut
Like Article
Suggest improvement
Share your thoughts in the comments
Please Login to comment...