Publish Jupiter Notebook File as Web App
Last Updated :
08 Jan, 2021
In Jupyter Notebook we always build some models, do some plotting on given Dataset, and many more. But we can also publish our Jupyter file as a web-app. It will show only the output of each code rather than showing the source code.
In this article, we will look into the process of publishing a Jupyter Notebook file on Github as a Web-app.
Convert Jupiter Notebook into HTML file
To convert Jupyter Notebook file into an HTML file follow the below steps:
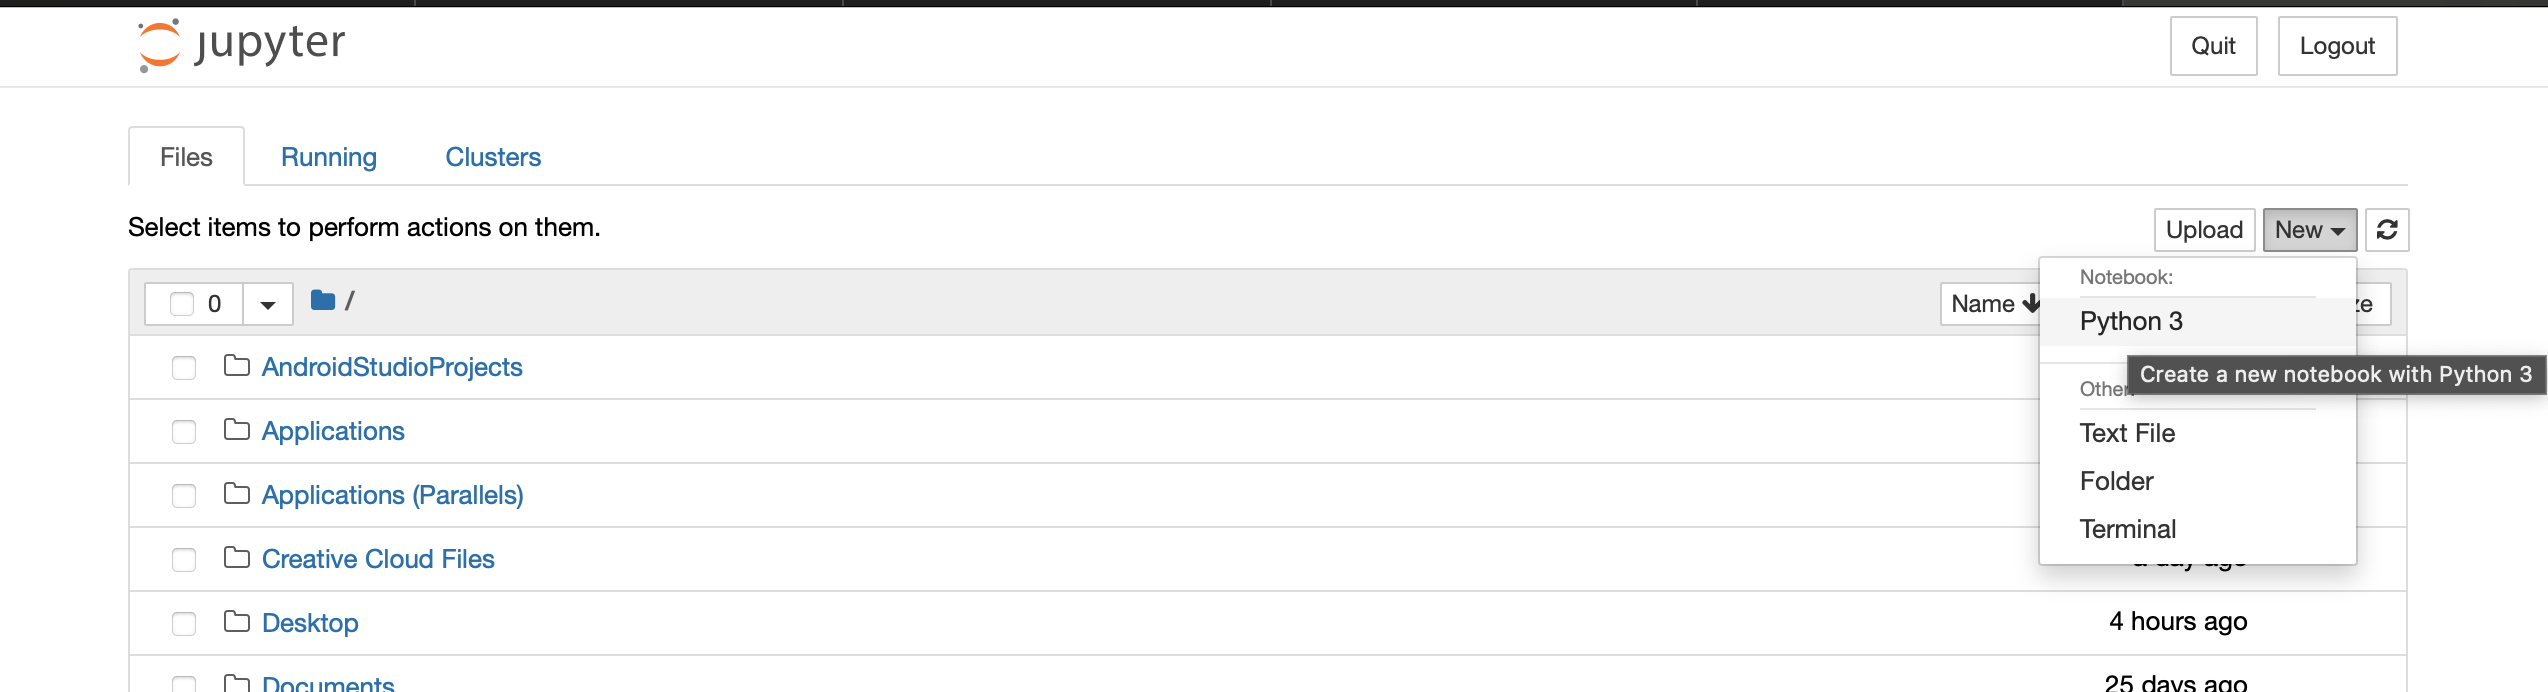
Step 1: Open Jupyter Notebook and Click the three-dot menu in the top left corner and select Python.
Step 2: Write some useful code. It may be Markdown or Code shell. For example, here we have written some markdown cells, one arithmetic code, and a CSV file’s data read code.
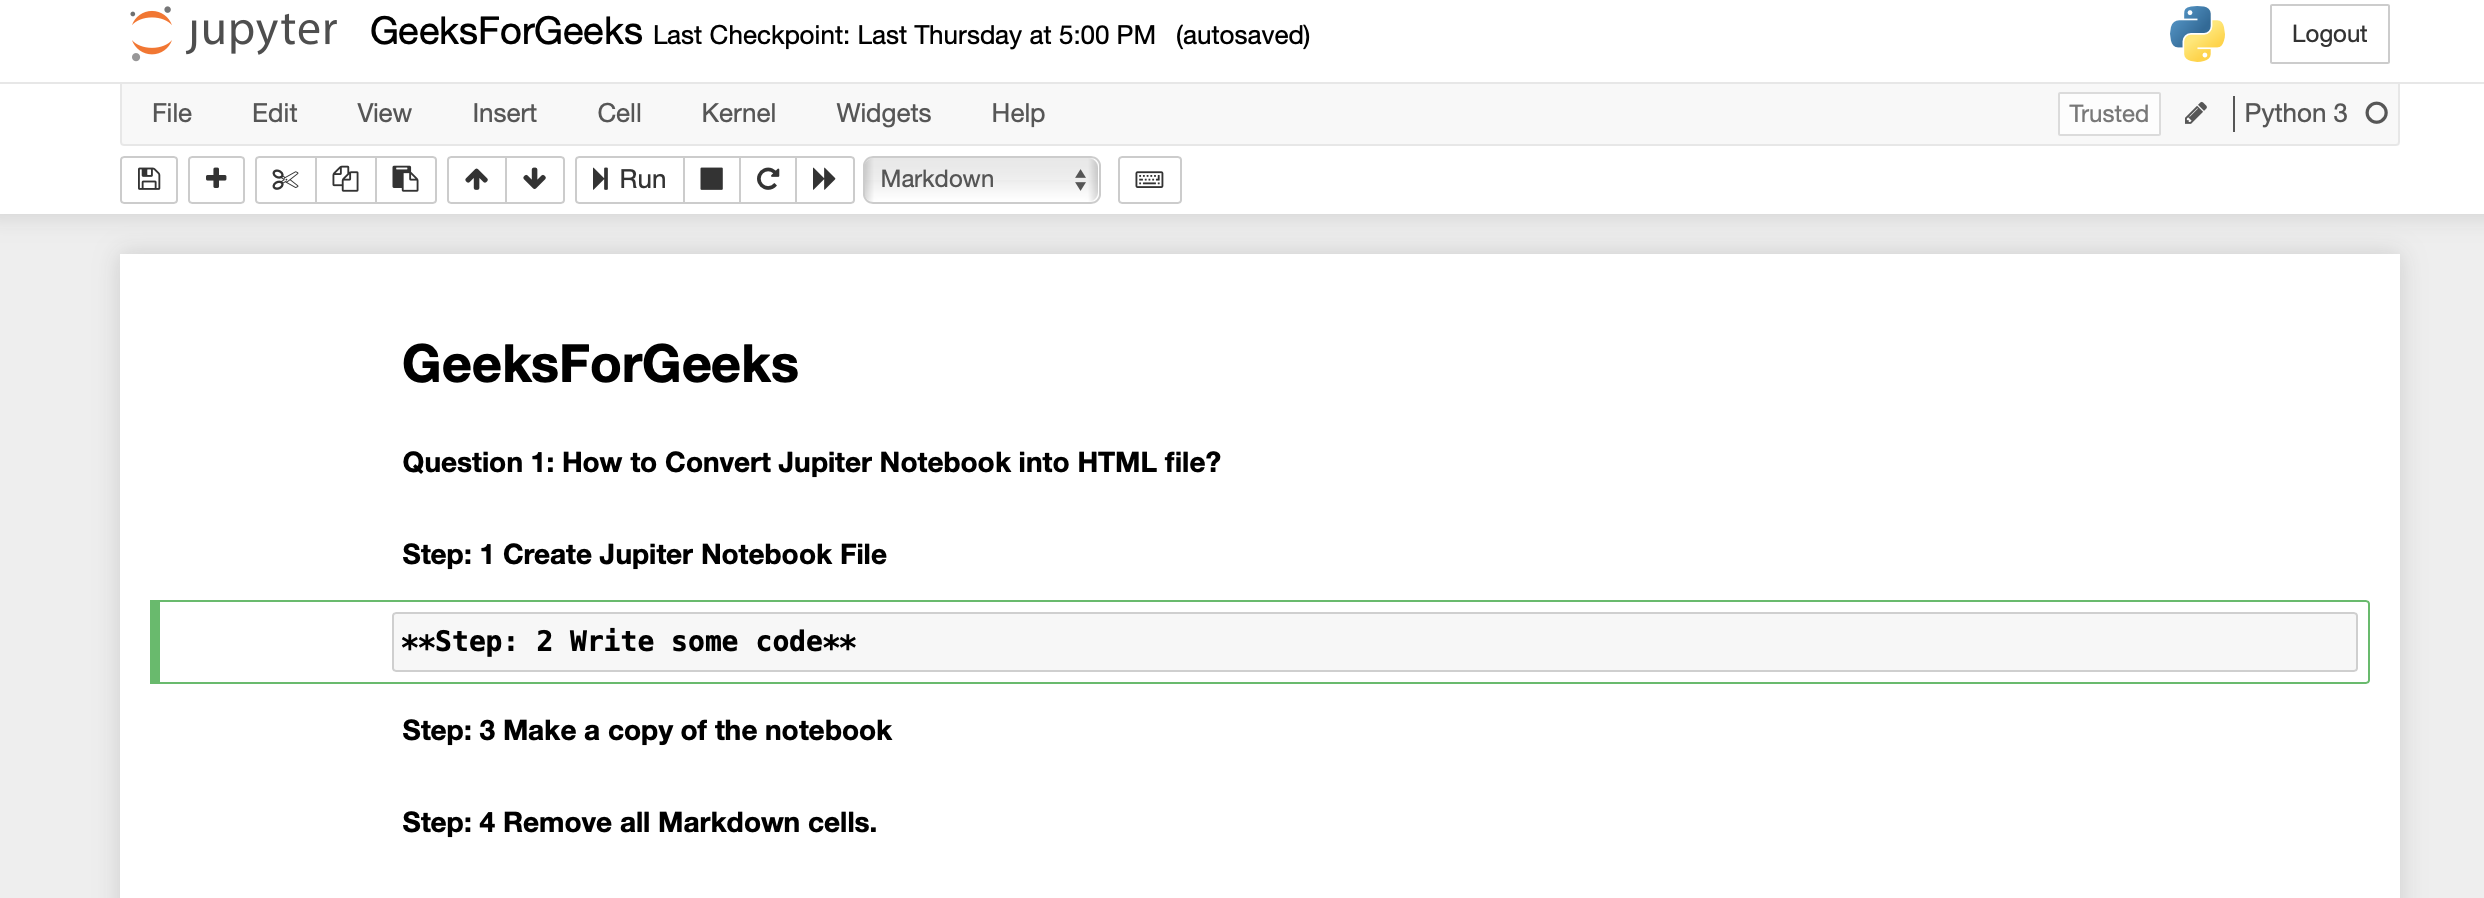
Markdown Cell
Code Cell
Step 3: Make a copy of the notebook.
Step 4: Remove all Markdown cells that are not necessary.
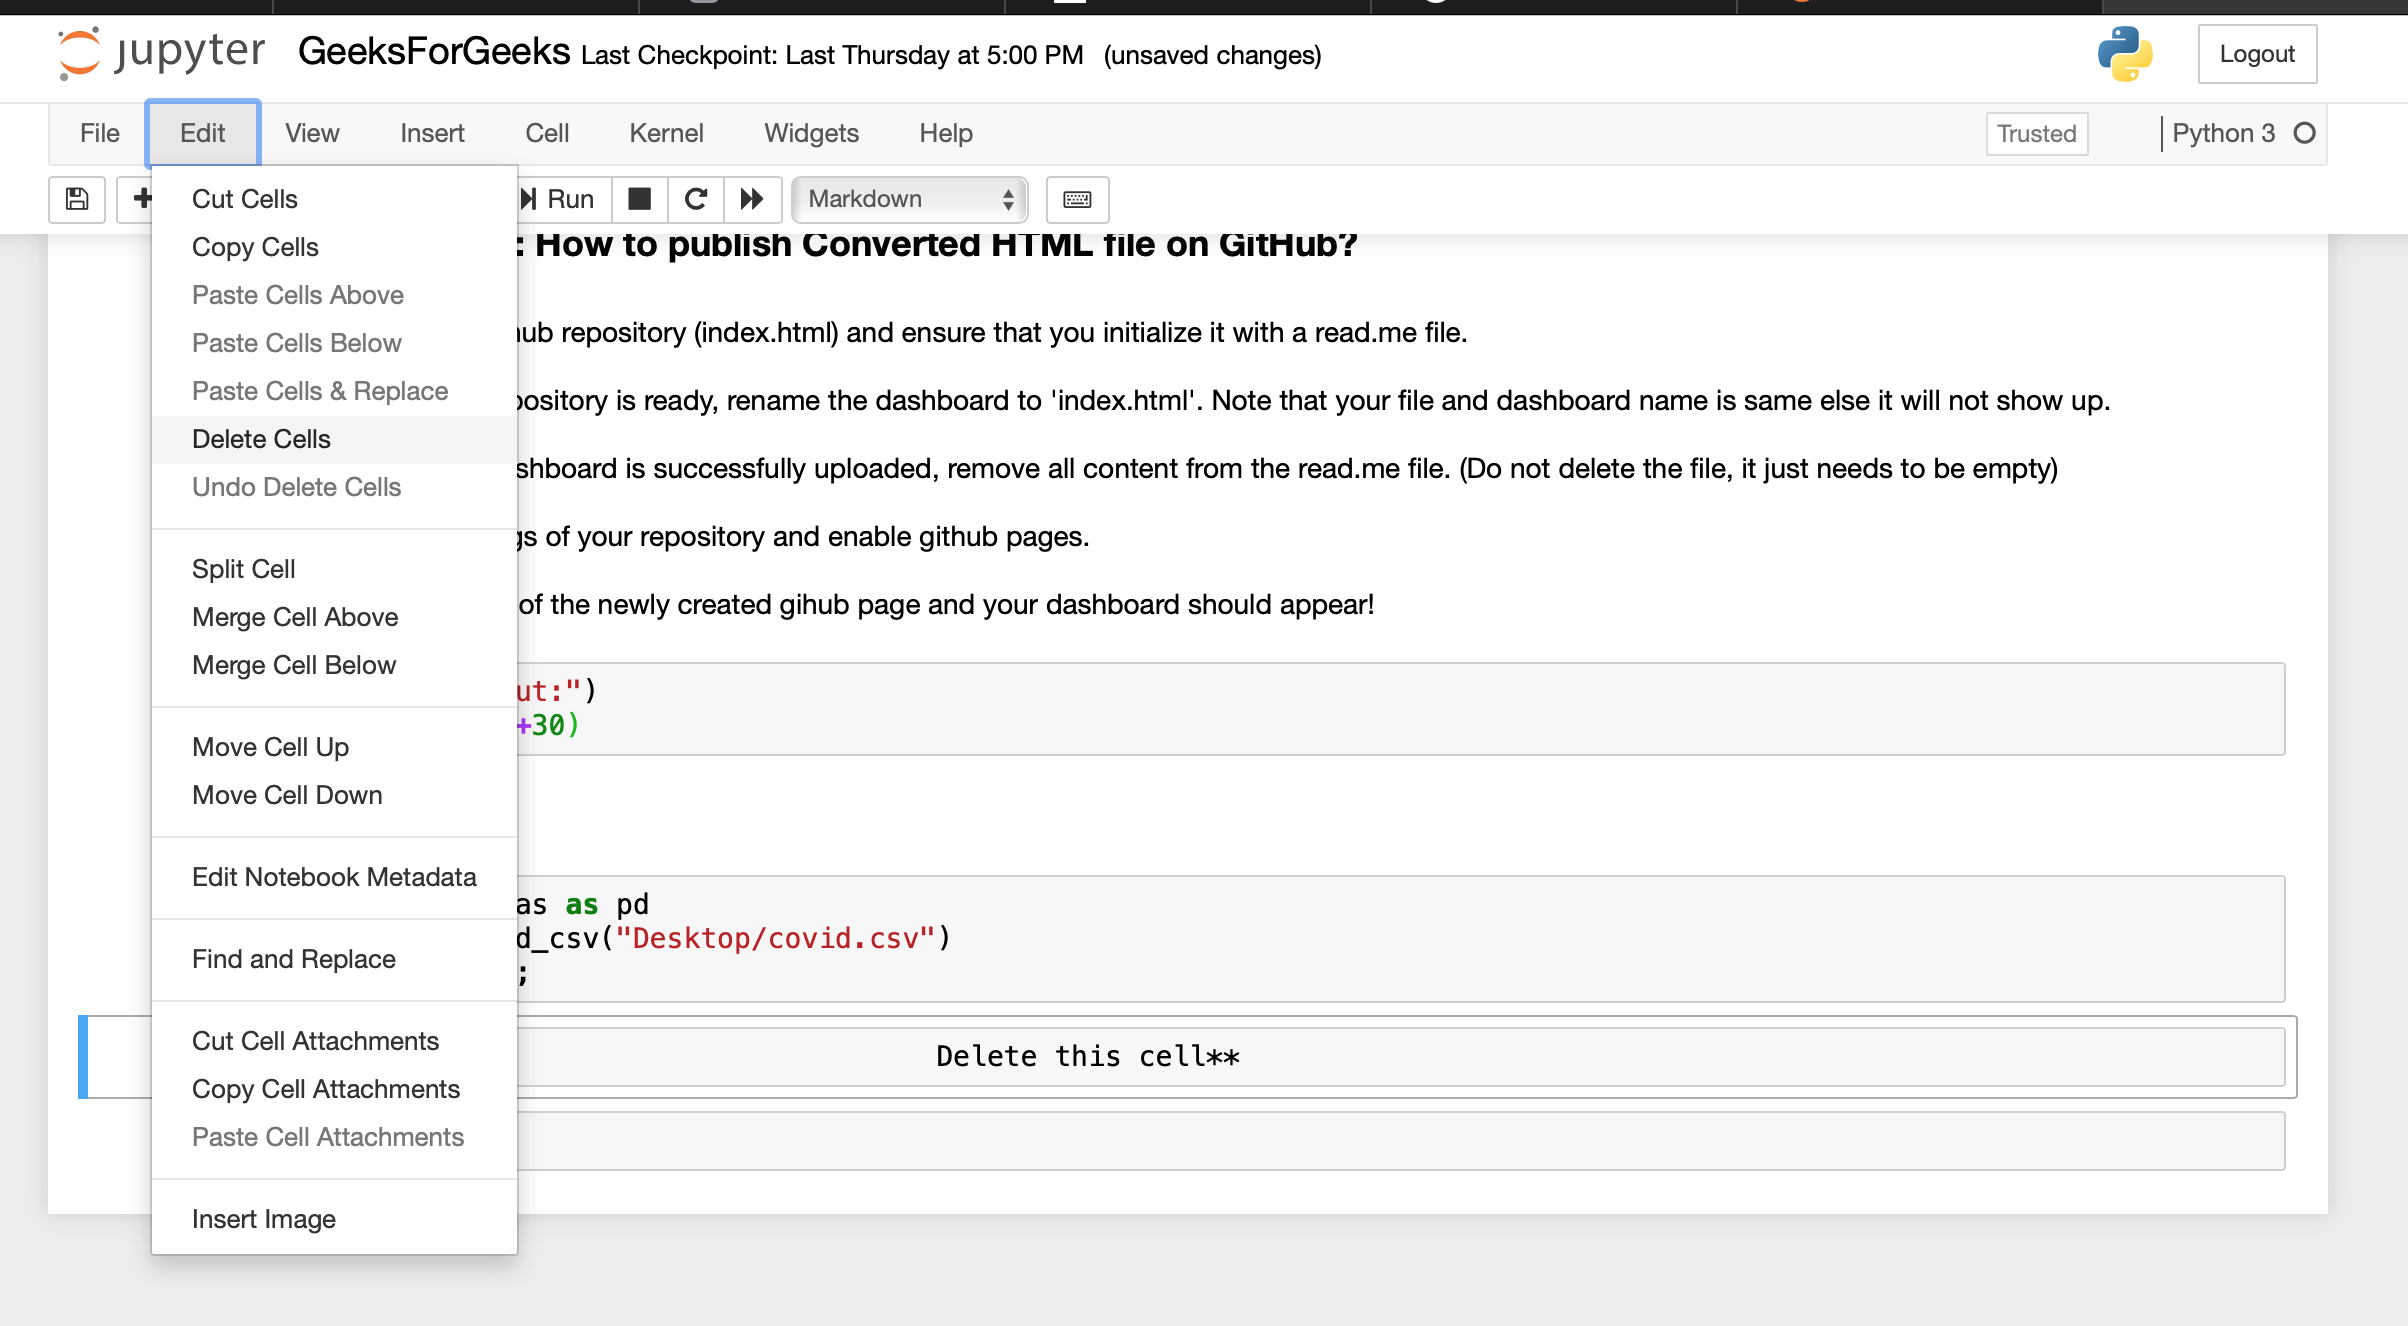
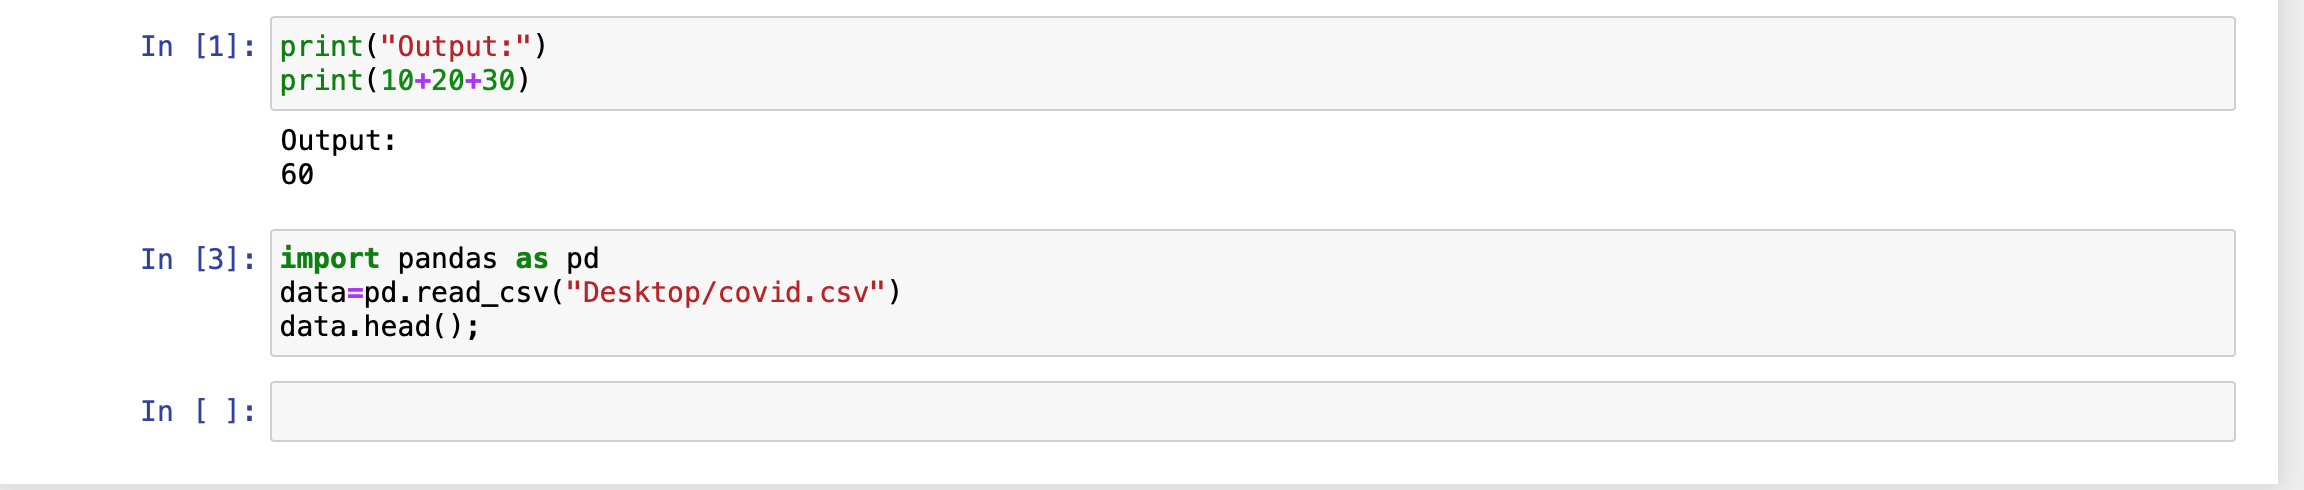
Step 5: Run only those cells whose output you want to display as a web-app. Because only display output will be shown in our web-app.
Step 6: To prevent other outputs from being displayed, just add a semicolon at the end of the code and rerun the kernel. For example, here, to prevent the display of the output of data.head(), we have added a “;” at the line of code.

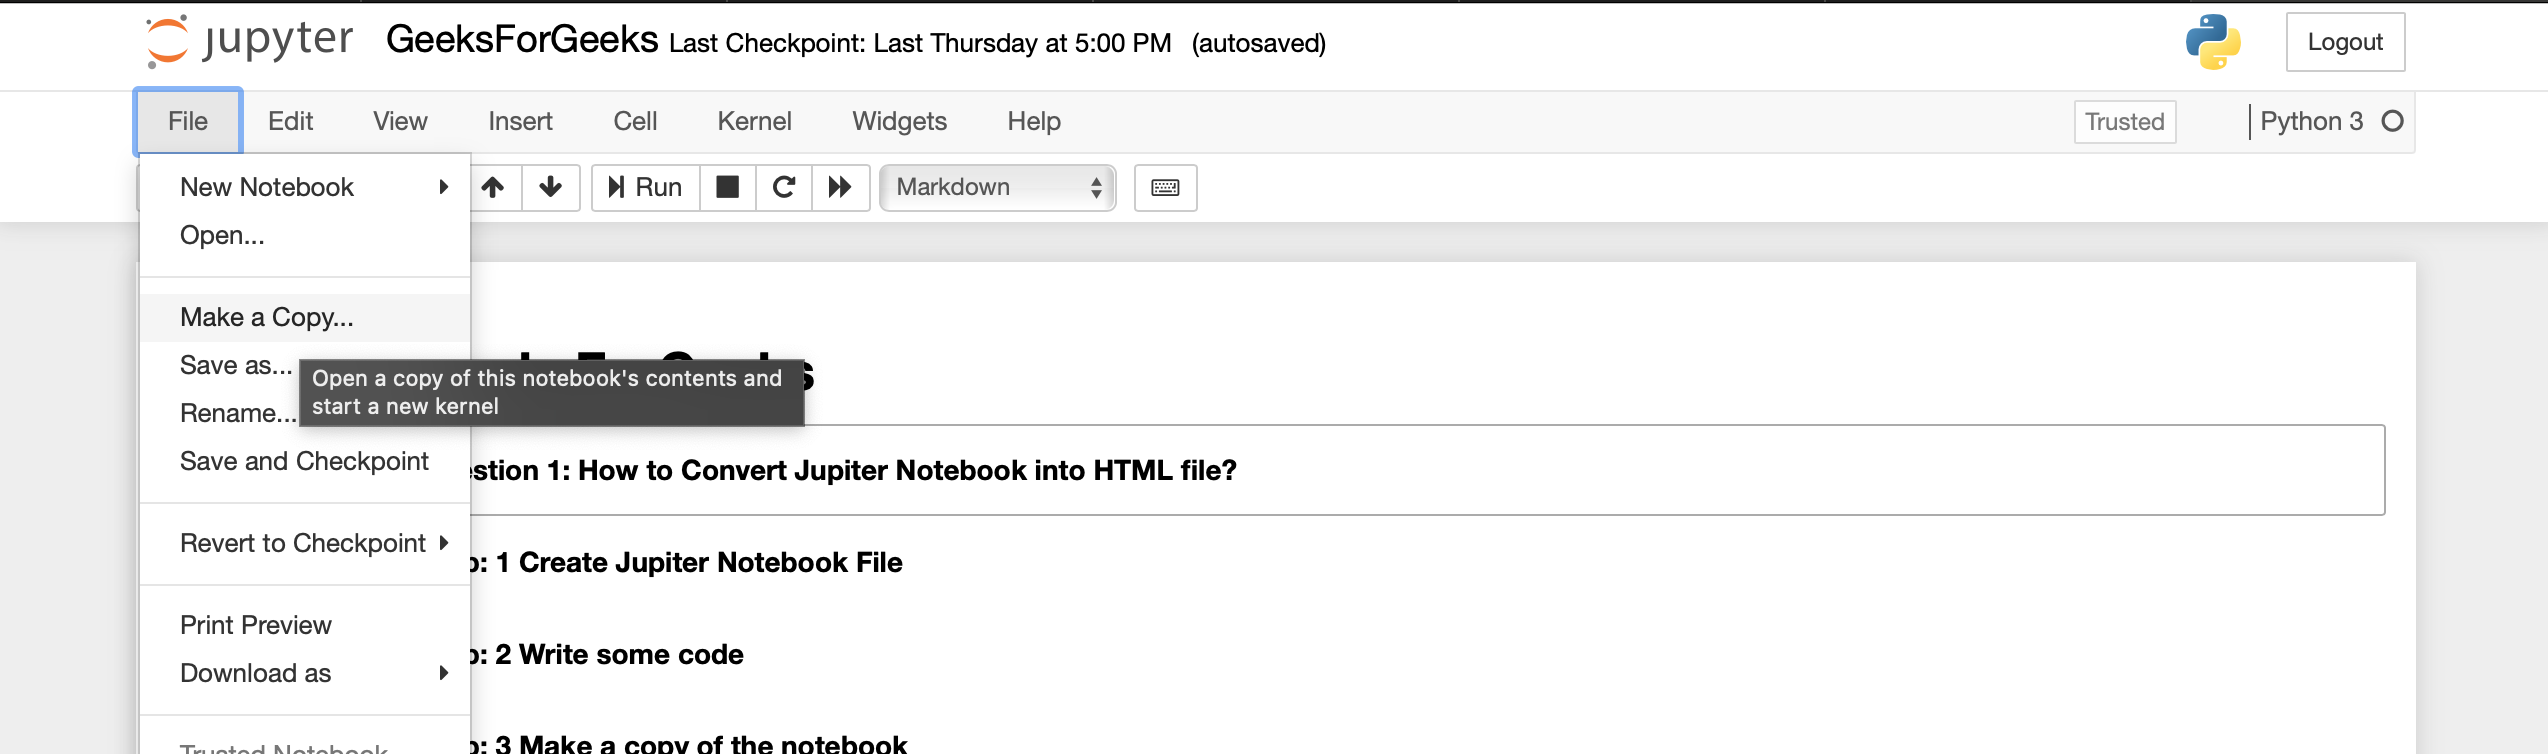
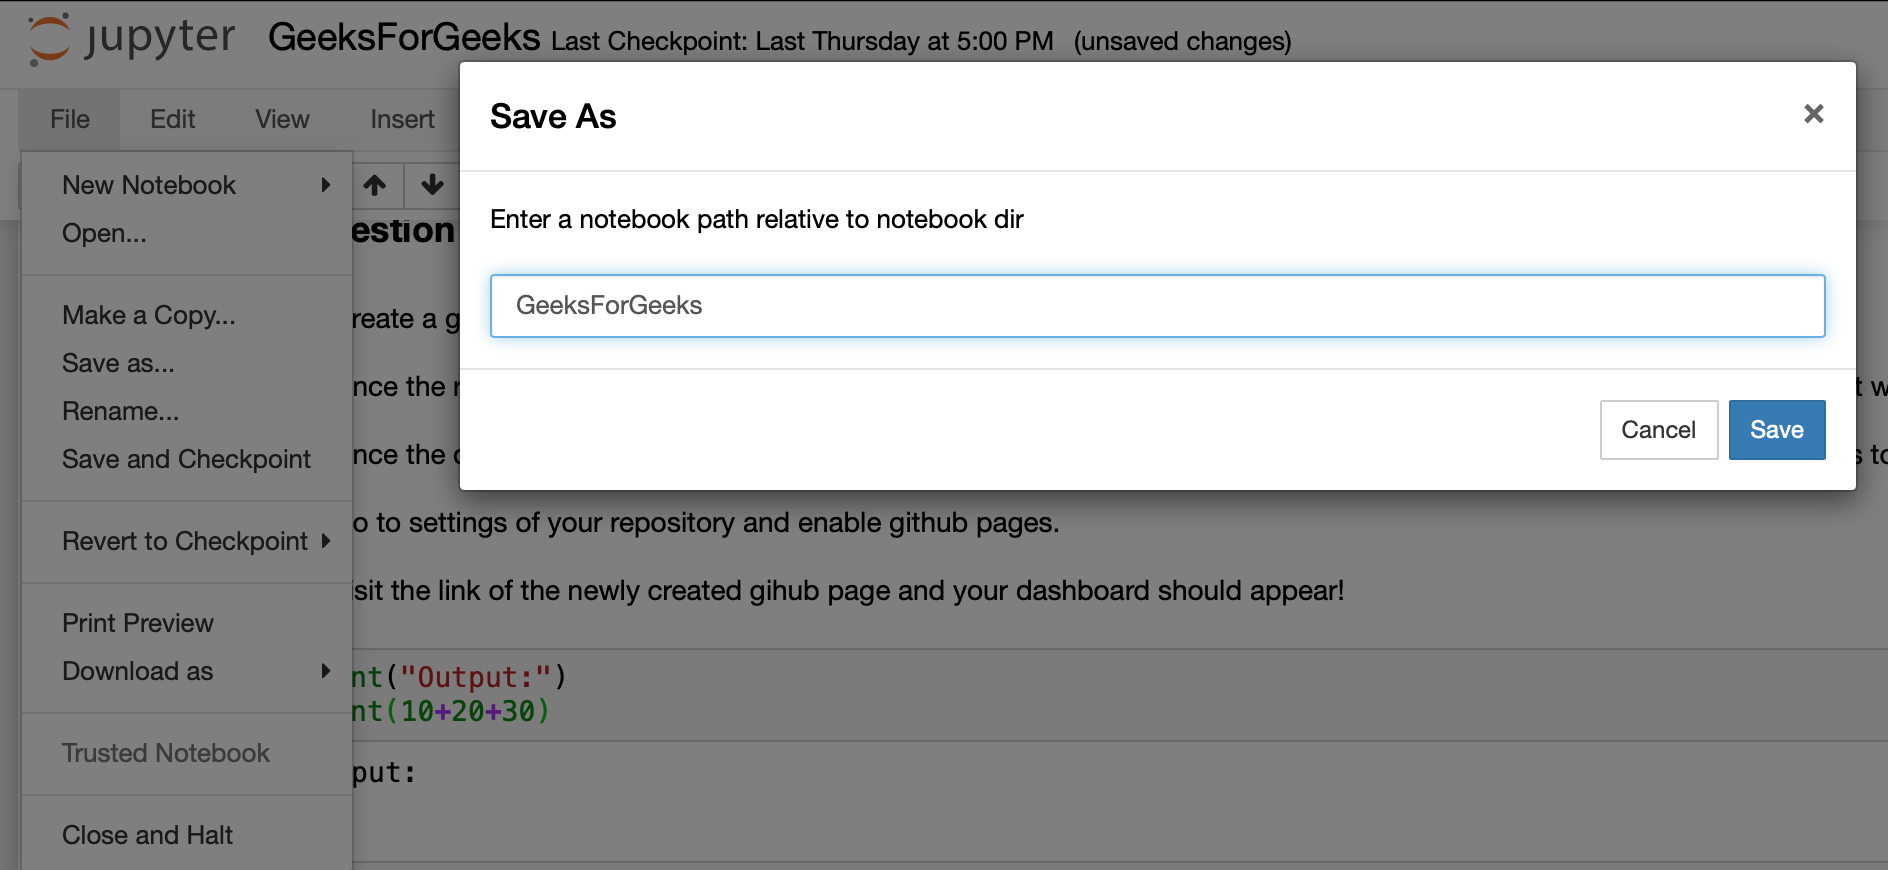
Step 7: Save your notebook. Note that it is in the same directory as your Jupyter lab installation.
Step 8: Open the terminal and run the below command:
jupyter nbconvert Your-File-Name.ipynb --no-input --no-prompt

You will now have a file named ‘Your-File-Name.html’
Publish a Converted HTML file on GitHub
After the HTML file is generated, publish it on Github using the below steps:
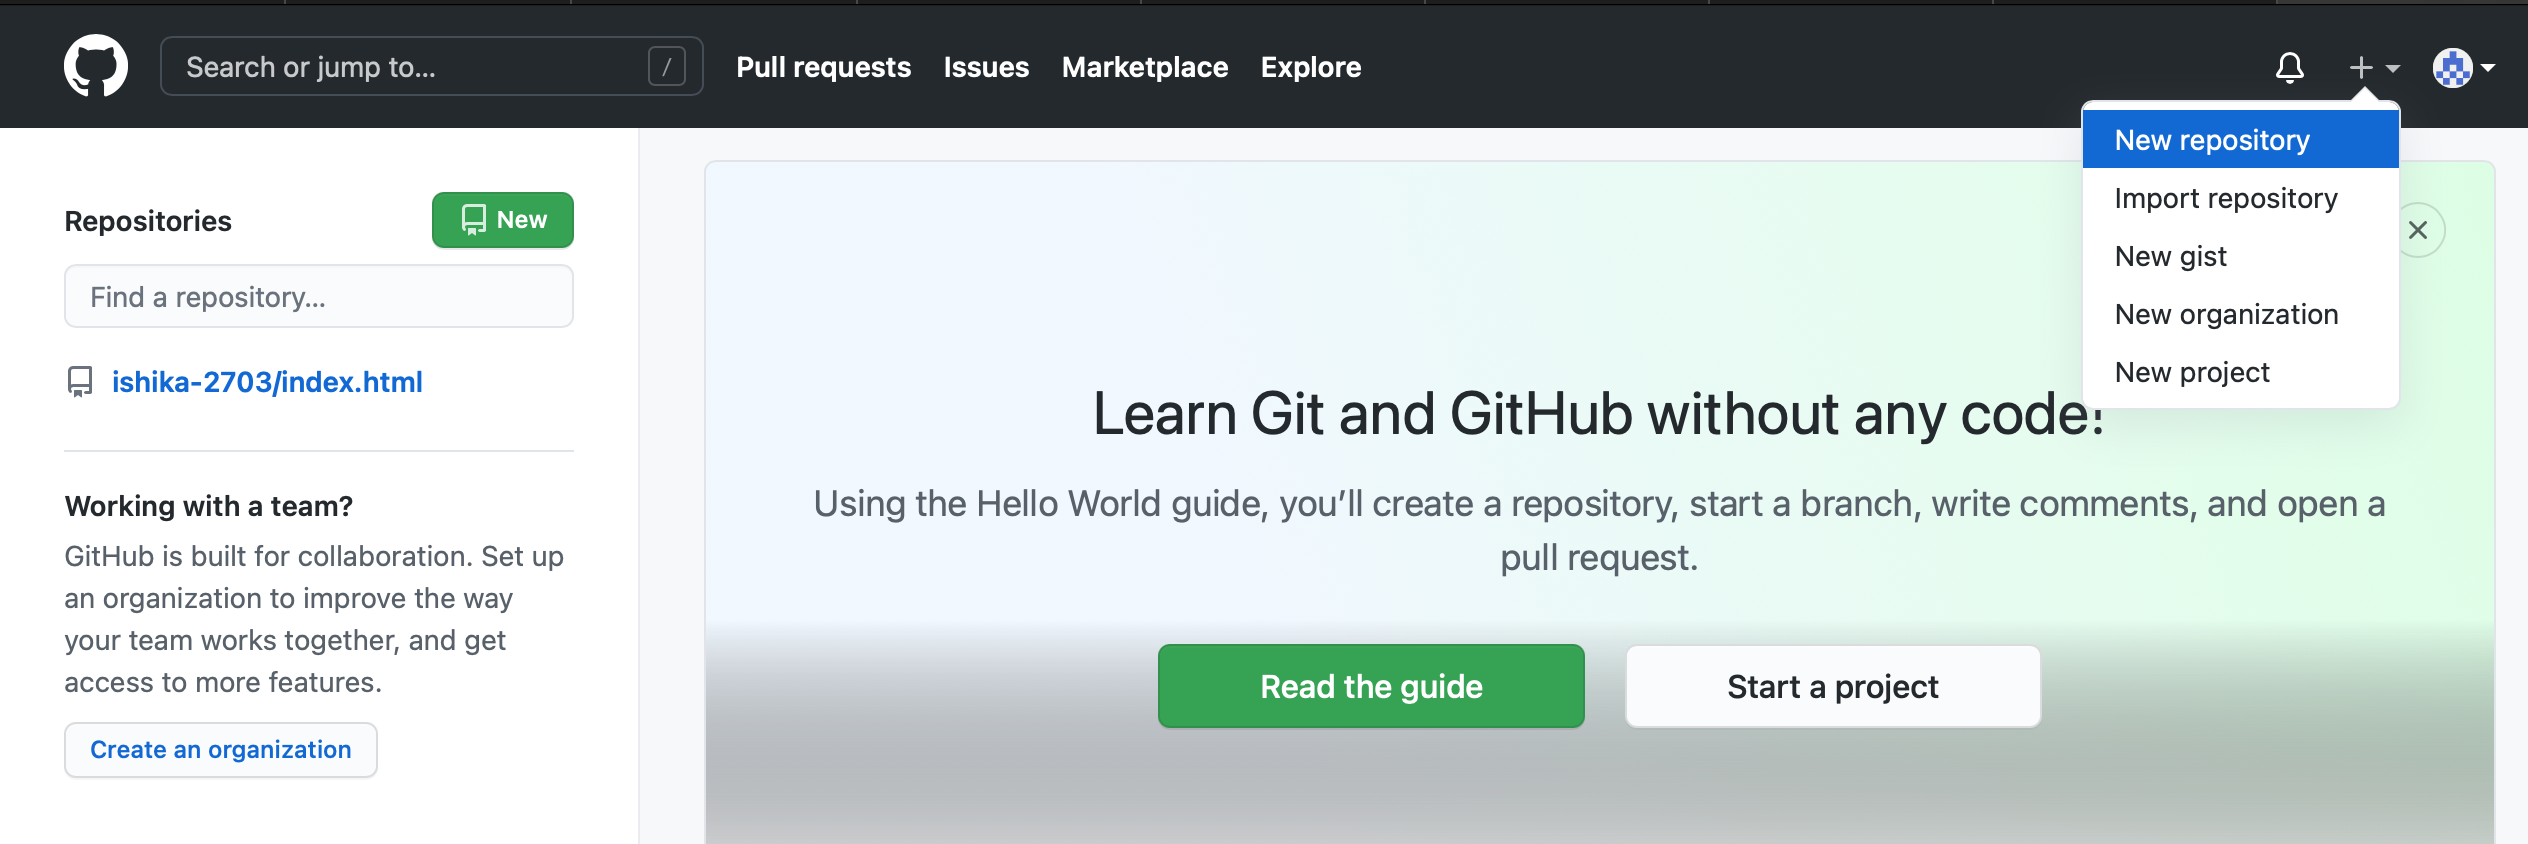
Step 1: Create a GitHub repository (index.html) and ensure that you initialize it with a read.me file.
- Login to your GitHub account
- Go to Home Page
- Click on the + Nav option
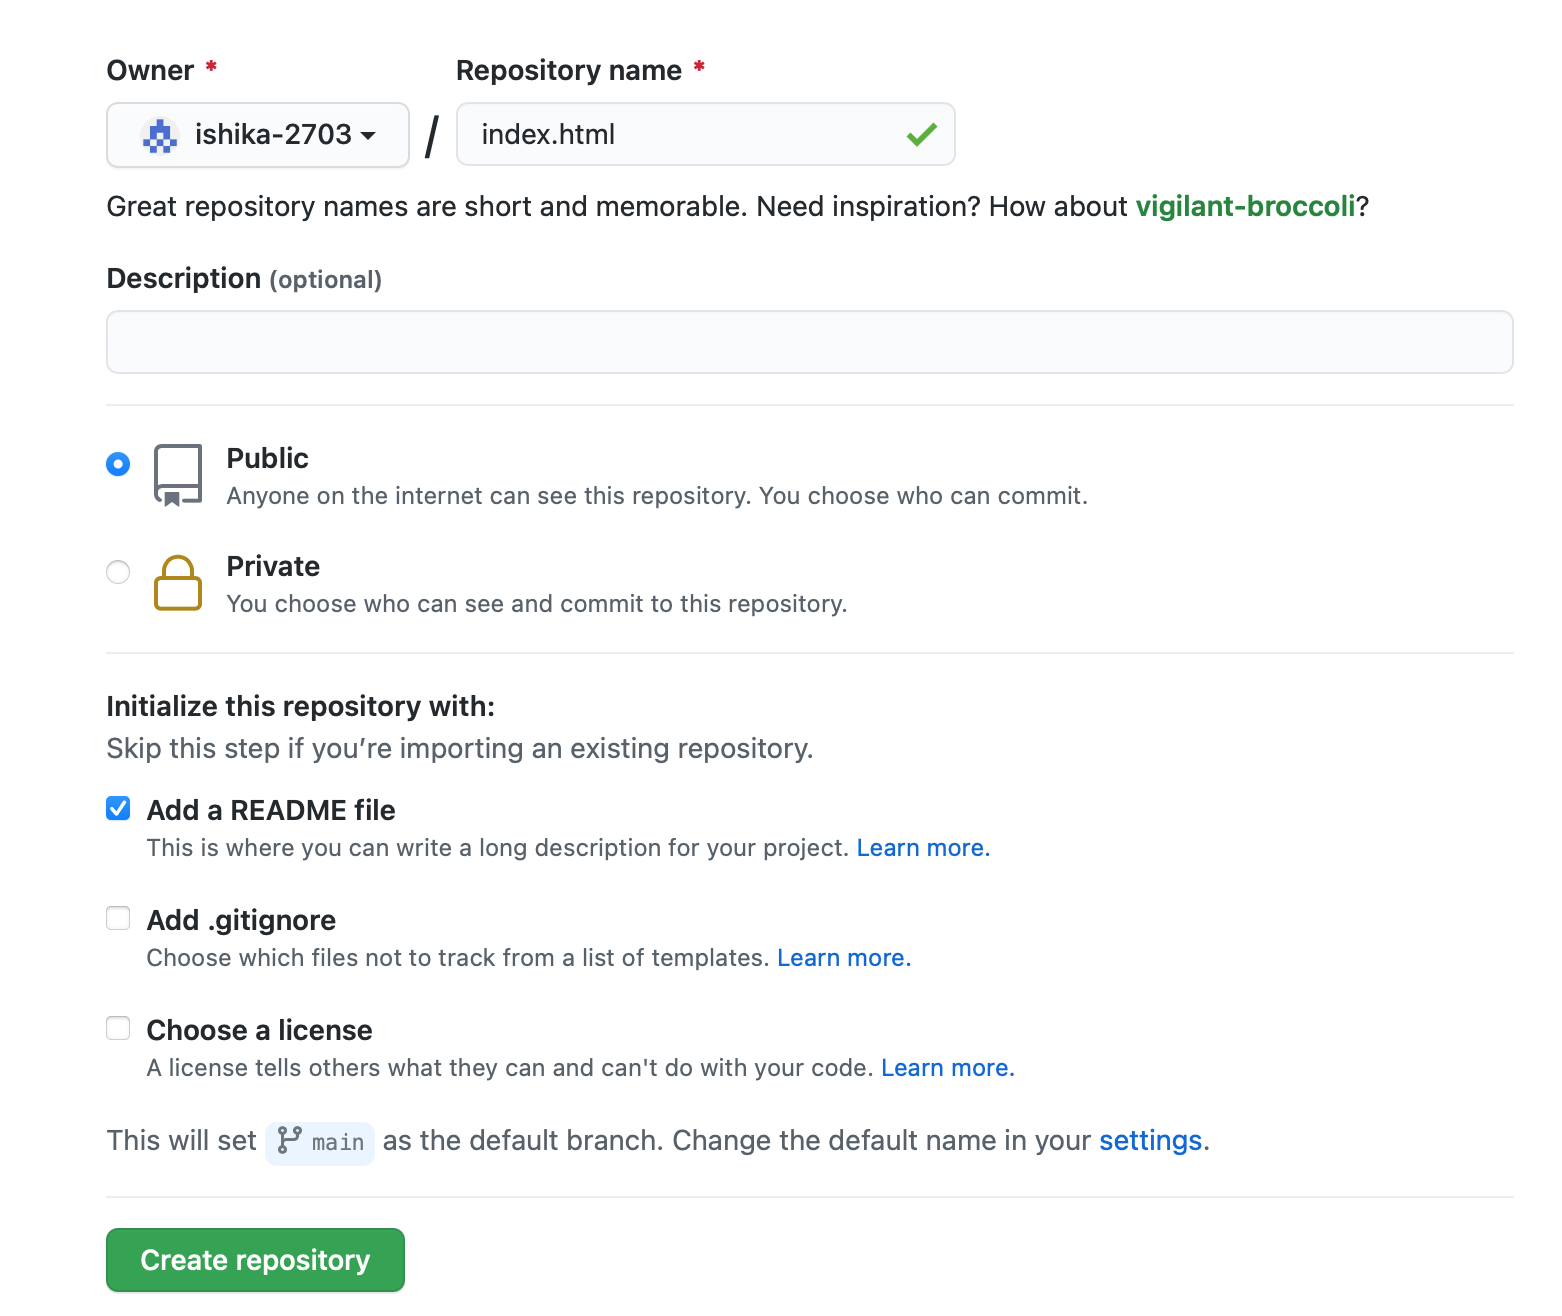
Step 2: Once the repository is ready, rename our GeeksForGeeks.html (Which we have created in step 1) file to ‘index.html’. Make sure your file and dashboard name is the same else it will not show up.

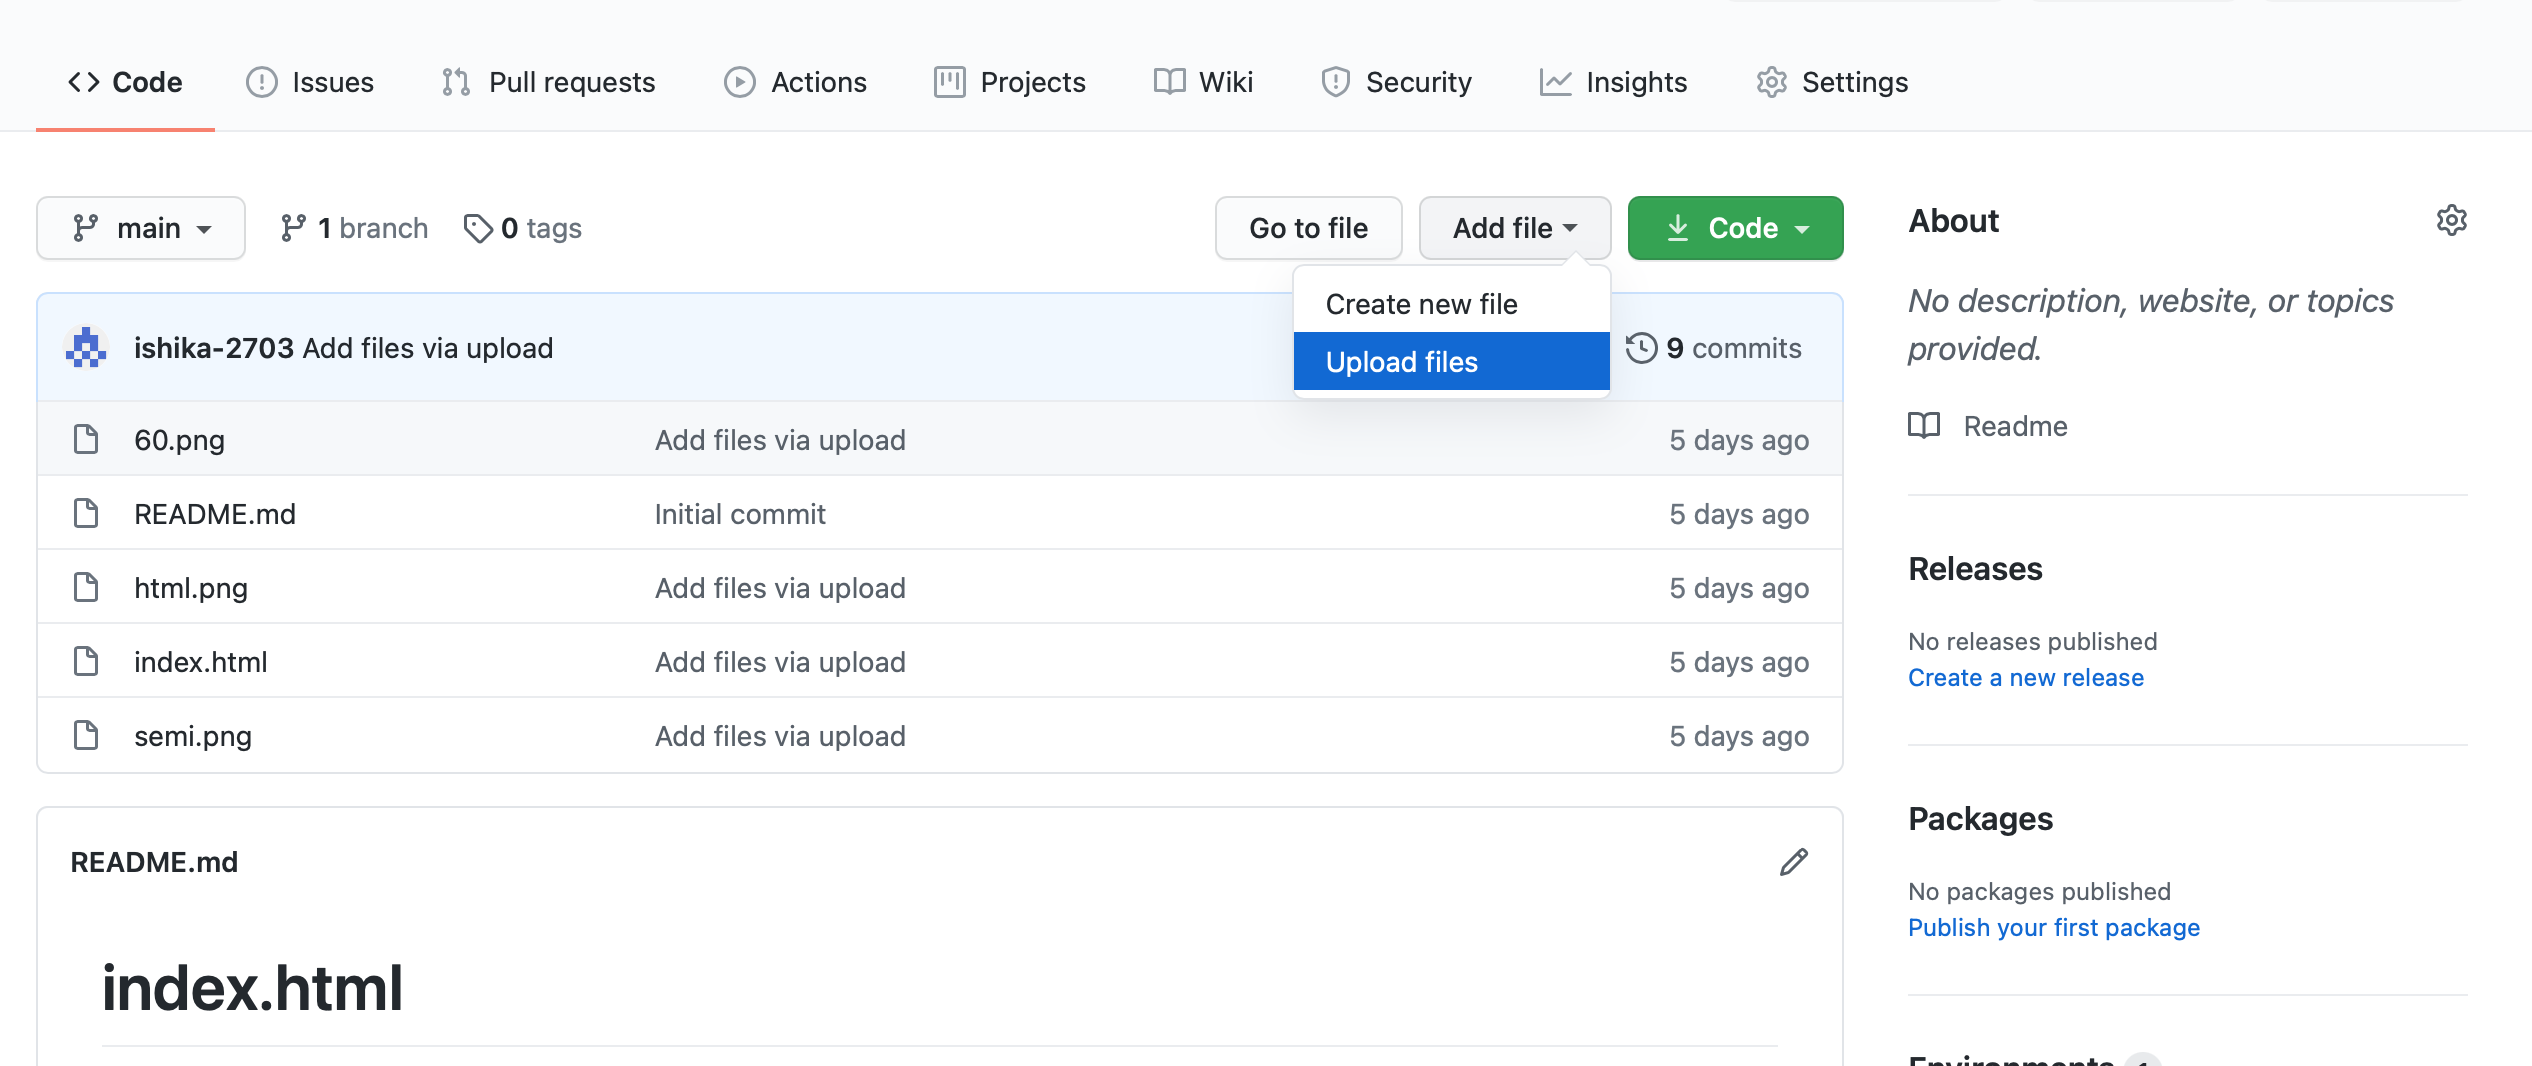
Step 3: Once all files are successfully uploaded, remove all content from the read.me file. (Do not delete the file, it just needs to be empty).To upload your file:
- Go to your repository.
- Click on Add file.
- Upload the files.
Step 4: Go to the settings of your repository and enable GitHub pages. To do so follow the below steps:
- Go to setting.
- Select Branch option as main.
- Click on save.
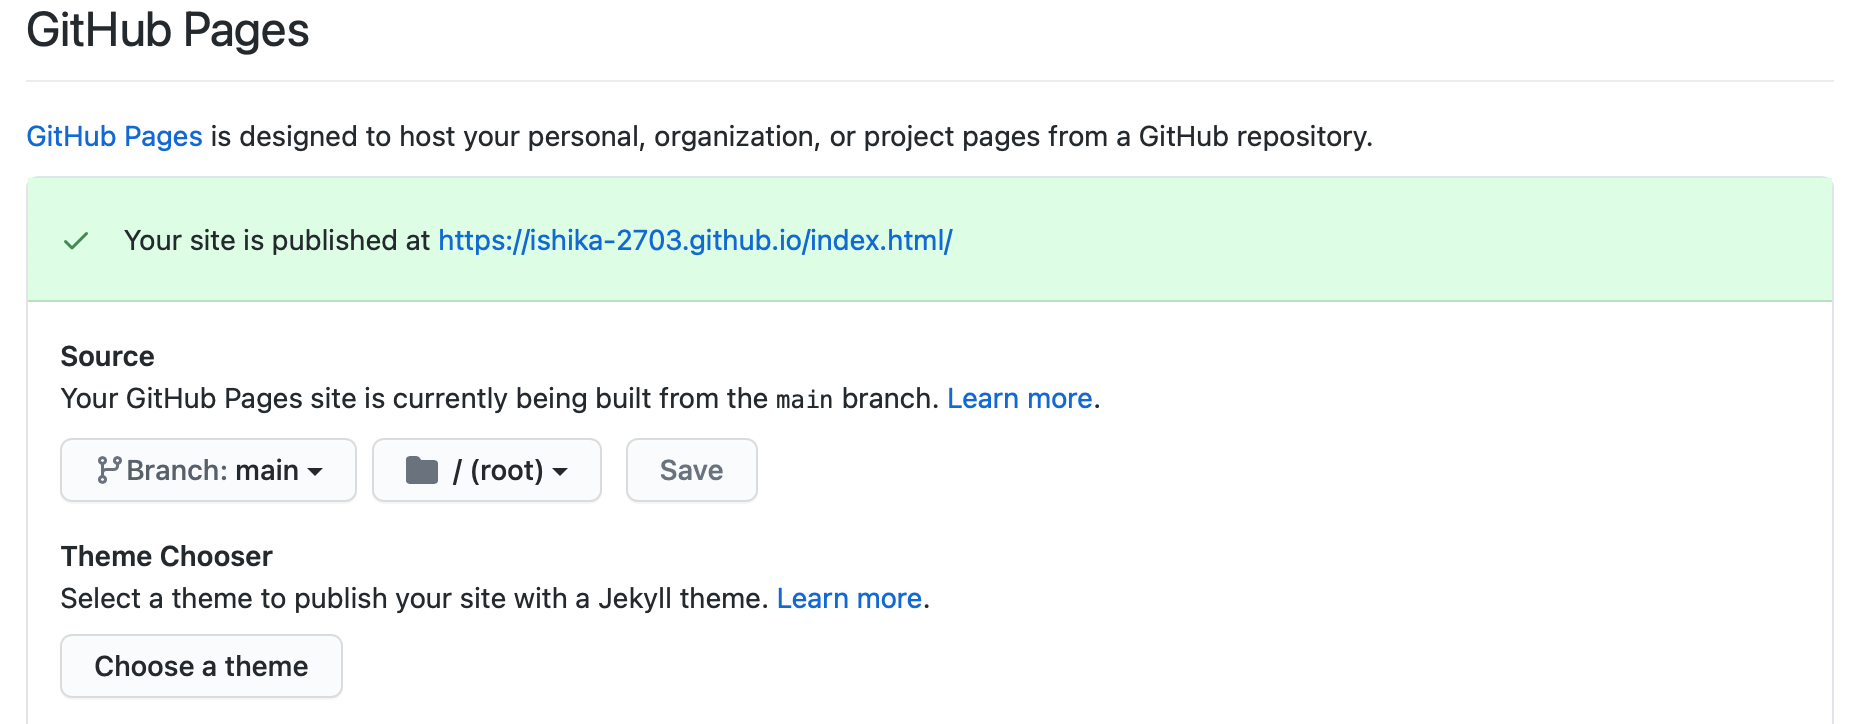
This will publish our website.
Step 5: Visit the link of the newly created GitHub page and your dashboard should appear.
Note: It is mandatory to publish your HTML file as index.html.
      Otherwise, you may receive erroneous output.
Output:
Like Article
Suggest improvement
Share your thoughts in the comments
Please Login to comment...