If you’re a UX designer or a freelancer who does everything to build an application such as designing, coding, interacting with the clients (a one-man army….lolz) then one thing might be bothering you a lot…
“If I design an app for a user or a client whether he/she will like it or not?”
Suppose you build an app and present it to the client. Now the client is telling that he/she doesn’t like the background blue color of an image, and he/she wants you to change it with the color green. You made the changes (not a big deal for you…yeah?) and you present it to the client again. Now the client is requesting you to change the shape of the button from rectangle to circle. Again you made the changes (ok…it’s also not a big deal for you). Once again the client is requesting you to move some content from top to bottom or left to right (getting frustrated? But you moved the content). Now the client is telling that the previous one was better than the current one so change it…(now it’s too much and you just want to murder that guy)
A frequent request from the client-side to change the things in web pages is very frustrating for developers/UX designers. It takes a lot of time and effort to write the code for each and every single element of the web pages but your client doesn’t understand this.
These small changes not just create many issues or bugs in design but also becomes a nightmare for developers/designers.
So what’s the solution to all the above problems?
How industries or big corporate sectors deal with these kinds of issues?
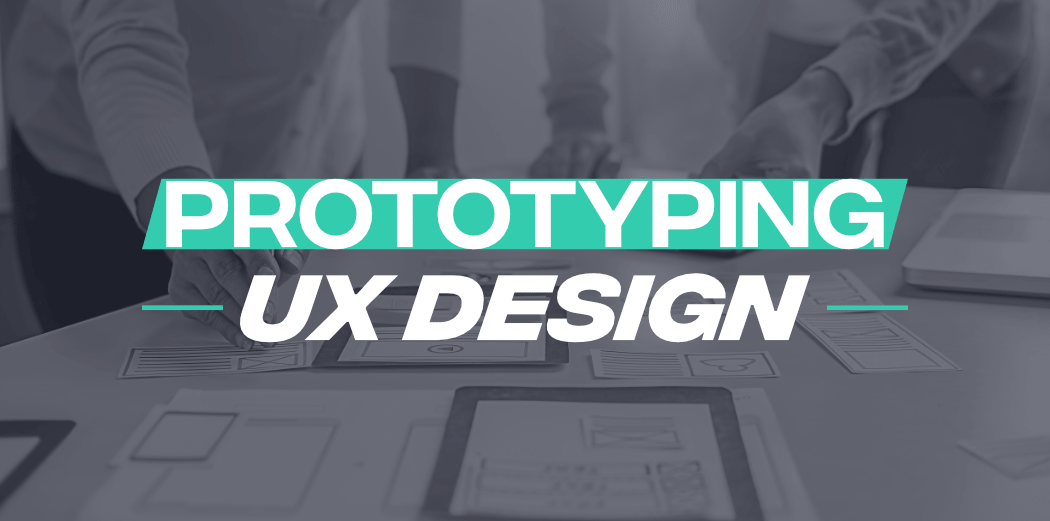
The answer is prototyping. In this blog, we will discuss the concept of prototyping which most of the UX designers follow working in some big companies.
What is Prototyping?
If you think that developers or designers working in some big companies like Facebook, Twitter, Pinterest, Zomato, Netflix, etc start writing the code immediately to build some features then you’re totally wrong. This is not how things work in the industries. Designers have to first go through the steps of prototyping before they move to the actual coding part.
Basically, prototyping is the reflection of the final product. It’s not an exact application but it’s like moreover photos of the app which can be designed using the tools such as photoshop, illustrator, and maybe sketch. These photos are put into the mobile phone or on a website and users are allowed to click on the places where it is meant to be clicked.
You might have learned something about prototyping in your computer science degree but do you know how it works on an industrial scale? In big industries, everyone uses the concept of prototyping. It is used to test the flow of the product, whether it is smooth or not.
Prototyping showcase the sample version of the product to the users through interactive and engaging products. Designers can test their ideas and designs before investing the time and money into developing the final product.
Being a UX designer you can use some online tools to build the prototype and showcase it to the users for a better understanding of the product.
Benefits of Prototyping
Let’s look at some major benefits of prototyping…
1. Prototyping helps in identifying the design flaws, usability issues, or the unsuitable approach in the earlier stages of the software design phase. This saves a lot of time and money and also it reduces the conflict between the client and the designers that may arise during the development phase of the product.
2. Should I place this button in the top right corner? Should I use a yellow background color? Should I use a carousel to showcase the images? Is it okay to use the accordion or is it okay to use the grid system to display the content of headings? These kinds of confusion can be clear out with the help of a prototype. Designers can create different versions of the website, test which one works better, and then they can finalize the design of the product.
3. Is the design of my software solve the user’s problem exactly as planned? Are users able to complete the specific task on my website? Is the flow for the user smooth or not? Do I need to make some improvements in user flow? Prototypes help in answering all these questions related to the user flow and interfaces. It represents the order of the screen and users can easily understand the steps, needed to perform a specific task.
Types of Prototyping
In industries, designers start creating the prototype as early as possible in the designing phase. Now you might be asking a question to yourself how prototypes are created? What are the different types of it? Prototypes can be created on paper or it can be created clickable using some online tools.
Generally, prototypes are divided into low fidelity, medium-fidelity, and high fidelity. Here the term fidelity describes how realistic your prototype is? Is it just a basic visual representation or it’s an accurate representation of the final product? Let’s discuss all of them in detail.
1. Low Fidelity (Paper)
The best and cheapest resource to create a prototype is using pencil and paper (Yes!!! Your childhood best friend in studies). With minimal cost, you can draw a rough sketch of your software. Hand drawn prototype is used during the initial stage of software design to show off the various screen states to the user.
Low fidelity prototypes are quick, cheap, and highly collaborative. It is good to rapidly test the broad concepts in software design. Also, you don’t have to be more advanced in designing skills to create low-fidelity prototypes. You only need to represent the basic key elements without getting into too many details.
It represents the basic layout of the software with minimum content and visuals. This prototype is less interactive. Also, we need to avoid the animations and transitions in a low fidelity prototype. The prototype helps the users to understand the initial design ideas and basic design elements of the software.
2. Medium Fidelity (Clickable)
Once you’re done with the hand-drawn prototype, you can turn them into interactive clickable prototypes. Clickable prototypes give much more detail than the low fidelity prototypes and it gives closer look to the final design of the product. You can find a certain level of interactivity in clickable prototypes.
A user should get the feel of the final design of the product but not too much detail of product. The flow should be clear and easy to understand at this stage. Clickable prototypes include hyperlinked buttons for a smooth flow of the user journey. This prototype can be modified easily.
Most of the UX designers use online software InVision (the article is not sponsored by InVision, it’s our own research) for this stage of prototyping. This tool solves a lot of problems and a lot of companies are using it.
In InVision, you can create your account, You can put up the images and you can mark out the places where you want something to happen. InVision creates a flow for the users to move from one screen to another screen. Users can click on the screen, and move to the next page or next screen.
You can use the InVision on your mobile phone. It gives more control and a sense of freedom to the user. You can directly upload all your sketches created on paper and InVision will extract all the screens, icons, and other elements from your sketches.
3. High Fidelity (Advanced Interactions & Transitions)
Once you’re done with creating a clickable phase of the prototype, it’s time to create the final representation of your software. High-fidelity prototypes give a more realistic and accurate representation of the software. At this stage, designers need more control than a simple transition.
High fidelity prototypes feature the various components, interactive elements, and content of the final product. High-fidelity prototypes look like real app. Creating this prototype is costly but using this prototype users get the feeling that they are interacting with a live application. Designers can test every single element of the software before moving to the actual development of the product.
Final Thought
When you start creating a prototype, start with the rough idea. Initially, it can be bad and dirty but test it, get the feedback, and work on flaws. Again create it. solve more issues and keep doing it until or unless you do not reach the idea of the final design of the product.
Like Article
Suggest improvement
Share your thoughts in the comments
Please Login to comment...