Preparing Files for Web Output in Photoshop
Last Updated :
12 Apr, 2022
Photoshop Vector tools are one of the tools that enable us to create such aforementioned vector graphics. Vector graphics are nothing but computer graphics that can be enlarged or zoomed in infinitely without tearing or shearing unlike raster graphic formats like jpeg (Joint Photographic Experts Group), png (Portable Network Graphics), bitmap, etc. The vector tool is a way to create different types of vector shapes in Photoshop. These vector-based shapes are calculated mathematically as opposed to raster tools which are pixel-based that are created by putting a number of squares with color information (pixels) together. With the help of this vector tool, we can create different types of vector shapes such as rectangles, squares, Ellipse, Circle, Polygon, single-pixel lines, and many other custom shapes.
Creating a vector image using the vector tool
To create a vector from the Photoshop vector tool, follow the steps below:-
Step 1: Open Photoshop (from either the desktop icon or Adobe Creative Cloud or by searching and clicking on search results from the start menu.)
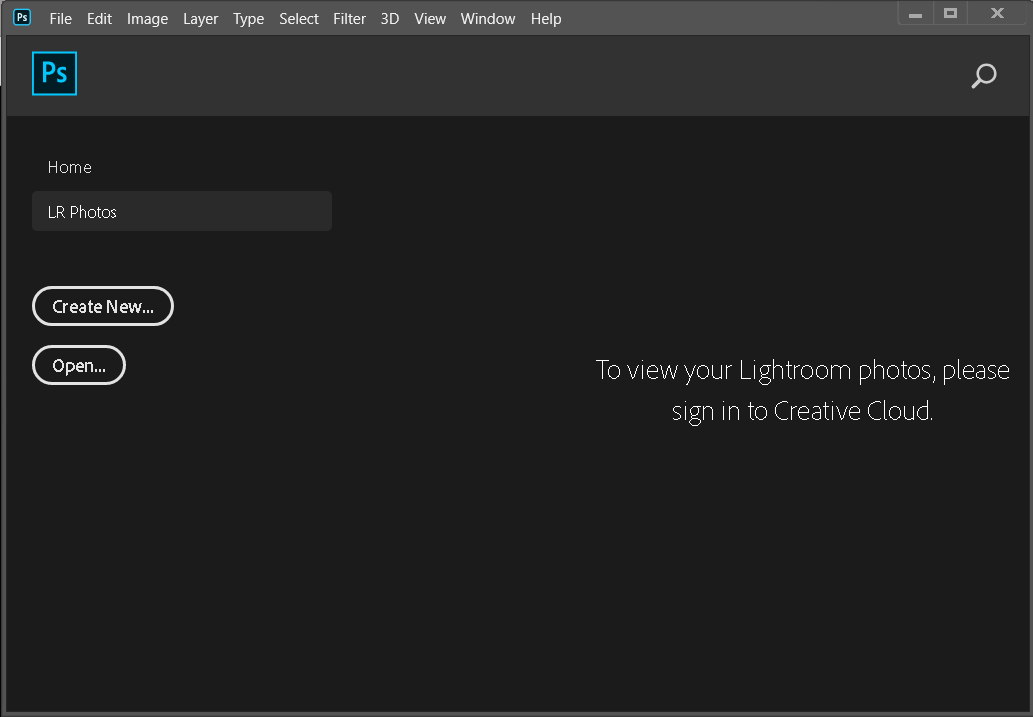
Open Photoshop
Step 2: Click on Create New button to create a new canvas for us to work on.
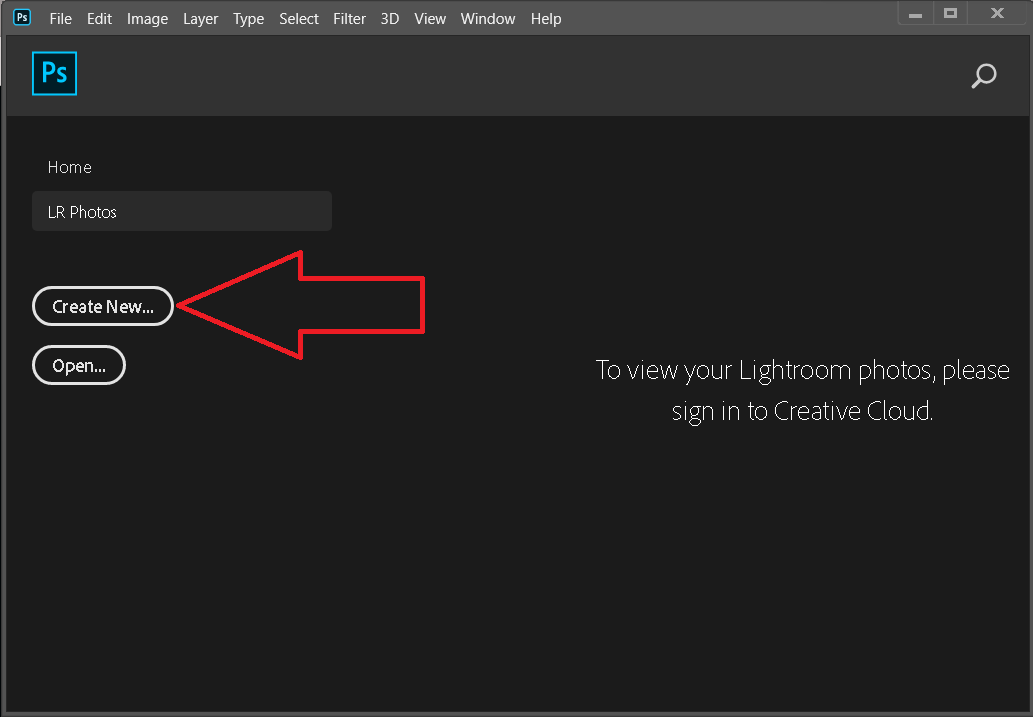
Click on create a new button
Step 3: Provide the desired name and canvas size (choose any as we are utilizing vector format) on the dialog box shown below:
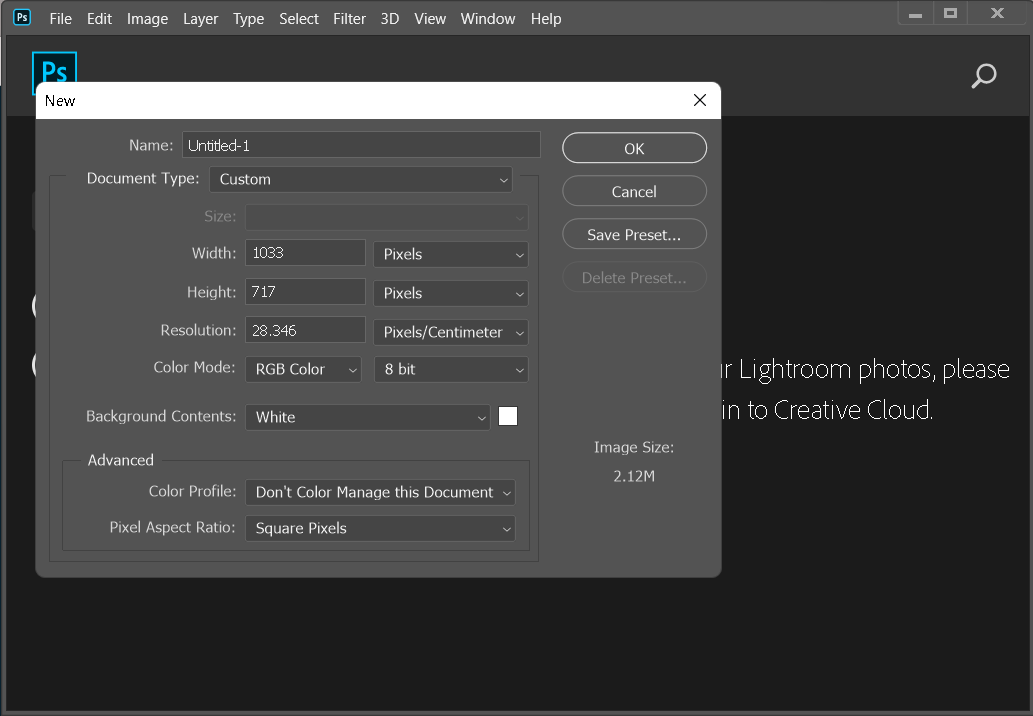
Create canvas to work upon
Step 4: Select any vector shape tool (Here I choose the Polygon tool) from the toolbar on the left side as shown below.
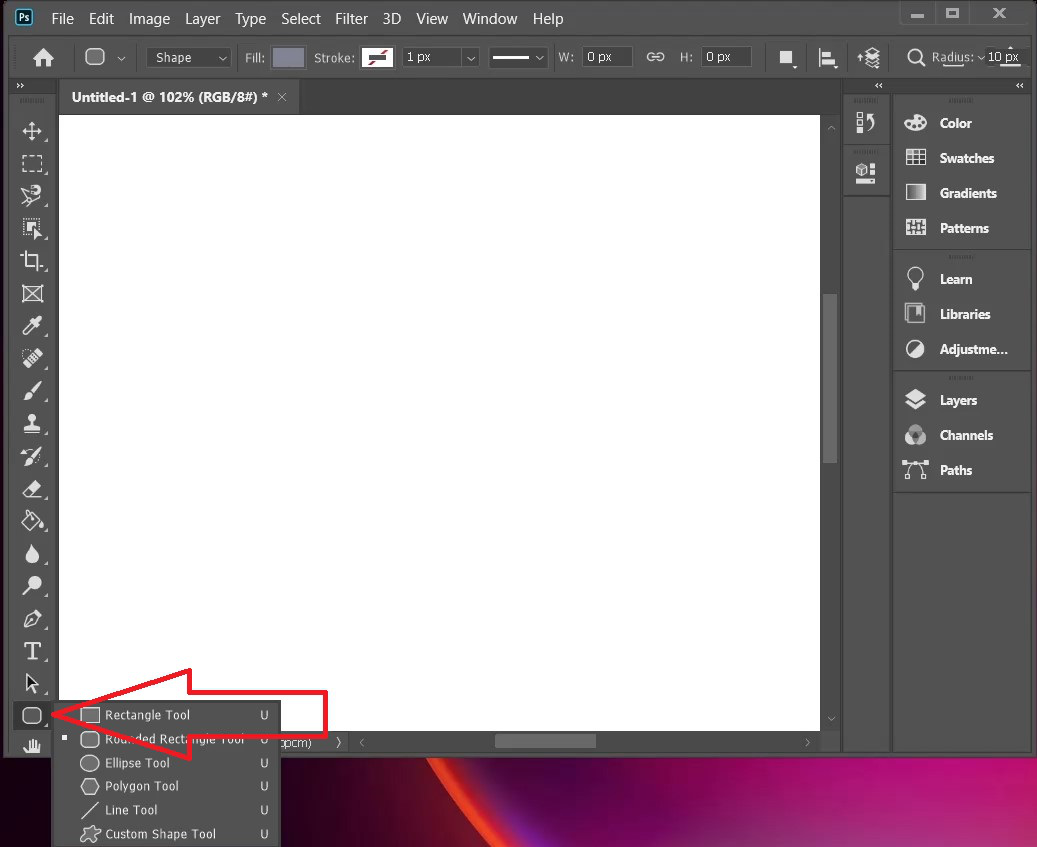
Choose a vector tool
You can also choose a vector tool by pressing U on your keyboard.
Step 5: After choosing the shape you want start holding the left mouse button from the position you want the vector shape to start rendering from and start dragging the mouse across the canvas and only stop after getting desired end position or dimension.
Draw the vector
Preparing File for Web Output
To prepare any file for the web via Photoshop, we can follow the steps mentioned below:
Step 1: Go to the File menu present on the menu bar in Photoshop.
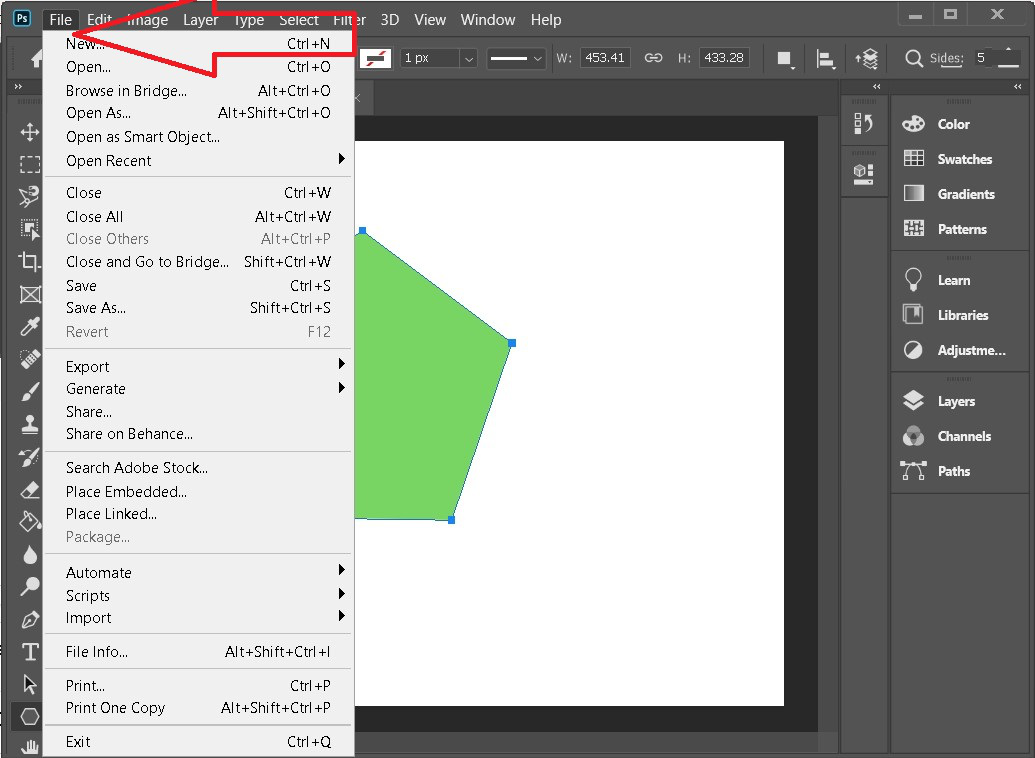
Click on file
Step 2: Click on the Export option.
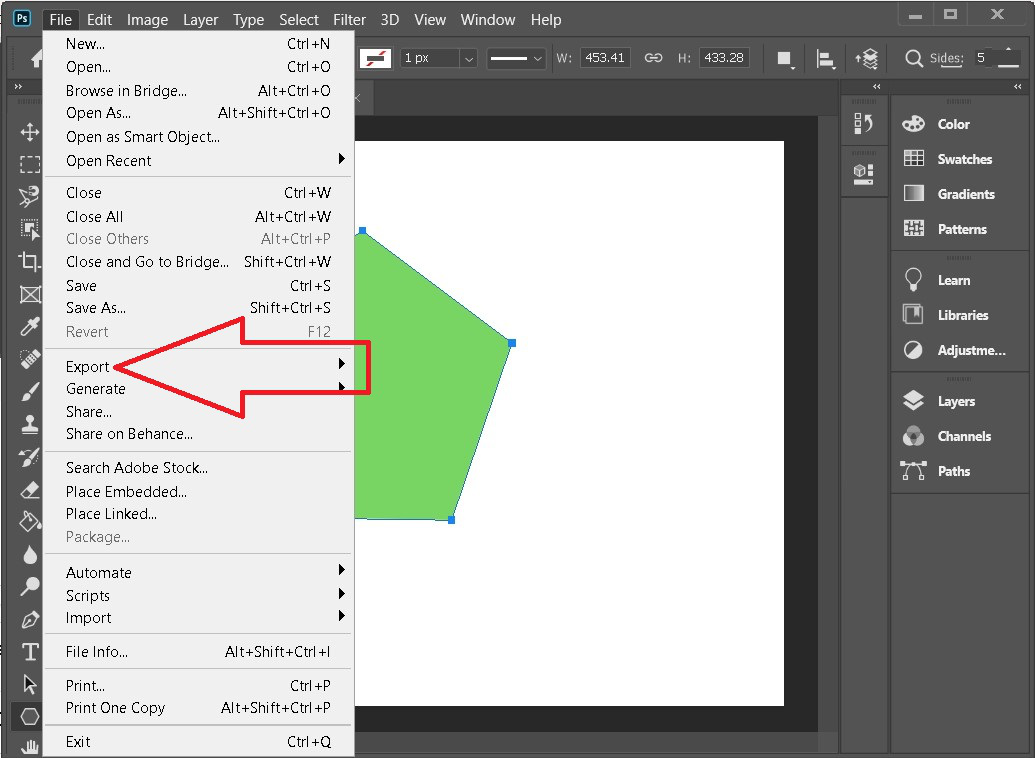
Click on export
Step 3: Now click on Save for Web (Legacy) option. or you can alternatively press:
Alt + Shift + Ctrl + S
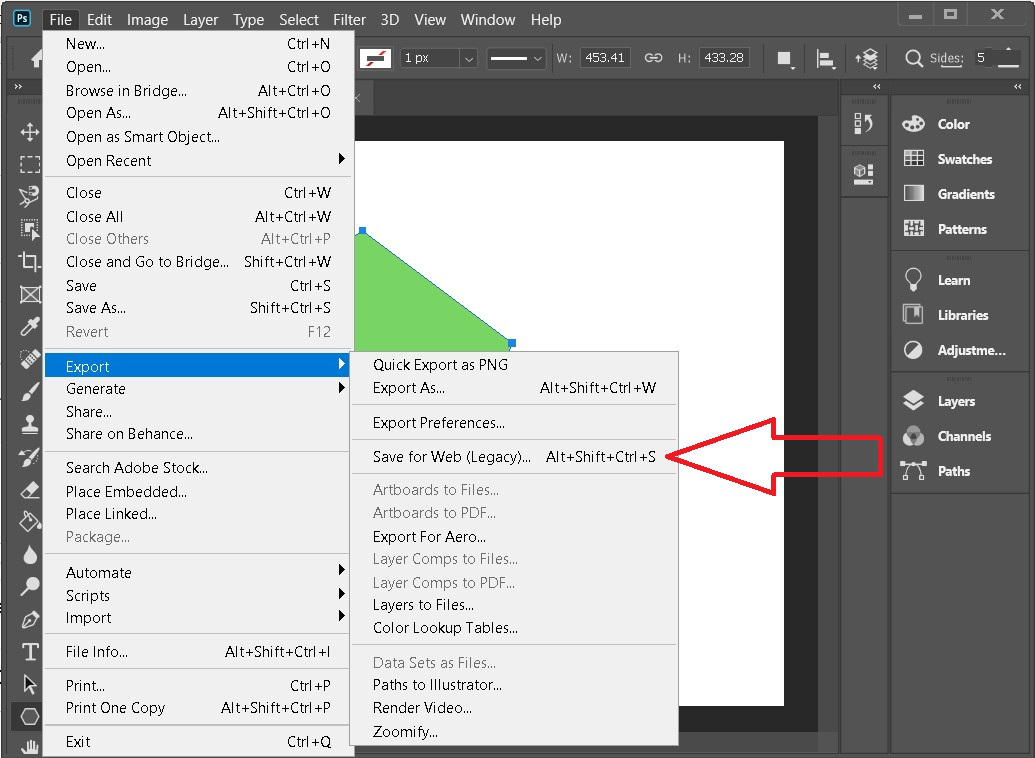
Click on save web
Step 4: Now you should be able to see the Save for Web dialogue box as shown below. From here, you can select any one of the different types of graphics formats that appear like JPEG, PNG-8, PNG-24, GIF, and WBMP. You can also choose the quality but it is recommended to keep the quality down so that the web page will load faster. One of the ways to achieve this is to make sure you have checked the “progressive” checkbox. Progressive here means that when you first visit the web page, it will first show the picture with lower quality but as the time passes it will progressively load higher quality versions of the same image, hence the name. We can also proceed by checking the Optimized checkbox, which optimizes images for the web.
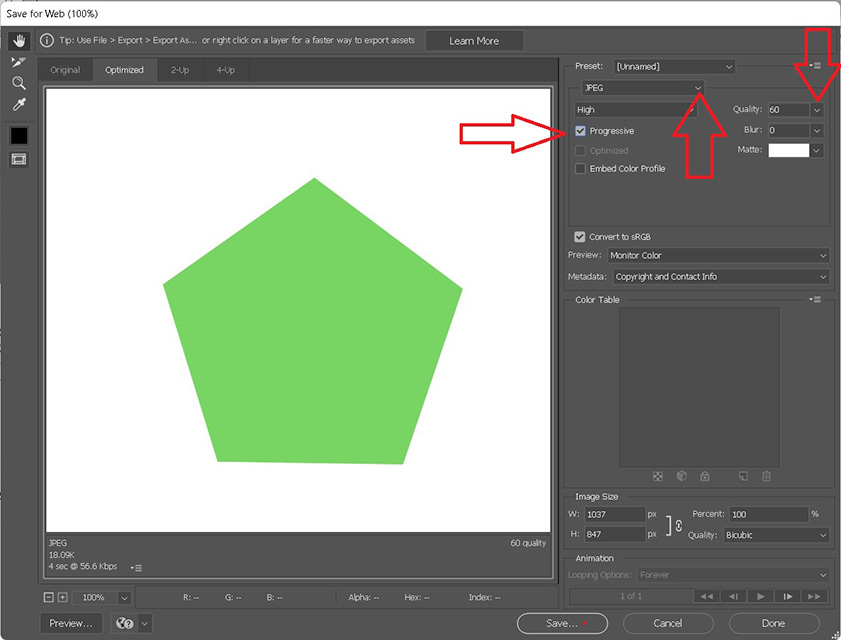
Saving for web
Step 6: Now click on the save button (depicted above as one of the bottom right buttons having a red dot) and save it wherever you want.
Exporting Vector via Photoshop for Web, etc.
If you want to export a vector in a vector-based graphic format via Photoshop. You can do so by:
Step 1: Select the layer where you have drawn the vector shape, then click File>Export>Export As.
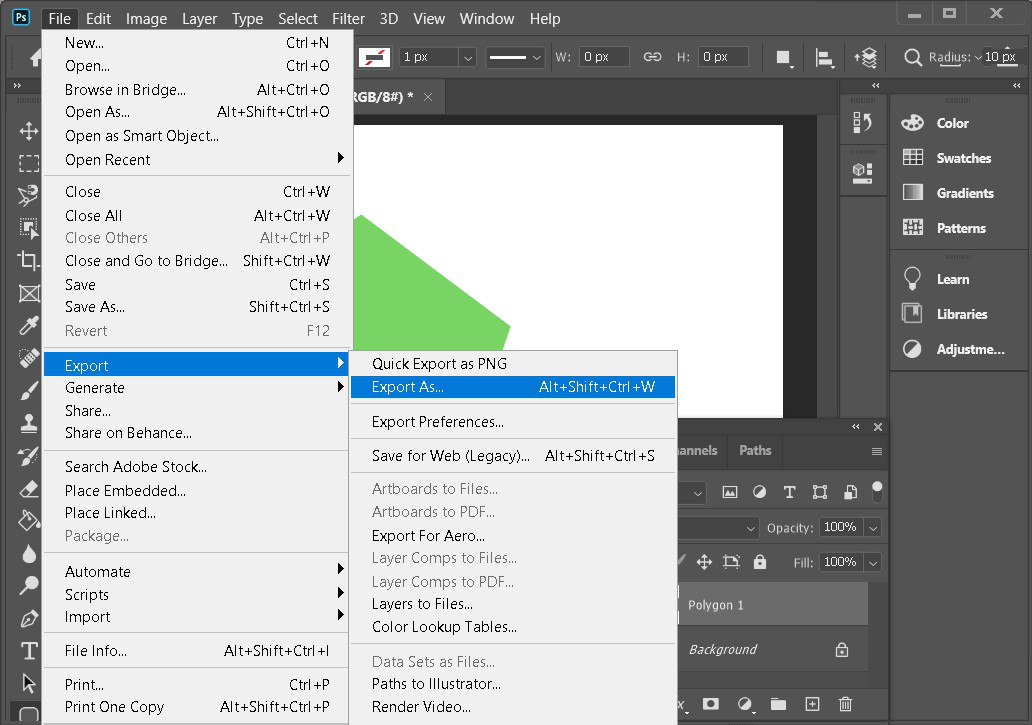
Exporting Vector
Step 2: Then choose SVG from the drop-down menu and click on the Export button (blue button on the bottom right) as shown below and save it wherever you desire.
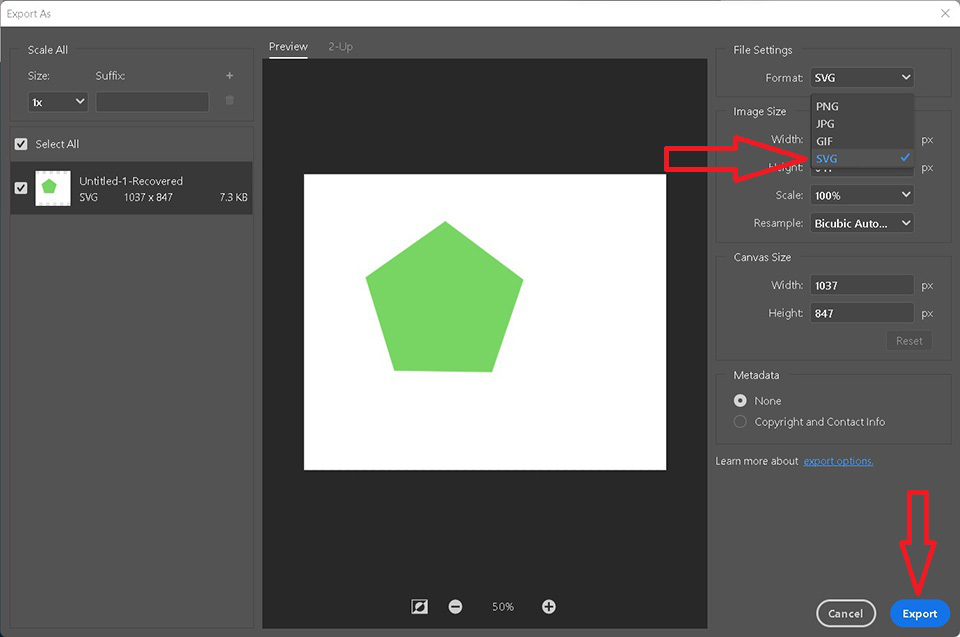
Exporting SVG
Like Article
Suggest improvement
Share your thoughts in the comments
Please Login to comment...