MoviePy – Creating Animation Using Matplotlib
Last Updated :
14 Jul, 2022
In this article we will see how we create animations in MoviePy using matplotlib. MoviePy is a Python module for video editing, which can be used for basic operations on videos and GIF’s. Video is formed by the frames, combination of frames creates a video each frame is an individual image. Matplotlib is a plotting library for the Python programming language and its numerical mathematics extension NumPy. It provides an object-oriented API for embedding plots into applications using general-purpose GUI toolkits like Tkinter, wxPython, Qt, or GTK+.
In order to do this we have to do the following
1. Import matplotlib modules
2. Import moviepy modules
3. Create a numpy array
4. Create a subplot using matplotlib
5. Create a Video clip file by calling the make_frame method
6. Inside the make frame method
7. Clear the plot and create a new plot using trigonometry methods according to the frame time
8. Return the plot after converting it into numpy image.
Below is the implementation
Python3
import matplotlib.pyplot as plt
import numpy as np
from moviepy.editor import VideoClip
from moviepy.video.io.bindings import mplfig_to_npimage
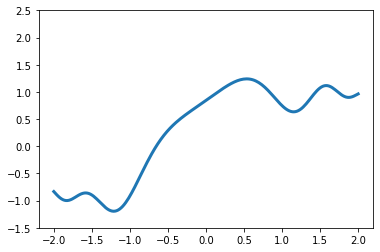
x = np.linspace(-2, 2, 200)
duration = 2
fig, ax = plt.subplots()
def make_frame(t):
ax.clear()
ax.plot(x, np.sinc(x**2) + np.sin(x + 2 * np.pi / duration * t), lw = 3)
ax.set_ylim(-1.5, 2.5)
return mplfig_to_npimage(fig)
animation = VideoClip(make_frame, duration = duration)
animation.ipython_display(fps = 20, loop = True, autoplay = True)
|
Output :
Moviepy - Building video __temp__.mp4.
Moviepy - Writing video __temp__.mp4


Moviepy - Done !
Moviepy - video ready __temp__.mp4
Another example
Python3
import matplotlib.pyplot as plt
import numpy as np
from moviepy.editor import VideoClip
from moviepy.video.io.bindings import mplfig_to_npimage
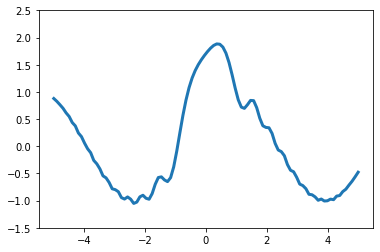
x = np.linspace(-5, 5, 100)
duration = 2
fig, ax = plt.subplots()
def make_frame(t):
ax.clear()
ax.plot(x, np.sinc(x**2) + np.cos(x + 10 * np.pi / duration * t), lw = 3)
ax.set_ylim(-1.5, 2.5)
return mplfig_to_npimage(fig)
animation = VideoClip(make_frame, duration = duration)
animation.ipython_display(fps = 20, loop = True, autoplay = True)
|
Output :
Moviepy - Building video __temp__.mp4.
Moviepy - Writing video __temp__.mp4


Moviepy - Done !
Moviepy - video ready __temp__.mp4
Like Article
Suggest improvement
Share your thoughts in the comments
Please Login to comment...