Microsoft Azure – Hosting a Static Website with Azure Storage
Last Updated :
31 Mar, 2023
Azure storage stores all types of data. It is mainly designed for storage where we can easily store both structured and unstructured data. In Microsoft Azure, you can easily upload your static website and share the link anywhere and anyone can see your website, you can manage your access control. Html, CSS, and JavaScript you can put your code on the storage container. Azure provides a static website option for user can serve their website in azure. You can enable your static website in azure free of cost but only you will pay for the storage account. Azure uses the encryption technique for storing the data. In this article, all the steps are mentioned one by one with proper screenshots. Follow all the steps and host your static website. In Storage Account, it is using blob storage.
Steps – Hosting a static website with Azure Storage
- Open the Microsoft Azure portal. On the Left-hand side, top of the screen, click on the show portal menu.

- Click on the All services and search the Storage Account

- Then click on the Storage Account.

- Then click on the Create Storage Account.

- Here you will see the 7 options top of the screen:
- Basic
- Advanced
- Networking
- Data Protection
- Encryption
- Tags
- Review+ Create
- Fill all options and configure if required, otherwise leave it as default.

- In Basic, Choose the subscription then create Resources Group ( Type the Resources Group Name ) Then fill in storage account name then select the Region.
- Then click the next button fill the left option or configure if required, otherwise select as default.
- At the last option Click on the Review + Create, it will check you have configured properly or not if proper then it will show the create option otherwise you need to check all the configurations again. Then click on the Create Button.

- Go to the Storage Account and click the refresh option you will see your Storage Account then Click on them.

- Scroll down until you will see the Static website then Click on the Static Website.

- After that two option appears on the screen ( Disable and Enable), Click on the Enable. Then type your website name like index.html and click on the Save button.

- Now you will see the two links ( Primary and Secondary) and website name, Copy the primary link, Above the primary link you see the $WEB button and Click on them
- Now click on the Upload Option choose your file and upload it.

- When your file is successfully uploaded then paste your primary link on your browser.
At this point your Static Website is ready.
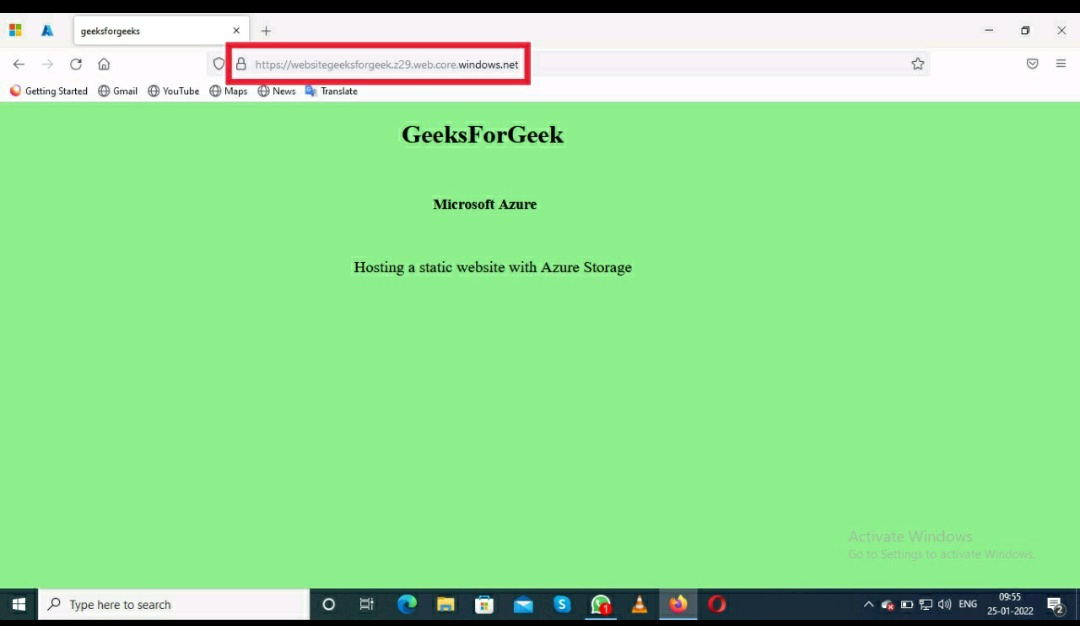
Hosted Static Website
Like Article
Suggest improvement
Share your thoughts in the comments
Please Login to comment...