Microsoft Azure – Configure Azure SQL
Last Updated :
30 Mar, 2023
Pre-requisite: Azure VM
Azure SQL Database is a cloud-based PaaS database service that is completely managed and extremely scalable. When you need to establish a new application in the cloud, this service includes the essential database-level capabilities of an on-premises SQL Server. The Azure SQL Database can be used as a single database or as part of an elastic pool. Below are the steps to create an Azure SQL Database resource:
Step 1. Log in to Microsoft Azure Portal.
Step 2. Go to Search and type ‘Azure SQL’.
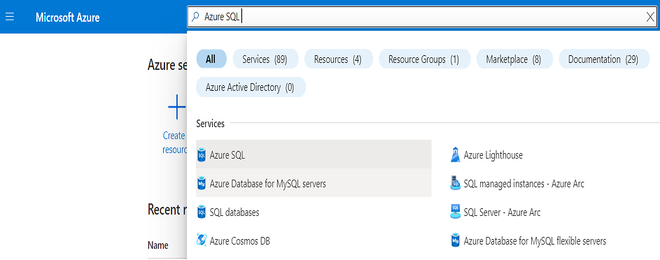
Search Azure SQL
Step 3. Select Azure SQL and Click Create.
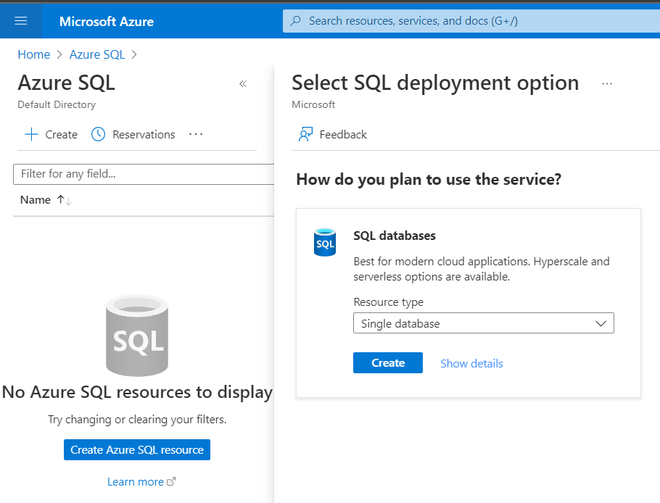
Creating SQL Resource
Step 4. In Basic, Select subscription, resource group (create new, if required), Database details including the database name, server name (create new if required), and database configuration (size, number of cores) Backup storage redundancy as shown below and Click Next:
Step 5. In Networking, Select Network connectivity, Firewall rules, Connection policy, Encrypted connections, and Click Next:

Network Configuration
Step 6. In Security, select the required settings and click Next:
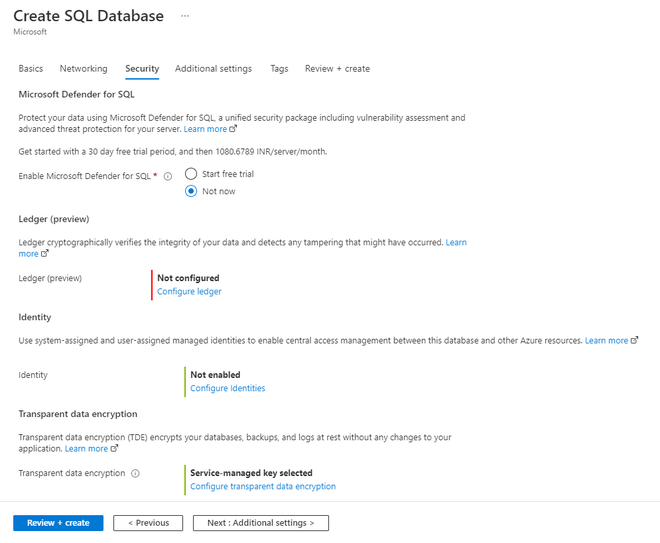
Security Configuration
Step 7. In Additional Settings, Select data source (none for the blank new database, backup to restore from the older database, a sample will create AdventureWorksLT) and database collation, Click Next, add a tag if required, and Click Review + Create.
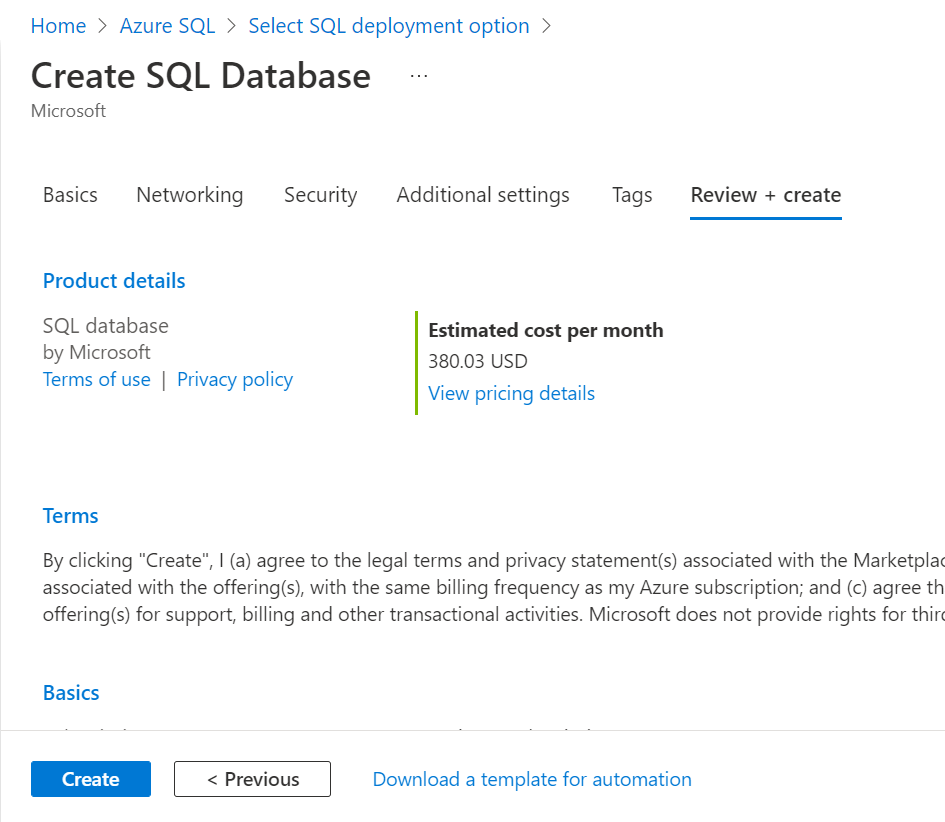
Review of Configurations
Wait for deployment to complete. Go to the resource, the newly created Azure SQL database will be shown below:
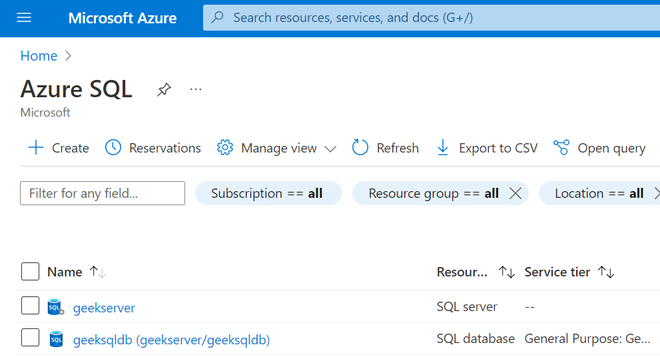
Azure SQL created
Now, select geeksqldb, and log in to Query Editor to add data to the database:

SQL query Editor
Example: Create a table in Azure SQL Database:
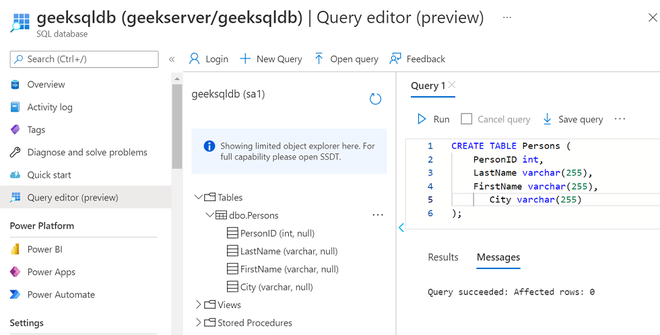
Table created
Like Article
Suggest improvement
Share your thoughts in the comments
Please Login to comment...