Microsoft Azure – Advanced Threat Protection for Azure SQL Database
Last Updated :
30 Mar, 2023
In this article, we will look into how to configure Advanced Threat Protection in Azure SQL Database. Advanced Threat Protection is a feature of Azure SQL Database that detects security threats and anomalies and lets you know about them so that you can act.
Follow the below steps to configure it:
Step 1: Here we already have an existing Azure SQL Database Server. This contains one or more databases.

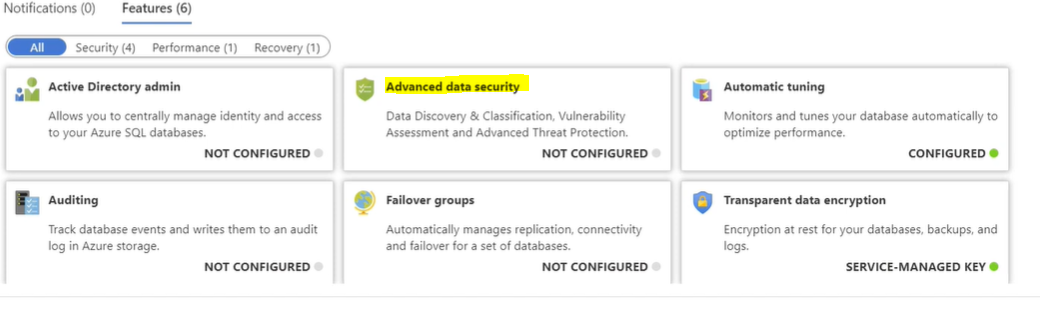
Step 2: Now click on the Advanced-Data Security option. This feature is enabled on the server level, which means that you enable it for all databases.
Step 3: Now let’s turn the option “ON”.

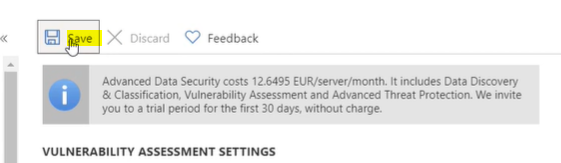
Here, we can configure a weekly security assessment and have the results sent to you. The scans will be stored in the storage accounts that you can configure here. We’ll leave this Off for now because we are interested in Advanced Threat Protection. Here, we can also put in an e-mail address to where the security alerts will be sent to. We’ll leave this to send the alerts to admins and owners.

Here, you can see which types of threats will be detected and alerted to. These are the most common vulnerabilities and attacks that can happen to your data.
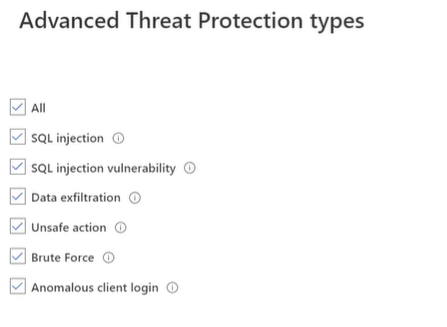
Step 4: We’ll leave all of them enabled, and click on “OK”.
Step 5: Finally, let’s configure Auditing. This will help us to troubleshoot any anomalies that are detected. Let’s turn it “ON”.
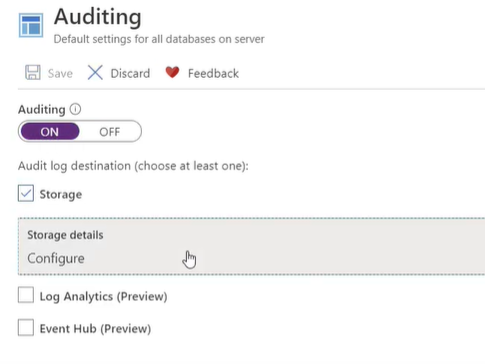
Step 6: We also need a place to store the logs, like in Azure storage. Here we will select an existing Azure storage account then click on “OK”. Finally, Save it.
And we are done. Azure SQL Database allows you to easily configure Advanced Threat Protection, which detects security anomalies and threats and lets you know about them.
Like Article
Suggest improvement
Share your thoughts in the comments
Please Login to comment...