Microsoft Azure – Add Azure Cloud Shell to VS Code
Last Updated :
30 Mar, 2023
In this article, we will look into how to add the Azure Cloud Shell to Visual Studio Code. This can significantly make the developer’s life simpler and reduce the time switching between windows.
Follow the below steps to add Azure cloud Shell to VS Code:
Step 1: To add the Azure Cloud Shell to Visual Studio Code, first, we’ll need to make sure that we have an extension installed. Inside the extension section, we will type in “Azure account“.
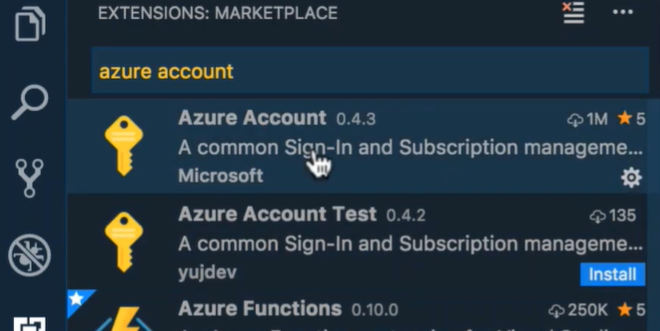
Step 2: Now, we have to make sure that this Azure account extension is installed. Notice we already have it installed, but if you don’t, go ahead and hit that “Install” button.
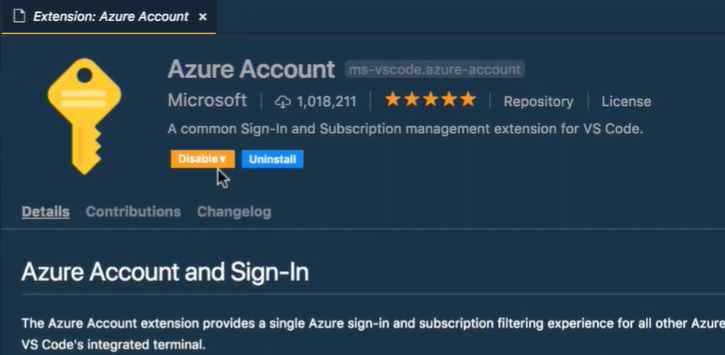
Step 3: Now that your extension is installed, we should be able to open the command palette and we should be able to type “Open in Cloud Shell“.

Notice that this gives us two options. We can open in Bash or we can even open in PowerShell.
Step 4: We are going to select the “Open in Bash” option. Notice it pops up the terminal window at the bottom, and now it’s going to say, “Not signed in. Sign in first“.
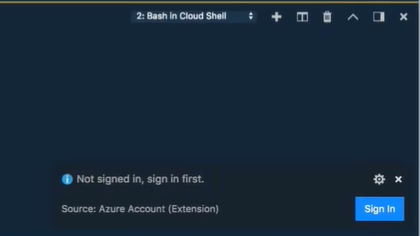
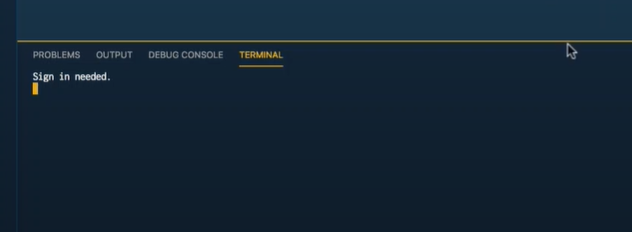
Step 5: Now we are going to click the “Sign-in” button, and now it’s going to ask us to copy the authentication code, and it’s going to pop up open a browser for us to use to authenticate our device. We are going to hit “Continue“,
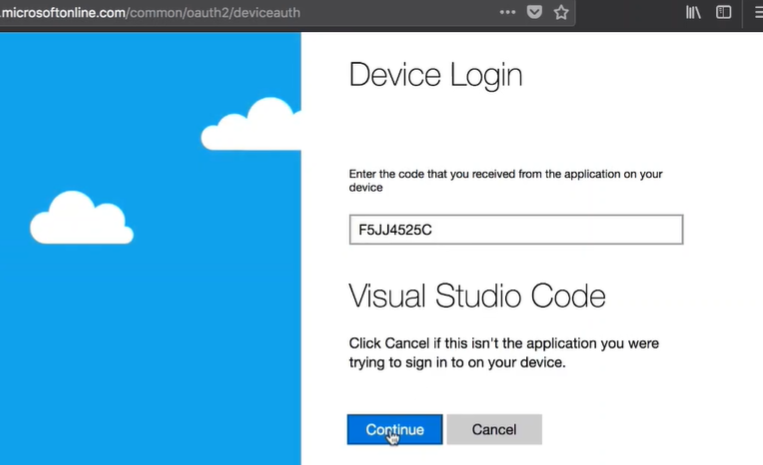
Step 6: Now we need to select our account. It says, “You have signed in to Visual Studio Code application on your device. You may now close this window.” So, we are going to close it.
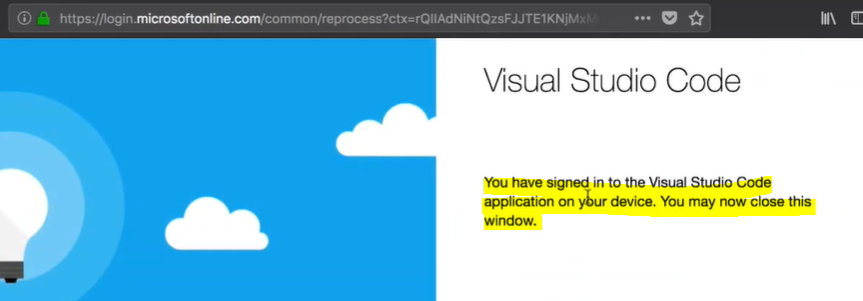
Now, we need to give our terminal a second to finish authenticating and connect to the Cloud Shell, and that’s it. We are now connected to an Azure Cloud Shell instance inside of Visual Studio Code.

Like Article
Suggest improvement
Share your thoughts in the comments
Please Login to comment...