Looping through buttons in Tkinter
Last Updated :
26 Mar, 2021
In this article, let’s see how we can loop through the buttons in Tkinter.
Stepwise implementation:
Step 1: Import the Tkinter package and all of its modules and create a root window (root = Tk()).
Python3
from tkinter import *
root = Tk()
root.title("GeekForGeeks")
root.geometry('400x400')
root.mainloop()
|
Output
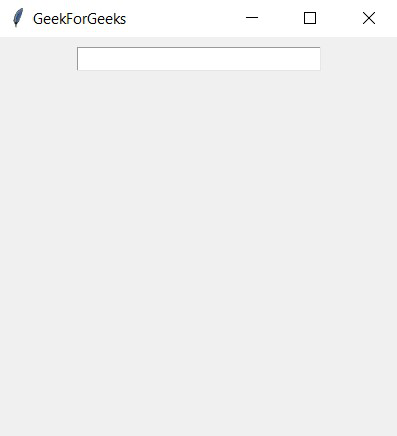
Step 2: Now let’s add a Entry() class and will display the button name as soon as one of the buttons is clicked.
Python3
from tkinter import *
root = Tk()
root.title("GeekForGeeks")
root.geometry('400x400')
text = Entry(root, width = 30, bg = 'White')
text.pack(pady = 10)
root.mainloop()
|
Output
Step 3: Now let’s create an empty dictionary (button_dict) to save all the button objects and a list consisting of names of all the buttons. Now loop over each item of the list to create an button object of it and store it in the dictionary. For the button command, create a function named ‘action’ and for each button call the text_update() function to update the changes in the entry in Entry() object created earlier.
Python3
from tkinter import *
def text_updation(language):
text.delete(0, END)
text.insert(0, language)
root = Tk()
root.title("GeekForGeeks")
root.geometry('400x400')
text = Entry(root, width=30, bg='White')
text.pack(pady=10)
button_dict = {}
words = ["Python", "Java", "R", "JavaScript"]
for lang in words:
def action(x = lang):
return text_updation(x)
button_dict[lang] = Button(root, text = lang,
command = action)
button_dict[lang].pack(pady=10)
root.mainloop()
|
Output
Like Article
Suggest improvement
Share your thoughts in the comments
Please Login to comment...