Linking of MySql Database in Node.js Backend Side
Last Updated :
05 Apr, 2023
We can link our MySQL Database in Node.js Backend Side with the mysql module. This module helps in connecting our database with the backend server for storing the data.
Prerequisites:
- Properly installed node in your system.
- Properly installed npm (node package manager) in your system.
- MySQL server installed in your system.
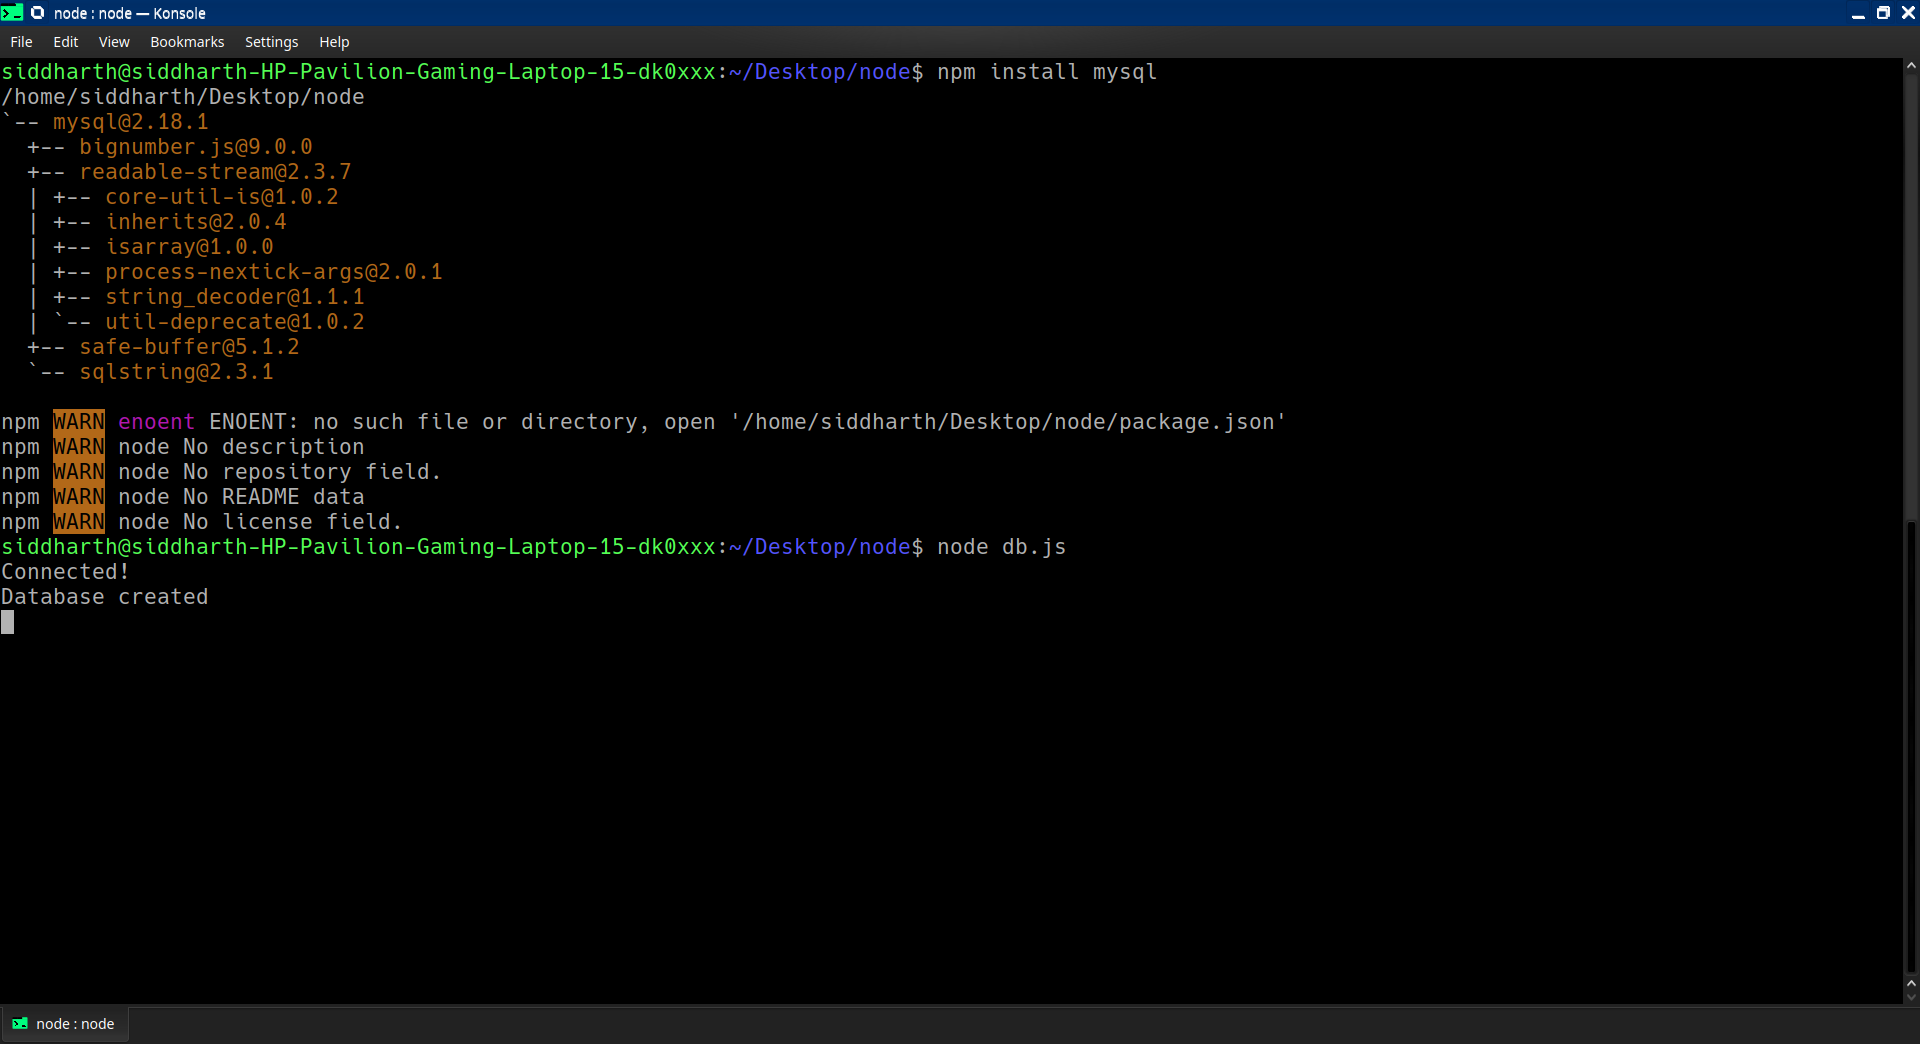
Module installation: To download and install the mysql module, open the Command Terminal, and execute the following command:
npm install mysql
Create Connection & Database: Start by creating a connection to the database by creating a database name as gfg. Use the username and password from your MySQL database gfg.
Filename: db.js
Javascript
const mysql = require('mysql');
const con = mysql.createConnection({
host: "localhost",
user: "yourusername",
password: "yourpassword"
});
con.connect(function (err) {
if (err) throw err;
console.log("Connected!");
con.query("CREATE DATABASE gfg",
function (err, result) {
if (err) throw err;
console.log("Database created");
});
});
|
Run the db.js file using the following command:
node db.js

The output of the above command
Query a Database: Use SQL statements to read from (or write to) a MySQL database. This is also called ‘to query’ the database. The connection object created in the example above has a method for querying the database.
Now let’s create a new file named table.js by creating the table name as ‘geeksforgeeks’.
Filename: table.js
Javascript
const mysql = require('mysql');
const con = mysql.createConnection({
host: "localhost",
user: "yourusername",
password: "yourpassword",
database: "gfg"
});
con.connect(function (err) {
if (err) throw err;
console.log("Connected!");
const sql1 = "CREATE TABLE geeksforgeeks "
+ "(id INT AUTO_INCREMENT PRIMARY KEY," +
" name VARCHAR(255), address VARCHAR(255))";
const sql2 = "INSERT INTO geeksforgeeks (name, "
+ "address) VALUES ('Company Inc', "
+ "'Highway 37')";
const sql3 = "SELECT * FROM geeksforgeeks "
+ "WHERE address = 'Highway 37'";
con.query(sql1, function (err, result) {
if (err) throw err;
console.log("Table created");
});
con.query(sql2, function (err, result) {
if (err) throw err;
console.log("Insertion Successful");
});
con.query(sql3, function (err, result) {
if (err) throw err;
console.log(result);
});
});
|
Run the table.js file using the following command:
node table.js

We will create the table, insert the records, and do the query as per requirement. In this way, we have created the database, and table, and done the query after the insertion of the records.
Like Article
Suggest improvement
Share your thoughts in the comments
Please Login to comment...