Language Localization in Android with Example
Last Updated :
29 Oct, 2020
Language Localization is a process to change the application context into multiple languages based on the requirements. Android is an overall operating system that runs on millions of devices worldwide and among various groups. Since the diversity range is enormous, a feature that facilitates local languages adds an advantage to any Android application. Implementation of such a feature requires the need to handle text, audio files, numbers, currency, and graphics appropriately for the locals where our application is used. Through this article, we want to show the implementation of a feature that changes the context language (if explicitly declared) through an Android application. A sample GIF is given below to get an idea about what we are going to do in this article. Note that we are going to implement this project using the Kotlin language.

Step by Step Implementation
To make an application that changes the contextual language upon the device’s preferences in Android, follow the following steps:
Step 1: Create a New Project
To create a new project in Android Studio please refer to How to Create/Start a New Project in Android Studio. Note that select Kotlin as the programming language.
Step 2: Create a folder values-hi to store the custom messages
Create a folder values-hi by following the following steps. The -hi extension defines that if the device’s preference is set to Hindi (hi), the context within the application would be set according to the data present in the values-hi folder.
Click on Android and select the Project option:

Now expand the folder until you find the res (Resources) folder, right-click on it, select new, and click Android Resource Directory.

Set the directory name as values-hi

The values-hi folder is now created
Step 3: Create a strings.xml file
Create a strings.xml file in this folder, that shall contain a custom message. Entities of this file should match the entities of the default strings.xml file.
Now add a Values Resource File in the values-hi folder

Give it a name, strings, it creates a .XML file

strings.xml file is created in the values-hi folder

Go back to the Android view and check if the newly created file is present.

The file is available under the values/strings folder

Step 4: Add the custom message values to string.xml (regular) and string.xml (hi)
Add a custom message to the pre-existing as well as the newly created strings.xml file. The entities of both the file must be the same, context may differ. Below is the code for the strings.xml file.
XML
<resources>
<string name="app_name">GFG | LanguageLocalization</string>
<string name="custom_message">This application tests if the language localization works on the device</string>
</resources>
|
Below is the code for the strings.xml (hi) file.
XML
<?xml version="1.0" encoding="utf-8"?>
<resources>
<string name="app_name">GFG | भाषा स्थानीयकरण</string>
<string name="custom_message">यह एप्लिकेशन परीक्षण करता है कि भाषा स्थानीयकरण डिवाइस पर काम करती है या नहीं।</string>
</resources>
|
Step 5: Working with the activity_main.xml file
Now go to the activity_main.xml file which represents the UI of the application. Create a TextView that would display the custom message. Below is the code for the activity_main.xml file.
XML
<?xml version="1.0" encoding="utf-8"?>
<RelativeLayout
android:layout_width="match_parent"
android:layout_height="match_parent"
tools:context=".MainActivity">
<TextView
android:layout_width="wrap_content"
android:layout_height="wrap_content"
android:layout_centerInParent="true"
android:gravity="center"
android:text="@string/custom_message"
android:textAlignment="center"
android:textSize="30sp" />
</RelativeLayout>
|
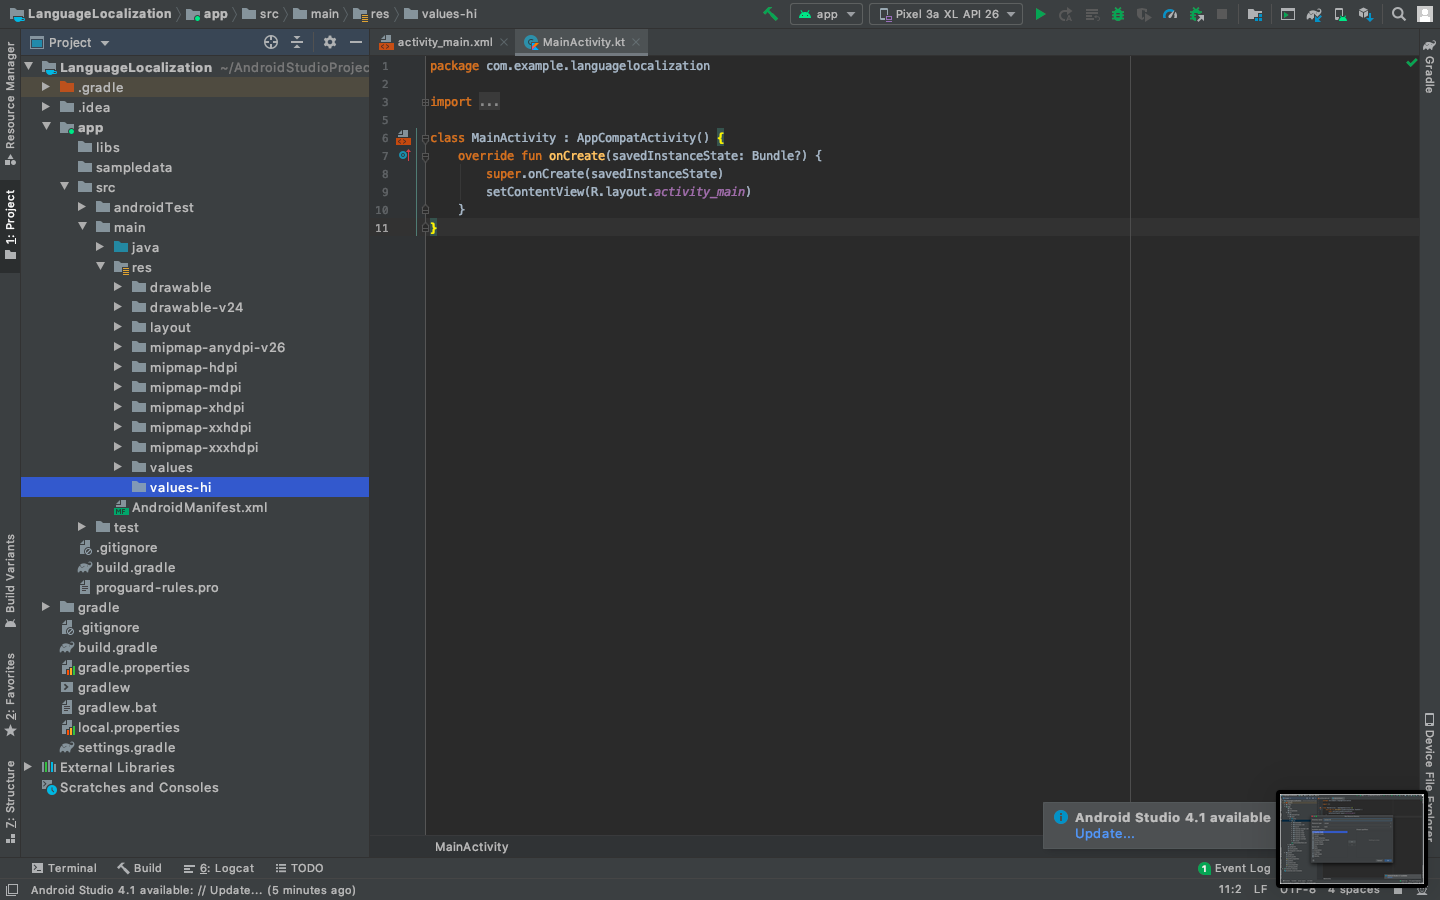
Step 6: Working with the MainActivity.kt file
No changes are made to the MainActivity.kt file. Keep the MainActivity.kt file unchanged.
Kotlin
import androidx.appcompat.app.AppCompatActivity
import android.os.Bundle
class MainActivity : AppCompatActivity() {
override fun onCreate(savedInstanceState: Bundle?) {
super.onCreate(savedInstanceState)
setContentView(R.layout.activity_main)
}
}
|
Output: Run on Emulator
Like Article
Suggest improvement
Share your thoughts in the comments
Please Login to comment...