Installing Knoppix on virtual box
Last Updated :
23 Aug, 2021
KNOPPIX is a compilation of GNU/Linux software, which runs completely from CD, or flash disk. It automatically detects and supports a wide range of graphics adapters, sound cards, USB devices, and other devices. It is not necessary to install on a fixed disk. Because of its transparent decompression, up to 2 GB of executable software can be present on a CD, and up to 10 GigaBytes on a single-layered DVD.
Download the iso file from here.
Requirements:
- Intel/AMD-compatible CPU (i486 and above),
- RAM: at least 200 MegaBytes for the graphical desktop. 500MB RAM, is recommended for working with various office applications.
- A bootable CD-ROM or DVD drive, or USB flash disk,
- Also a standard SVGA-compatible graphics chipset.
- Virtual box, you can see how to install virtual box from here.
Installation:
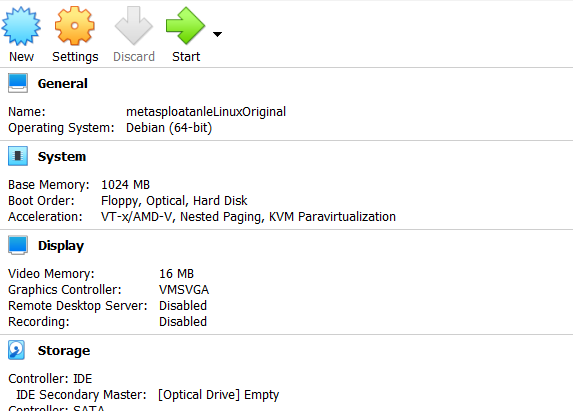
Step 1: Open Virtual Box, then click on the new button.
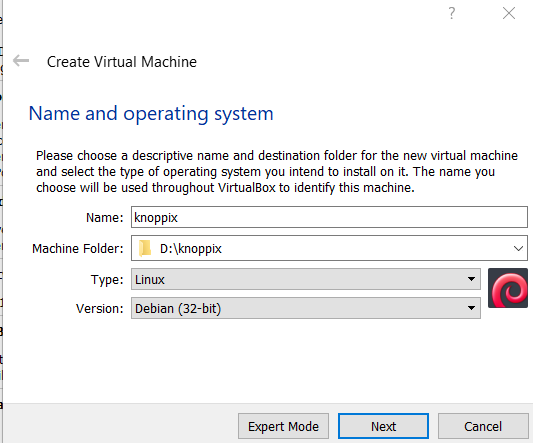
Step 2: Enter the name which you prefer for the virtual machine and select it to Debian-based 64bit Linux architecture.
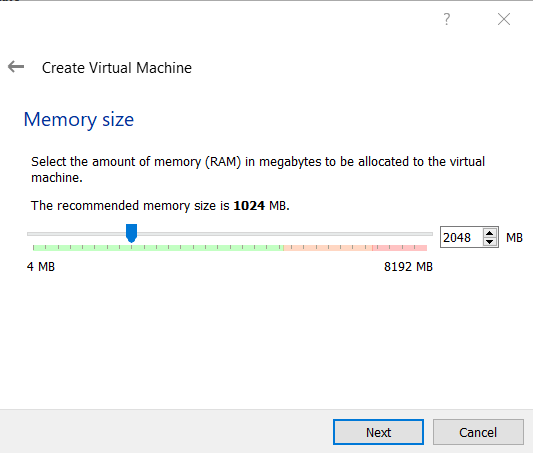
Step 3: Allot the size of RAM you want to the Virtual Machine of Knoppix.
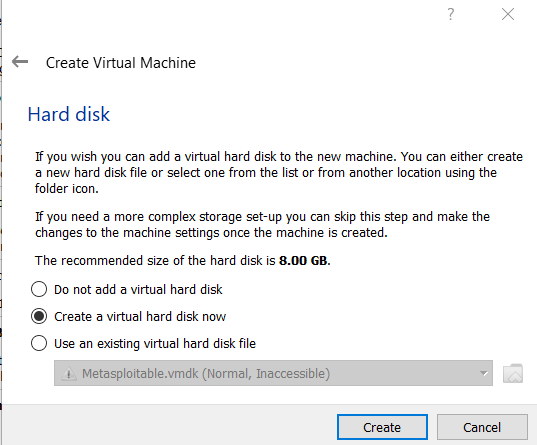
Step 4: Select the option to create a virtual hard disk, then click on the create button.
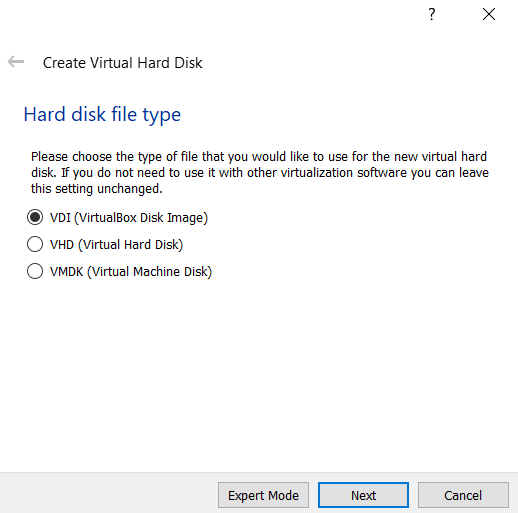
Step 5: Select the virtual hard disk as VDI.
Step 6: Select the type of Physical Hard Disk Storage as dynamically allocated.

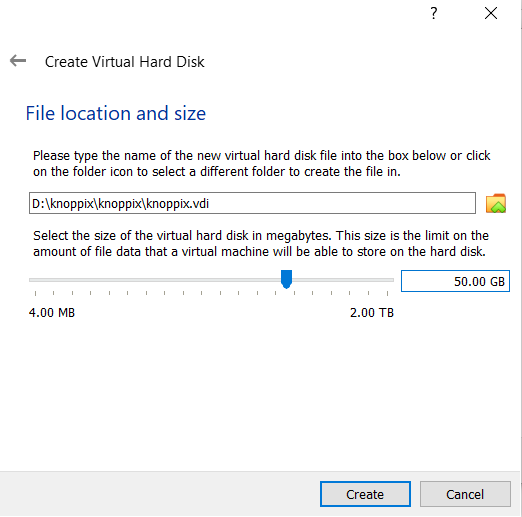
Step 7: Now, select the size of your virtual hard disk and also the location where you want to save your machine and its files.
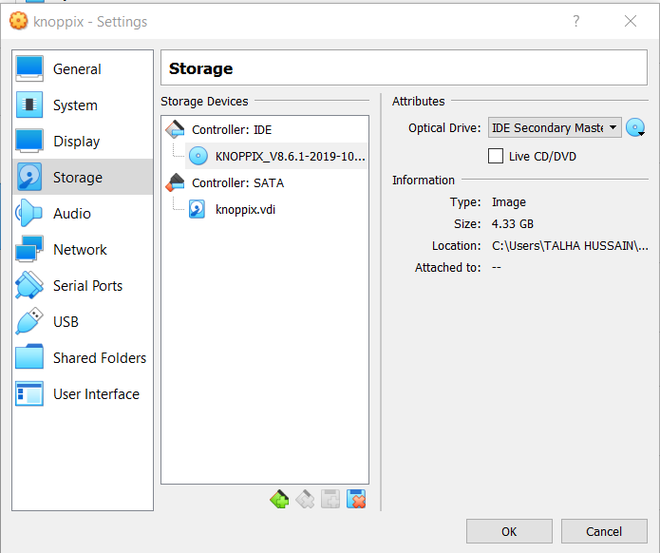
Step 8: Click on the Browse icon option located just above the cancel button and select your downloaded Knoppix ISO file and then click on the start button.
Step 9: Click on the start button.
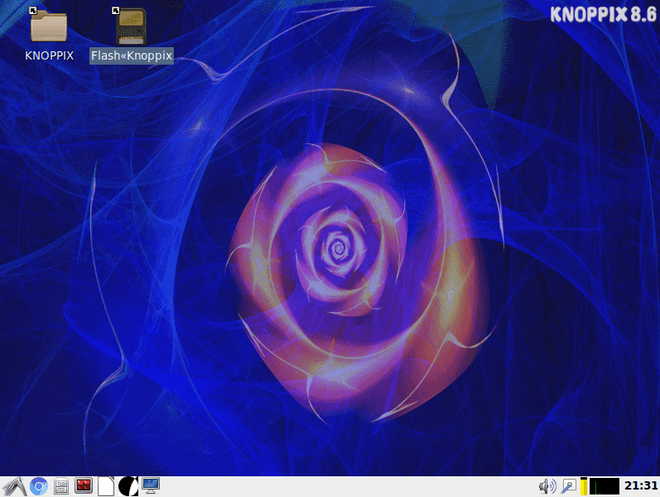
Step 10: Double click on flash Knoppix.
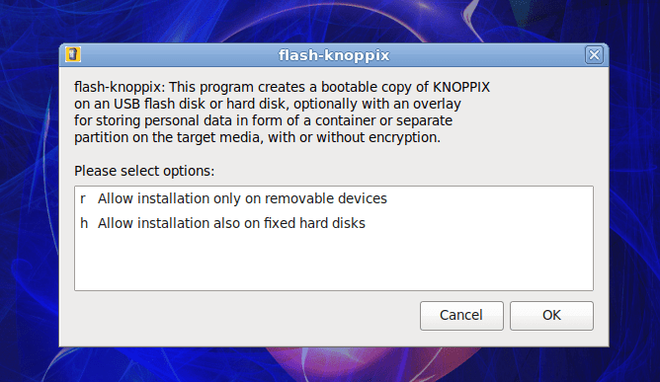
Step 11: Click the second option i.e “allow installation also on fixed hard disks” and hit ok.
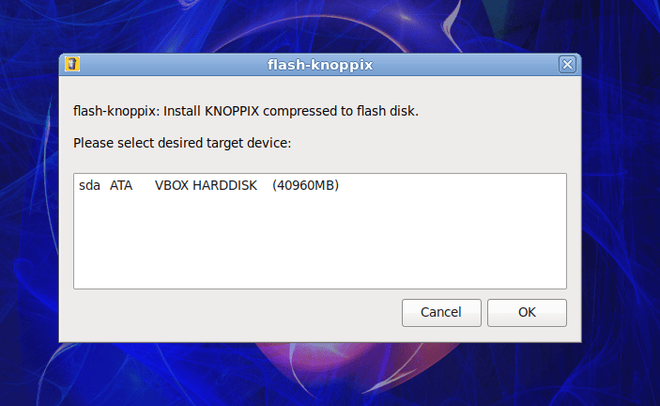
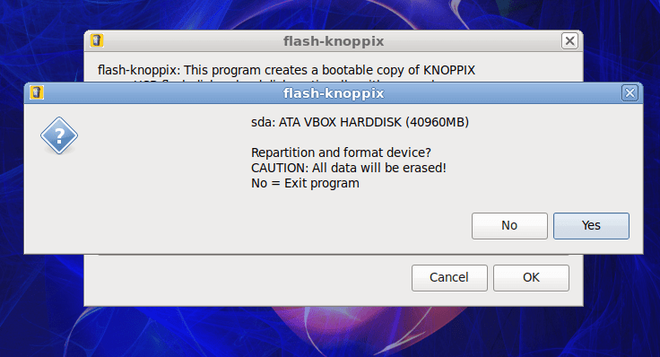
Step 12: The next step is to select a target device, select your VBOX HARDDISK one, and hit ok.
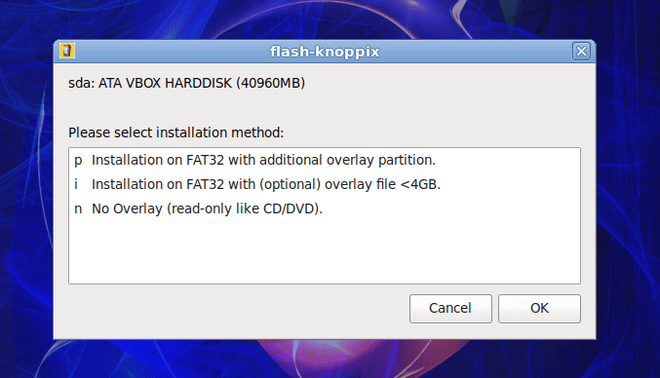
Step 13: Select the installation on FAT32 with an additional overlay partition and click on ok.
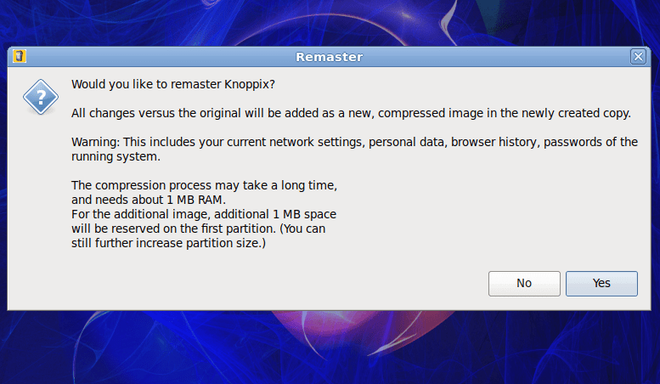
Step 14: Click on yes to remaster Knoppix.
Step 15: Select yes to repartition and format the device.
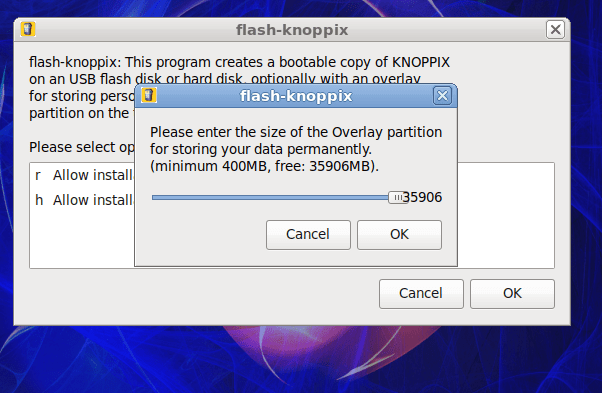
Step 16: Select the size of the overlay partition and hit ok.
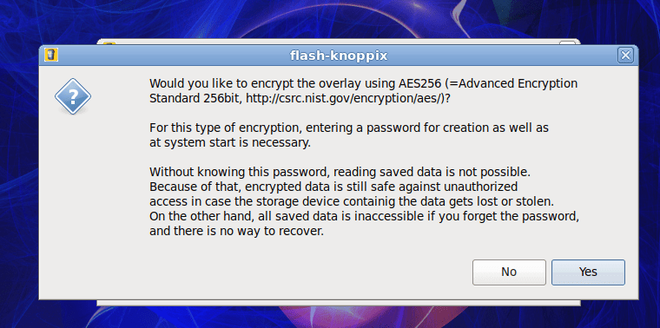
Step 17: Your Click on no as we don’t want to encrypt the overlay using AE256.
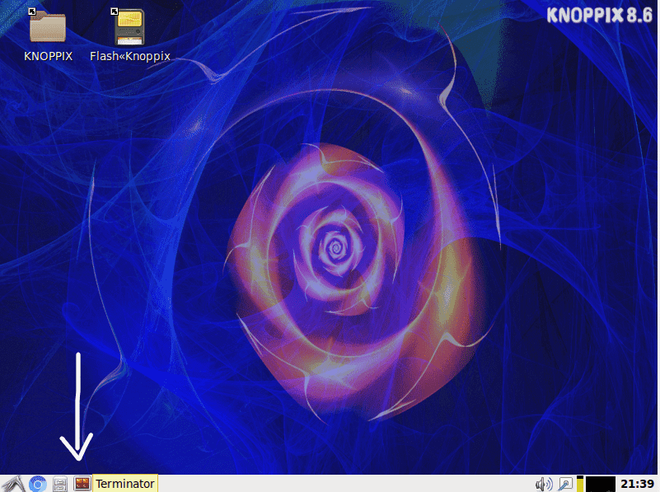
Boom! there you have the Knoppix installed.
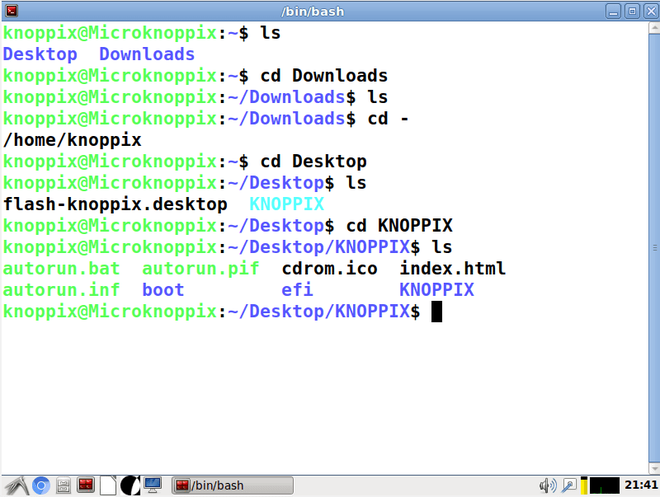
Step 18: Now click on the terminal to perform the commands to see if it’s working or not.
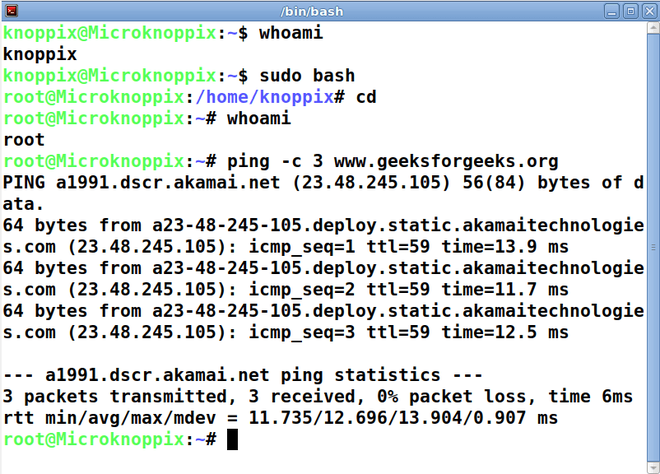
Type commands like ls, cd, and whoami just like you would in any other distro.
ping geeksforgeeks.org
Like Article
Suggest improvement
Share your thoughts in the comments
Please Login to comment...