Installing Backtrack on VirtualBox
Last Updated :
18 Jul, 2021
BackTrack Linux is a custom distribution that focuses on security testing for all skill levels. It is the largest collection of wireless hacking, server exploiting, web application assessing, social-engineering tools which can be found in a single Linux distribution. BackTrack Linux is a fine example of how a specialized Linux distribution should be. Its only purpose is to test your devices, network and systems for security vulnerabilities. It is packed with every security and hacker tool used by osint investigators, security professionals, and professional hackers.
Tool categories:
The BackTrack includes the following major tool categories:
- Information Gathering
- Vulnerability Assessment
- Exploitation Tools
- Privilege Escalation
- Maintaining Access
- Reverse Engineering
- RFID Tools
- Stress Testing
- Forensics
- Reporting Tools
- Services
- Miscellaneous
Requirement:
- 20GB free disk space on other OS.
- Backtrack ISO File can be downloaded from here.
- Virtual Box, Installing virtual box.
- Minimum of 5-10 GB free space in your hard disk.
- A minimum of 4 GB RAM is recommended.
Installation:
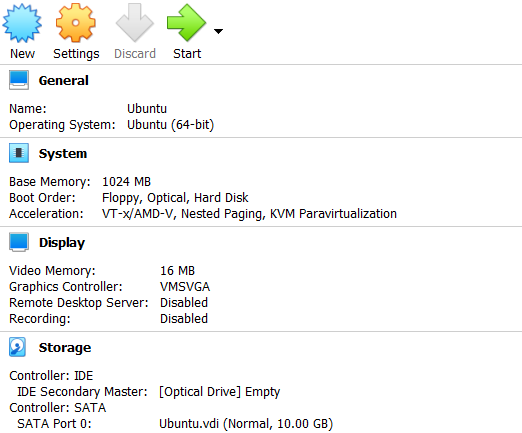
Step 1: Open your virtual box and click on new.
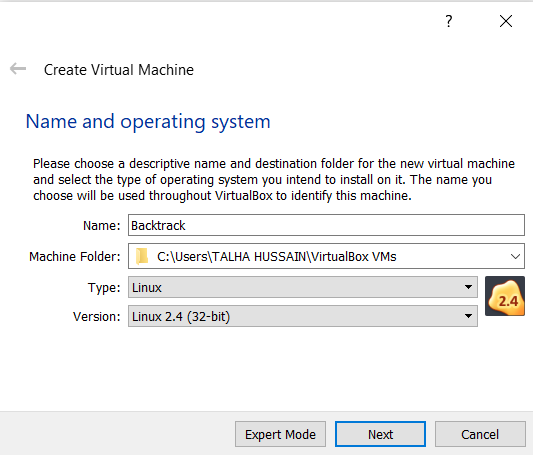
Step 2: Enter your machine name, select type as Linux and version Linux 2.4 (32-bit).
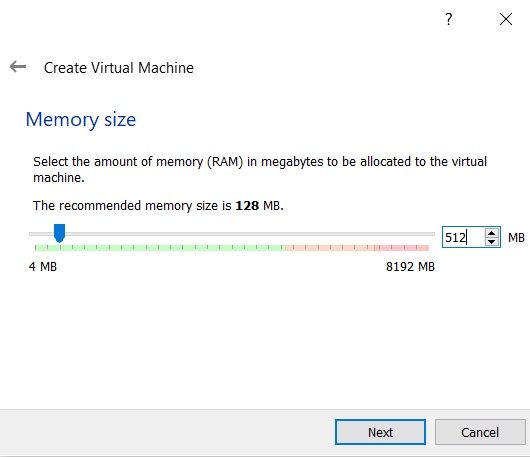
Step 3: Allot memory size which will be allocated to the virtual machine.
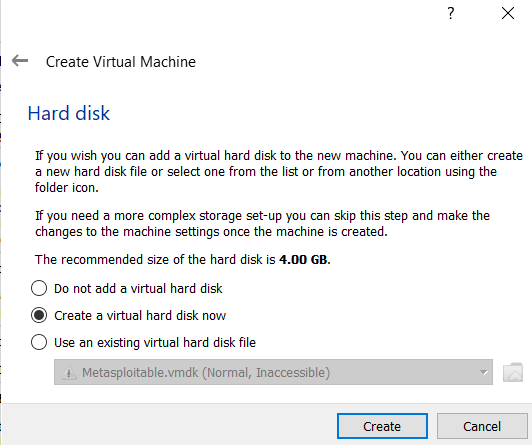
Step 4: Select the option, create a virtual hard disk now and hit create button.
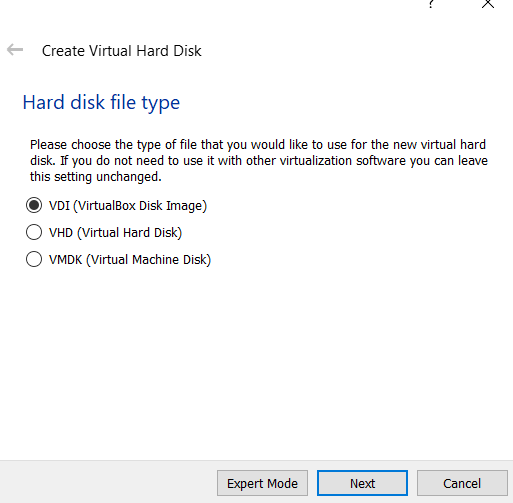
Step 5: Choose VDI and hit next.
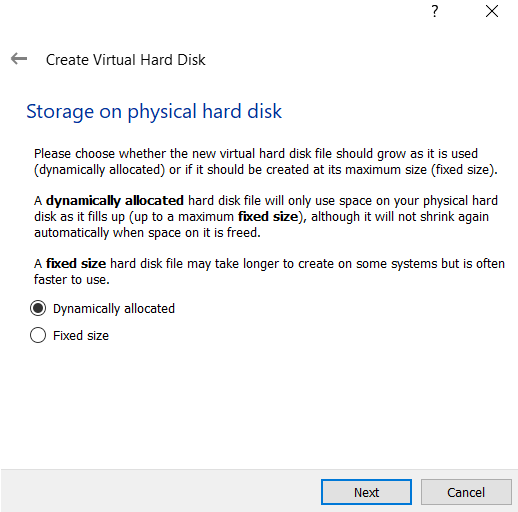
Step 6: Check the dynamically allocated box and hit next.
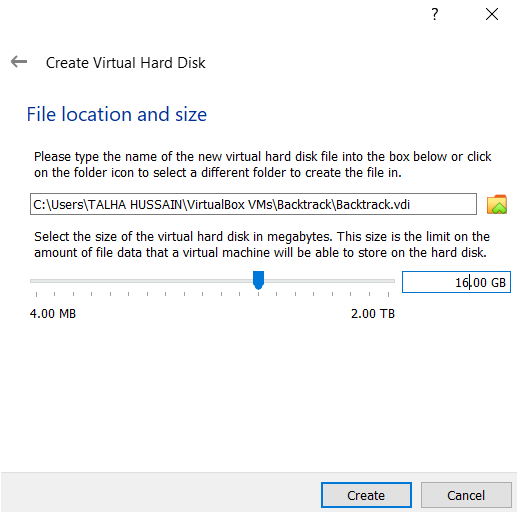
Step 7: Select the file location and size of the virtual hard disk.
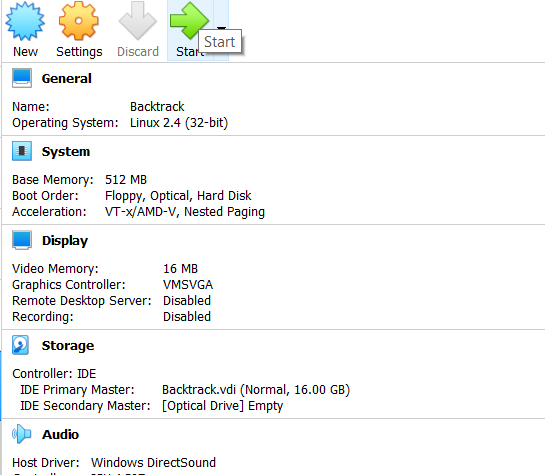
Step 8: Click on start to start your backtrack machine.
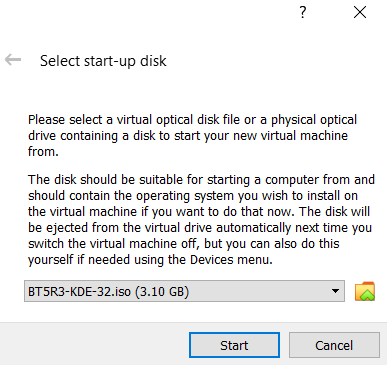
Step 9: Browse and select the iso file of backtrack and hit start.
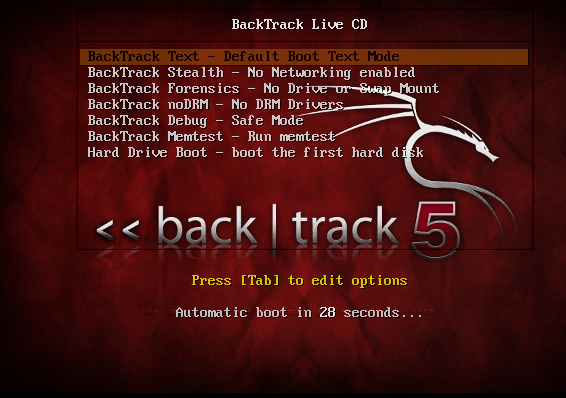
Step 10: Select the first option and hit enter.
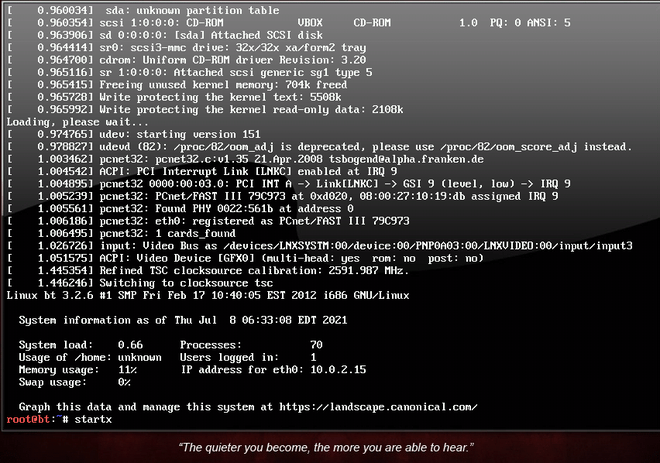
Step 11: Type startx command and hit enter.
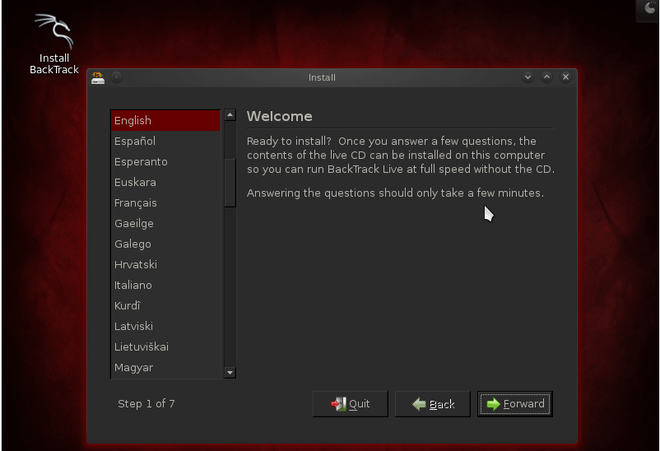
Step 12: Double click on the install backtrack icon and select your preferred language.
Step 13: Select your location.

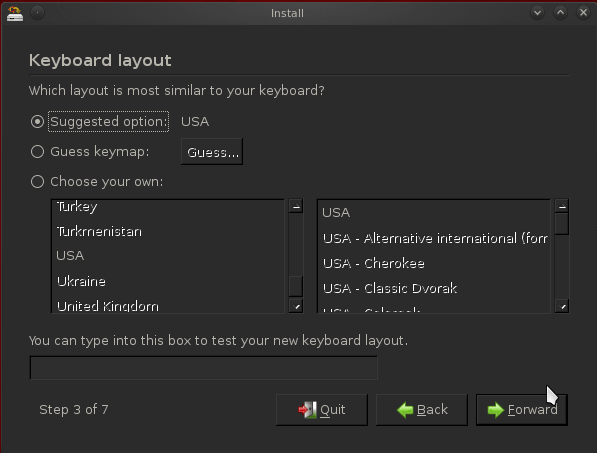
Step 14: Select your preferred keyboard layout.
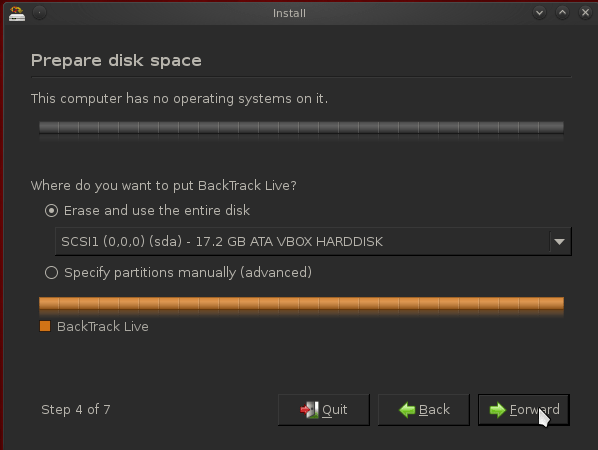
Step 15: Check the erase and use the entire disk option, and click on forward.
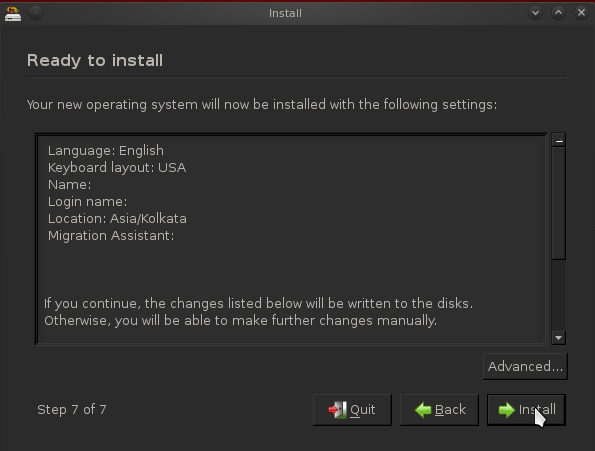
Step 16: Click on install to install backtrack amd wait for few minutes.
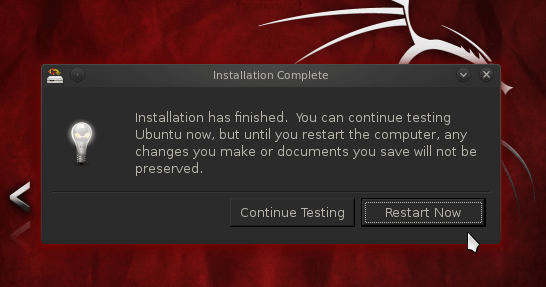
Step 17: Click on restart now to reboot your system.
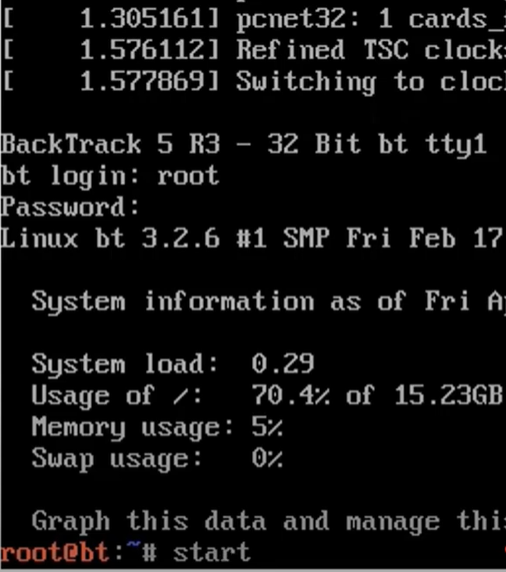
Step 18: In login, enter root and password- toor. Then type startx to launch backtrack.
Step 19: There you have your backtrack installed. Hover in its applications and see what it has to offer.
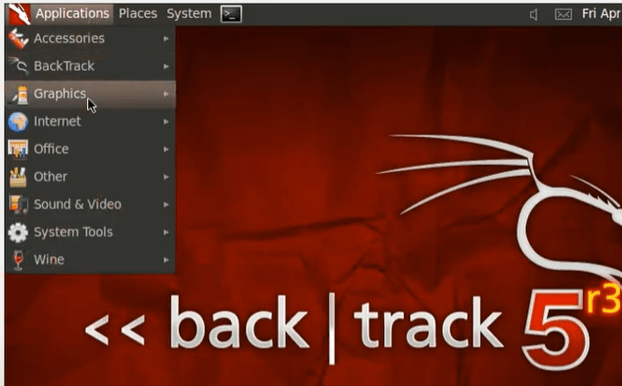
Step 20: There are various applications and tool installed in backtrack which one can use. So enjoy!!!

Like Article
Suggest improvement
Share your thoughts in the comments
Please Login to comment...