imreadmulti() in Python Opencv
Last Updated :
26 Apr, 2023
OpenCV (Open Source Computer Vision) library primarily focuses on image and video processing. To load a single image through OpenCV, imread() function is used. However, to load multiple images in a single object, imreadmulti() function is used. Images within a file are considered as a page. Although this method can handle single-page files, it frequently works with multi-page or multi-frame image files.
Some of the file types supported by imreadmulti() are BMP (Windows bitmap), DIB (Device-independent bitmap), JPEG or JPG (Joint Photographic Experts Group), JP2 (JPEG 2000), PNG (Portable Network Graphics), PBM (Portable bitmap), PGM (Portable gray map), PPM (Portable Pixmap), TIFF (Tagged Image File Format) or TIF (Tagged Image Format), PFM (Portable float map), WEBP (Web Picture). Some file types such as EXR (OpenEXR) require codecs.
The result is loaded in a vector of Mat objects. In OpenCV, the cv::Mat class is used to represent a multi-dimensional array. It can be used to store image data in many different formats, including 32-bit floating-point numbers (CV 32F) 2-channel floating-point array, 8-bit unsigned integers (CV 8U) 8-bit single-channel array, and 16-bit signed integers (CV 16S).
Syntax: cv2.imreadmulti()
Syntax:
cv2.imreadmulti( filename, mats, flags, start(optional), count(optional))
Parameters:
- filename : The path of the .tiff files
- mats : The list/vector where loaded images will be stored
- flags : Default is cv2.IMREAD_ANYCOLOR . Other possible flags such as cv2.IMREAD_GRAYSCALE etc can be found here.
- start (optional) : To set the start index of the image frame to be loaded from the file. Default is 0.
- count (optional): The count of images to be added in mats.
Returns:
- ret : Boolean value for successful execution.
- mats : The loaded images list/vector.
Example 1:
- In the mentioned code, the Python OpenCV Library is imported.
- The path variable stores the image file path of the .tiff image file from the local machine.
- The images list variable is declared to store the loaded images.
- The Boolean value and Mat object returned by cv2.imreadmulti() function are stored in ret and images variable.
- The loaded images are displayed on the screen by cv2.imshow() function.
- The windows are then destroyed after waitKey is pressed.
Input Image Link: gfg.tiff
Python3
import cv2
path = "gfg.tiff"
images = []
ret, images = cv2.imreadmulti(mats=images,
filename=path,
start=0,
count=2,
flags=cv2.IMREAD_ANYCOLOR)
if len(images) > 1:
for i in range(len(images)):
name = 'Image'+str(i)
print(name, 'Shape :', images[i].shape)
cv2.imshow(name, images[i])
cv2.imwrite(name+'.jpg', images[i])
cv2.waitKey()
cv2.destroyAllWindows()
|
Output:
Image0 Shape : (512, 512, 3)
Image1 Shape : (515, 570, 3)
Image0:

first Output image
Image1:

2nd Output image
Example 2:
The imreadmulti() function offers optional parameters that let users specify the starting frame and the number of loaded images.
The second and third images from a 3-page tiff file are shown in this example. You can set the count option to 1 to only show one image.
Input Image Link: gfg_2.tiff
Python3
import cv2
path = "gfg_2.tiff"
images = []
ret, images = cv2.imreadmulti(mats=images,filename=path,start=1, count=2,
flags=cv2.IMREAD_COLOR)
if len(images) > 1:
for i in range(len(images)):
name = 'Image'+str(i+1)
print(name,'Shape :',images[i].shape)
cv2.imshow(name, images[i])
cv2.imwrite(name+'.jpg', images[i])
cv2.waitKey()
cv2.destroyAllWindows()
|
Output:
Image1 Shape : (515, 570, 3)
Image2 Shape : (176, 176, 3)
Output Images:
Image1:

Image1
Image2:

Image2
Example 3:
If the image has only one page. Then the output will be also one image. To avoid issues while using this example code, the parameters’ order must align with what is given.
Note: When loading single-page images, the imread() and imreadmulti() functions differ as the image is directly stored as a Mat object in the first while the latter stores it as a list of Mat objects that must be accessed using an index in square brackets (here- images[0], images2[0]).
Alternatively, the flags can also be specified as numerical value (here- cv::IMREAD_GRAYSCALE = 0, cv::IMREAD_COLOR = 1).
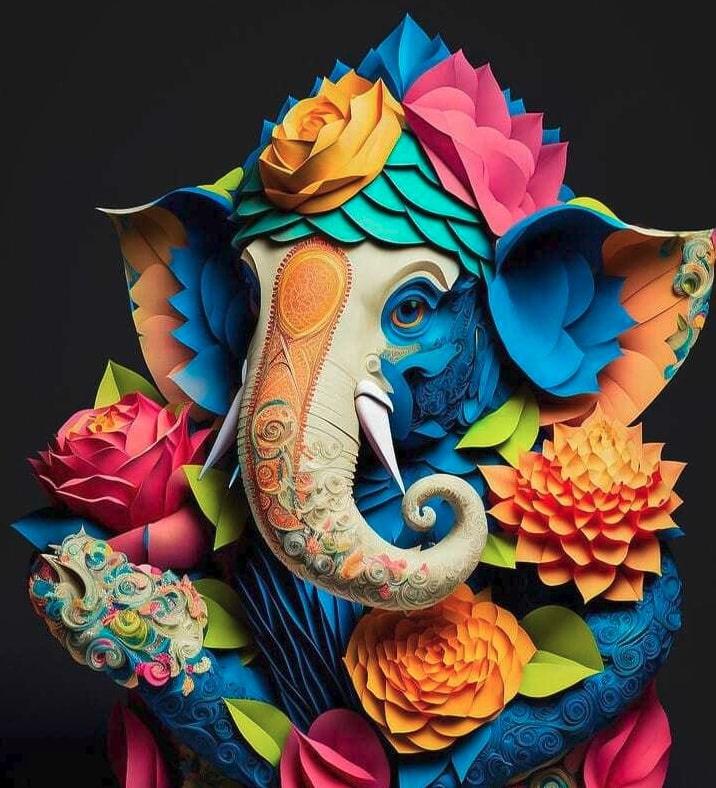
Input Image Link: Ganesh.jpg
Python3
import cv2
path = "Ganesh.jpg"
images = []
ret, images = cv2.imreadmulti(mats=images,
filename = path,
flags=0)
print('Number of images :',len(images))
ret2,images2 = cv2.imreadmulti(filename = path,
flags=cv2.IMREAD_COLOR)
cv2.imshow("Gray Image", images[0])
cv2.imwrite('Gray Image.jpg', images[0])
cv2.imshow("Color Image", images2[0])
cv2.imwrite('Color Image.jpg', images2[0])
cv2.waitKey()
cv2.destroyAllWindows()
|
Output:
Number of images : 1
Output Images:
Gray Image:

Output Gray Image
Color Image:
Output Color Image
Like Article
Suggest improvement
Share your thoughts in the comments
Please Login to comment...