Have you ever wondered while watching a Sci-Fi film how does computer Recognize what a person’s next move will be or how it predicts our actions according to activities performed? Well, the simple answer is it uses Human Activity Recognition (HAR) Technology for this. To accurately engineer features from the raw data to build a machine learning model, it generally requires extensive domain understanding and methodologies from signal processing. It entails predicting a person’s movement based on sensor data.
Moreover, This Technology helps the machine to decide and predict what we perform in various activities. For this, we must use a Deep Learning Model and a Dataset. These two terms go hand in hand in the Machine Learning genre as the program uses an already predefined Dataset to refer to an existing set of activities defined there, and by referring to them, it will predict what activity matches that already present in its dataset.
We will be using Python programming language for this task, along with basic knowledge of Convolutional Neural Networks is good enough for you to get started.
Convolutional Neural Network
Since we want to recognize activity using the camera, we need a branch of Deep Learning called Convolutional Neural Network (CNN), which uses ANN or Artificial Neural Network to predict output using analysis of Visual Imagery. This model involves two components convolutional layers and pooling layers.
- Convolutional layers- these layers rely on input i.e. two dimensional images or 1D signal, using a kernel that reads in small segments at a time and steps across the entire input field. Each read results in an input projected onto a filter map and represents an internal interpretation of the input.
- Pooling layers-Feature map projections are reduced to their core components utilizing signal averaging or signal maximizing techniques in pooling layers.
OpenCV for python
We primarily use openCV for real-time computer vision since we want the program to detect real-time activity. We will be imported using this useful library and its functions.
To use this, we must ensure that our system has the opencv-python library installed. This can be done by running the following command in the command processor of the operating system:
pip install opencv-python
Now once the library has been installed, it can be imported using the following command:
import cv2
Open Neural Network Exchange(ONNX)
ONNX is a representation of machine learning models, a collection of already trained models since its open source; we will be able to use it free of cost; we will be training our ML model using this resource as it needs other external datasets and pre-trained models for its development which this resource will provide.
To use it, you need to download it from here (make sure to drop it into the folder containing your model).
The file id inside the model .
The Kinetics Human Action Video Dataset
This data set contains over 400 videos to which our model can refer and predict what actions are being performed. Each action has a corresponding clip.
Also, we will require a text file for each action to match and give output if matched successfully with the video. which can be downloaded from Kinetics’ official site or download Actions.txt here

This the text file which will correspond to every activity.
Human Activity Recognition
First, we need to import all the required libraries for this project; the libraries used are numpy for gpu and deep learning imutils and cv2 for real-time imagery processing. Below is the code for importing
import numpy as np
import argparse
import imutils
import sys
import cv2
Using Arguments
We will use python parser arguments for our project. There are two arguments, one for using provided video stream and one for using the webcam.
For video-stream
python HAR.py --model resnet-34_kinetics.onnx --classes Actions.txt --input videos/example_activities.mp4 --gpu 1 --output output.mp4
(Replace HAR.py with your python file name and Actions.txt with your kinetics dataset text file name. )
For the webcam, we will use this
python HAR.py --model resnet-34_kinetics.onnx --classes Actions.txt
(Replace HAR.py with your python file name and Actions.txt with your kinetics dataset text file name. )
GPU
We can use it in this project as the Graphical Processing Unit can catalyze and stimulate our graphics rendering. Also, when we import numpy, it automatically calls upon the GPU for faster and quality processing since this project involves image processing, we will use GPU.
Deep Learning implementation
We will specify frames for processing our image using fixing its dimensions. Then we will loop over the number of required frames. A frame will be passed from the video stream if matched and read, then added to the frame list and saved for further processing.
Binary Large Object( Blob)
Using the frame list, we will create our blob. A blob is a collection of pixels in binary imagery. The size of the blob is specified and justifies Large in its name. After creating the blob, we will pass the blob to the network to predict human activity using the collection of binary-processed images.
Using the model implementation and sample frames in a loop, we will recognize human activity continuously. below is the code for it
The Code
Python3
import numpy as np
import argparse
import imutils
import sys
import cv2
argv = argparse.ArgumentParser()
argv.add_argument("-m", "--model", required=True,
help="specify path to pre-trained model")
argv.add_argument("-c", "--classes", required=True,
help="specify path to class labels file")
argv.add_argument("-i", "--input", type=str, default="",
help="specify path to video file")
argv.add_argument("-o", "--output", type=str, default="",
help="path to output video file")
argv.add_argument("-d", "--display", type=int, default=1,
help="to display output frame or not")
argv.add_argument("-g", "--gpu", type=int, default=0,
help="whether or not it should use GPU")
args = vars(argv.parse_args())
ACT = open(args["classes"]).read().strip().split("\n")
SAMPLE_DURATION = 16
SAMPLE_SIZE = 112
print("Loading The Deep Learning Model For Human Activity Recognition")
gp = cv2.dnn.readNet(args["model"])
if args["gpu"] > 0:
print("setting preferable backend and target to CUDA...")
gp.setPreferableBackend(cv2.dnn.DNN_BACKEND_CUDA)
gp.setPreferableTarget(cv2.dnn.DNN_TARGET_CUDA)
print(" Accessing the video stream...")
vs = cv2.VideoCapture(args["input"] if args["input"] else 0)
writer = None
fps = vs.get(cv2.CAP_PROP_FPS)
print("Original FPS:", fps)
while True:
frames = []
originals = []
for i in range(0, SAMPLE_DURATION):
(grabbed, frame) = vs.read()
if not grabbed:
print("[INFO] No frame read from the stream - Exiting...")
sys.exit(0)
originals.append(frame)
frame = imutils.resize(frame, width=400)
frames.append(frame)
blob = cv2.dnn.blobFromImages(frames, 1.0,
(SAMPLE_SIZE, SAMPLE_SIZE),
(114.7748, 107.7354, 99.4750),
swapRB=True, crop=True)
blob = np.transpose(blob, (1, 0, 2, 3))
blob = np.expand_dims(blob, axis=0)
gp.setInput(blob)
outputs = gp.forward()
label = ACT[np.argmax(outputs)]
for frame in originals:
cv2.rectangle(frame, (0, 0), (300, 40),
(0, 0, 0), -1)
cv2.putText(frame, label, (10, 25),
cv2.FONT_HERSHEY_SIMPLEX, 0.8,
(255, 255, 255), 2)
if args["display"] > 0:
cv2.imshow("Activity Recognition", frame)
key = cv2.waitKey(1) & 0xFF
if key == ord("q"):
break
if args["output"] != "" and writer is None:
fourcc = cv2.VideoWriter_fourcc(*'mp4v')
writer = cv2.VideoWriter(args["output"], fourcc, fps,
(frame.shape[1], frame.shape[0]), True)
if writer is not None:
writer.write(frame)
|
How to run this project:
To run and get the desired output, we must pass the arguments to parser
Steps
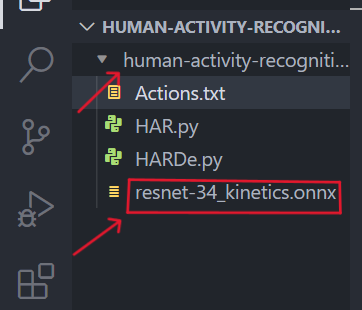
1. Go to the location where all files, including the model, are saved.
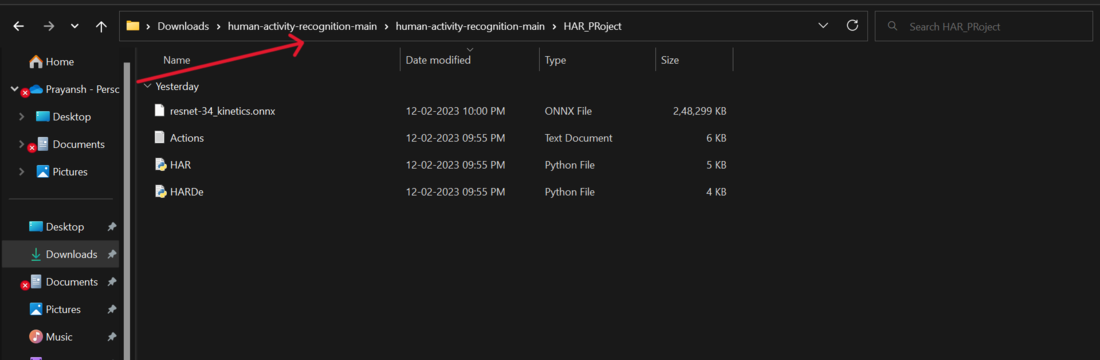
in this location all the files are present
2. Press Shift+F10 more more options.
3. Select Git bash if git is present or open your terminal (or cmd) from here
4. After opening type the following commands :
For video-stream
python HAR.py --model resnet-34_kinetics.onnx --classes Actions.txt --input videos/example_activities.mp4 --gpu 1 --output output.mp4
(Replace HAR.py with your python file name and Actions.txt with your kinetics dataset text file name. )
For webcam, we will use this here
python HAR.py --model resnet-34_kinetics.onnx --classes Actions.txt
(Replace HAR.py with your python file name and Actions.txt with your kinetics dataset text file name. )
5. Press enter. We used the webcam as the source so that a pop-up will open, your webcam will start, and a window will give the output for human activities.
Outputs.
For Reading a book in front of a camera.
.png)
output using a webcam in real time
For Writing in front of the camera.
Like Article
Suggest improvement
Share your thoughts in the comments
Please Login to comment...