HTML Video
Last Updated :
07 Mar, 2024
The <video> element in HTML allows you to embed video content directly into web pages. It supports various video formats, including MP4, WebM, and Ogg. In this guide, we’ll learn about the key features of HTML5 video. video and audio tags are introduced in HTML5.
Basic Syntax
To include a video on your webpage, use the following syntax:
<video src="" controls> </video>
- The src attribute specifies the URL of the video file.
- The controls attribute adds default video controls (play, pause, volume, etc.).
Supported Formats
Three different formats are commonly supported by web browsers – mp4, Ogg, and WebM. The table below lists the formats supported by different browsers:
Browser
|
MP4
|
WebM
|
OGG
|
| Google Chrome |
Yes |
Yes |
Yes |
| Internet Explorer |
Yes |
No |
No |
| Firefox |
Yes |
Yes |
Yes |
| Opera |
Yes |
Yes |
Yes |
| Safari |
Yes |
Yes |
No |
Additional Attributes
|
Attributes
|
Description
|
|
Autoplay
|
Starts playing the video automatically.
|
|
Preload
|
Provides a hint to the browser about the best user experience.
|
|
Loop
|
Automatically loops the video.
|
|
height
|
It sets the height of the video in CSS pixels.
|
|
width
|
It shows the default video controls like play, pause, volume, etc.
|
|
Controls
|
It shows the default video controls like play, pause, volume, etc.
|
|
Muted
|
Mutes the audio.
|
|
Poster
|
Displays an image preview before video loading.
|
Example Usage of HTML Video
1. Adding Video with Preload
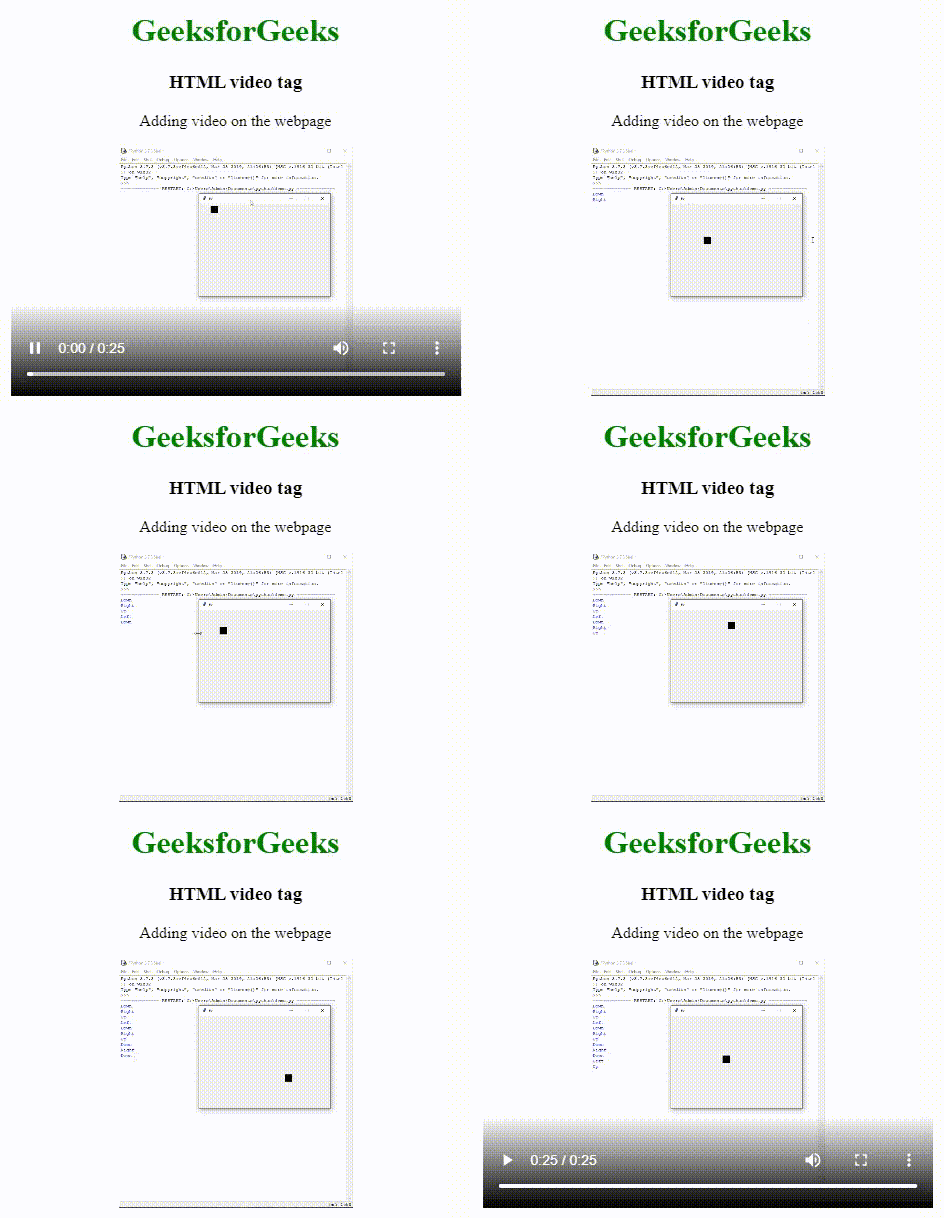
Example: We have embedded the HTML video along with the source link and preload functionality.
HTML
<!DOCTYPE html>
<html>
<body>
<center>
<h1 style="color:green;">GeeksforGeeks</h1>
<h3>HTML video tag</h3>
<p>Adding video on the webpage
<p>
<video width="450" height="250"
controls preload="auto">
/uploads/20190616234019/Canvas.move_.mp4"
type="video/mp4">
/uploads/20190616234019/Canvas.move_.ogg"
type="video/ogg">
</video>
</center>
</body>
</html>
|
Output:

2. Adding Video using HTML5
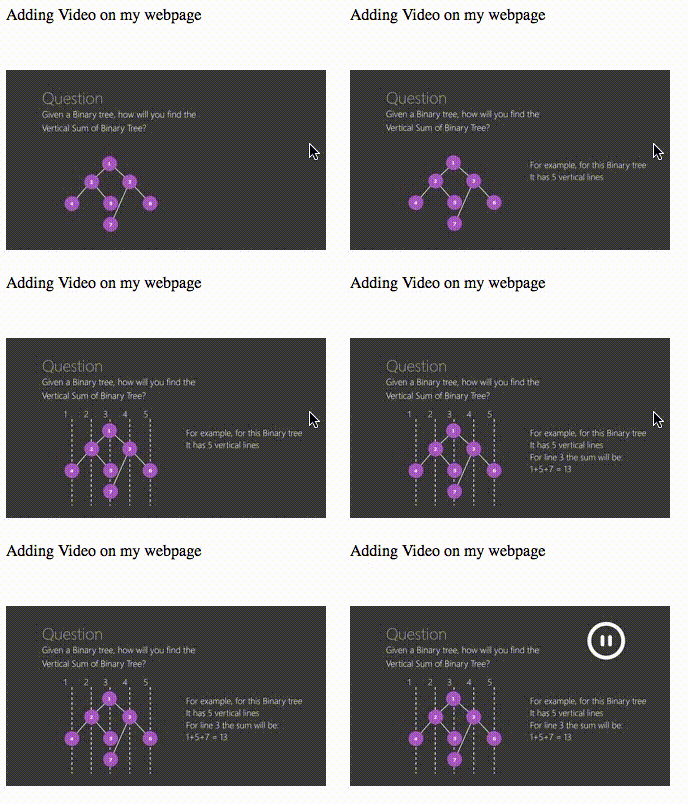
Example: This simple example illustrates the use of the <video> tag in HTML. Here, the controls attribute is used to add controls like play, pause, volume, etc, & the “source” element is used to specify the video that the browser will choose to play.
HTML
<!DOCTYPE html>
<html>
<body>
<p>
Adding Video on my webpage
</p>
<video width="400" height="350"
controls>
<source src="myvid.mp4"
type="video/mp4">
<source src="myvid.ogg"
type="video/ogg">
</video>
</body>
</html>
|
Output:

Video addition to the HTML.
3. Autoplaying a Video using HTML5
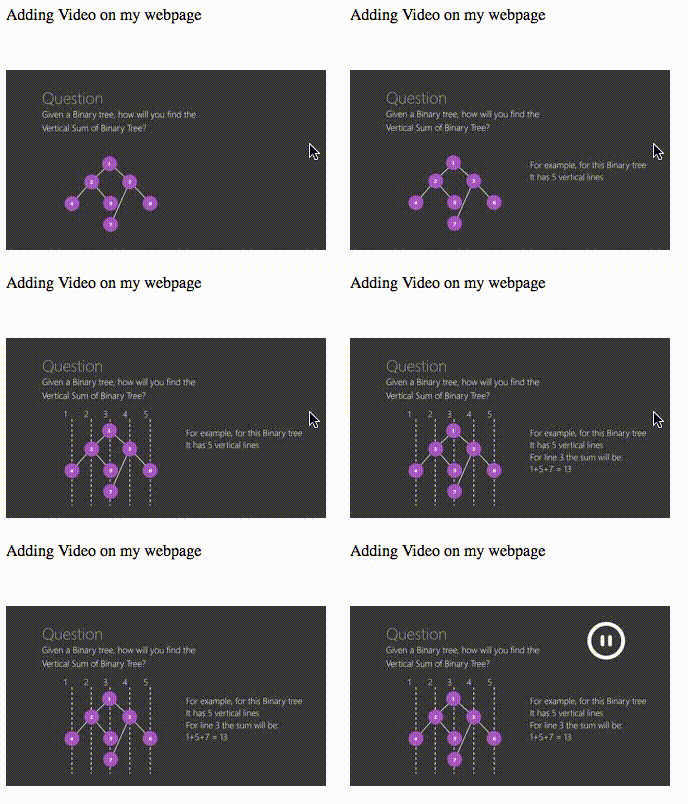
Example: This example illustrates the use of the autoplay attribute in the HTML <video> tag.
HTML
<!DOCTYPE html>
<html>
<body>
<p>Adding Video on my webpage</p>
<video width="400"
height="350" autoplay>
<source src="myvid.mp4"
type="video/mp4">
<source src="myvid.ogg"
type="video/ogg">
</video>
</body>
</html>
|
Output:

Autoplay attribute
Please refer to the How to display video controls in HTML5? article for knowing the various available controls in detail.
4. HTML Video using JavaScript
Many properties and events can be set for a video like load, play and pause videos, as well as setting duration and volume.
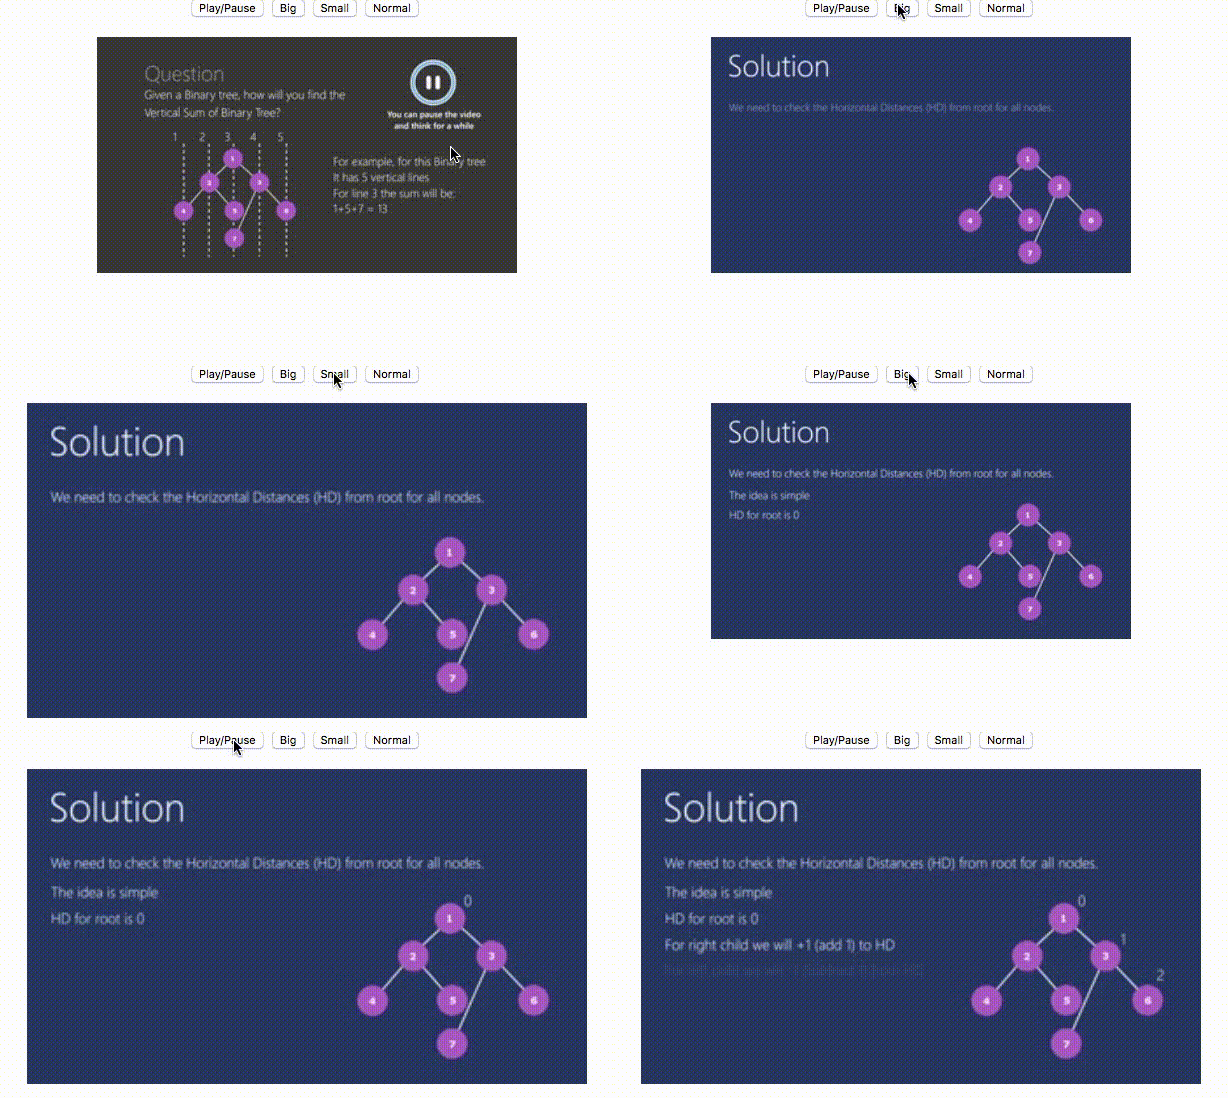
Example: In this example, we have used Javascript in order to play, pause & set the volume & duration of the video in HTML.
HTML
<!DOCTYPE html>
<html>
<body>
<div style="text-align:center">
<button onclick="Pauseplay()">
Pause/Play
</button>
<button onclick="Big()">
Big
</button>
<button onclick="Small()">
Small
</button>
<button onclick="Normal()">
Normal
</button>
<br>
<video id="myvideo" width="450">
<source src="myvid.MP4"
type="video/mp4">
<source src="myvid.ogg"
type="video/ogg">
</video>
</div>
<script>
var testvideo =
document.getElementById("myvideo");
function Pauseplay() {
if (testvideo.paused) testvideo.play();
else testvideo.pause();
}
function Big() {
testvideo.width = 600;
}
function Small() {
testvideo.width = 300;
}
function Normal() {
testvideo.width = 450;
}
</script>
</body>
</html>
|
Output:

Setting the various video controls using the Javascript events & properties in HTML
Conclusion
HTML5 video is a powerful tool for enhancing user experience on websites. By understanding its features and using it effectively, you can create engaging multimedia content for your audience.
Supported browsers:
- Google Chrome 3 and above
- Edge 12 and above
- Firefox 3.5 and above
- Opera 10 and above
- Safari 3.1 and above
Like Article
Suggest improvement
Share your thoughts in the comments
Please Login to comment...