HTML readonly Attribute
Last Updated :
07 Mar, 2024
The HTML readonly attribute, when applied to input fields or text areas, prevents users from editing the content, allowing only for viewing purposes.
Syntax
<input readonly>
Supported Tags
This attribute is used with two elements which are listed below:
| Element |
Description |
<input> |
Used with the readonly attribute for read-only input fields. |
<textarea> |
Utilized with the readonly attribute for read-only text areas. |
HTML readonly Attribute Examples
Example1: In this example we demonstrates the use of the readonly attribute in an input element, making the “Country” input field read-only, while allowing editing for the “Email” field.
html
<!DOCTYPE html>
<html>
<head>
<title>readonly attribute</title>
</head>
<body>
<h1>GeeksForGeeks</h1>
<h2>
readonly attribute in Input Element
</h2>
<form action="">
Email:
<input type="text"
name="email" />
<br />
Country:
<input
type="text"
name="country"
value="Noida"
readonly
/>
<br />
<input type="submit"
value="Submit" />
</form>
</body>
</html>
|
Output:

HTML readonly Attribute example output
html
<!DOCTYPE html>
<html>
<head>
<title>readonly attribute</title>
</head>
<body>
<h1>GeeksForGeeks</h1>
<h2>
readonly attribute in input Element
</h2>
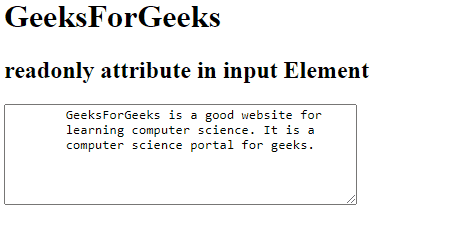
<textarea rows="4" cols="40" readonly>
GeeksForGeeks is a good website for
learning computer science. It is a
computer science portal for geeks.
</textarea
>
</body>
</html>
|
Output:
HTML readonly Attribute example output
Supported Browsers:
The browsers supported by readonly attribute are listed below:
Like Article
Suggest improvement
Share your thoughts in the comments
Please Login to comment...