Adobe Photoshop is a raster-based image editing software. It is developed by Adobe.Inc and available for both macOS and Windows operating systems. You can use Photoshop to create or edit images, posters, banners, logos, invitation cards, and various types of graphic designing work. It provides various tools for designing and editing and the patch tools is one of them. In this article, we are going to discuss what is patch tool is in Photoshop.
Patch Tool
We all have old photographs that are have different types of white spots and several defects within them or may have had some such pictures mainly portraits where our face has got many dark spots and patches which we want to remove or may have some photographs where we want to hide some unwanted parts with the help of another part of the photo. In all these cases, we can use the patch tool. Though there are many such tools like spot healing brush tool and so on but the patch tool is effective because it is much faster than others and also very much effective when there are a large number of spots.
Patch tool is a type of tool that helps us to patch some unwanted parts like dark spots, objects with another part of the image. It falls under the category of retouching tool and helps us to patch the defective part of the image. In the toolbar, the patch tool is present in the Spot healing brush tool section.
How to use the patch tool?
Now, let’s understand the use of the patch tool using the image given below:

The above image as we can see has many irregular white and dark spots on it. So, let’s first understand the use of the patch tool by patching a small portion of the image.
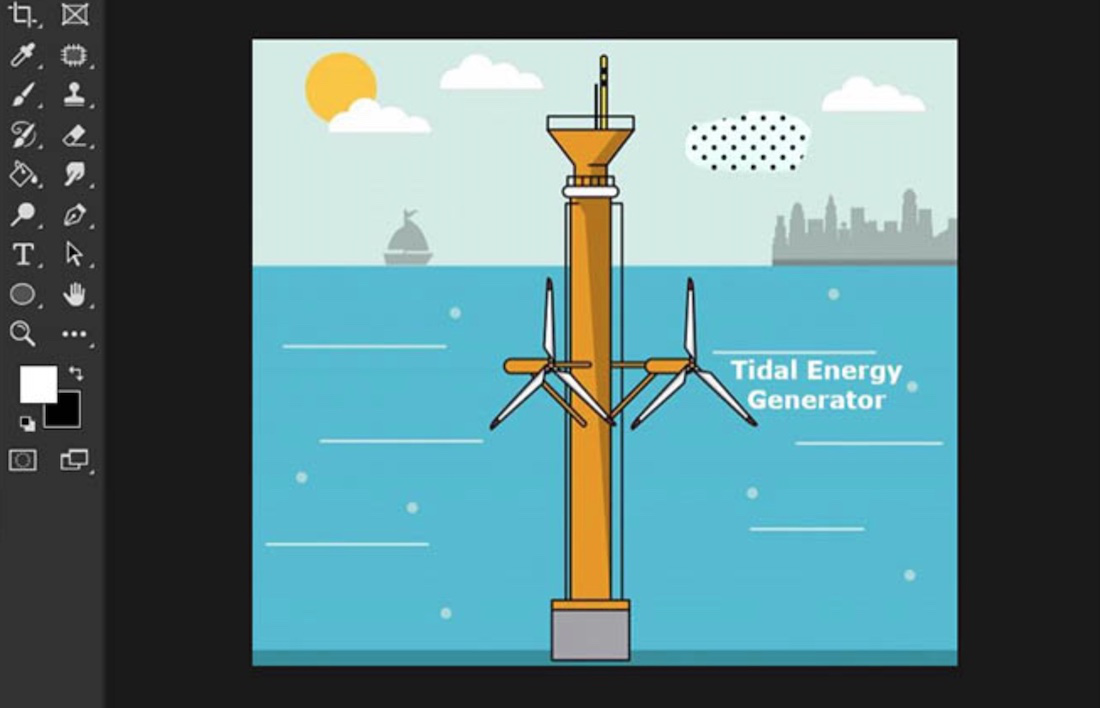
Step 1: Open the image in Adobe Photoshop as shown below:

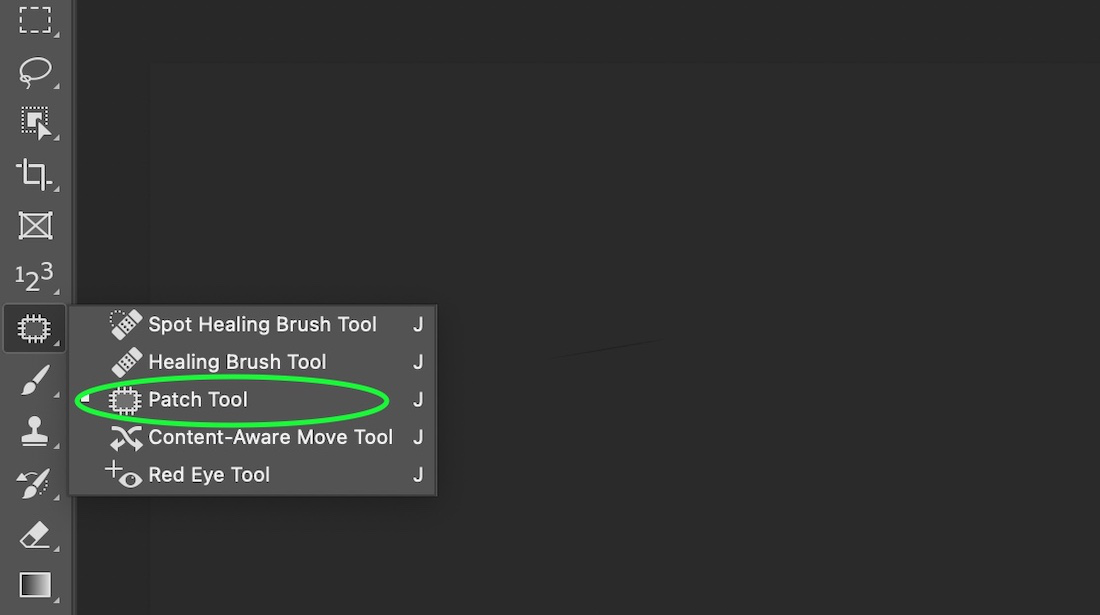
Step 2: Select the patch tool from the toolbar as shown below:
Step 3: Now you will see the cursor changes to (+) sign, now make a freehand selection on the part of the image as shown:

Step 4: Holding the mouse pointer drag the selection to that part of the image which you want to put in the place of the image which you want to put in that place.
Step 5: Release the mouse pointer and you will see that the image is patched This is the basic use of the Patch tool.
Below given are the images before and after the patches (Note: Here the images are shown after removing all the wanted white and black spots) :

You can surely see the patched image on the right is much better than the original image on the left.
Options of Patch tool
Let’s understand the properties/options of the Patch tool. When you use the patch tool, you can see a option bar below the menu bar as shown below:

There are a number of different properties available. Let’s understand them one by one:
1. Selection types
This property is the same as the selection properties. There are four selection properties and by default, the selection is set to Normal mode.

- Normal: This is the normal selection that you do with the patch tool.
- Add to Selection: This selection property allows you to add more parts to your patch selection than we do using the patch tool.
- Remove selection: This selection property allows you to remove some parts of the already selected parts which we want to patch.
- Intersect selections: This property works like the intersection, it takes the part of the selection that is common between two selections.
2. Patch type
This tool helps us to choose between the type of patch we want to make. There are two options- Normal and Content-Aware.

- Normal: This is the default option, in this type the patch is done like the normal mode.
- Content-Aware: In this option, Photoshop chooses the best fill for your patch and makes the blending much more smooth and realistic. It is recommended to use these options when the user cannot do good patching in Normal mode.
Now, after these parts the properties are of two types:
1. If we choose the Normal patch setting, the properties bar will be one shown below:
Now we first discuss the features available in Normal Patch Mode. Starting from the left, we have:
(i) Patch source from destination: This option helps us to patch the source (selected part) with the destination. Let’s understand this with the help of the image shown below:

Here in the image, we will remove the white cloud by patching it with the blue sky.
See after we have selected the cloud we move the selection to the part of the sky so that the cloud is removed, here’s the result:
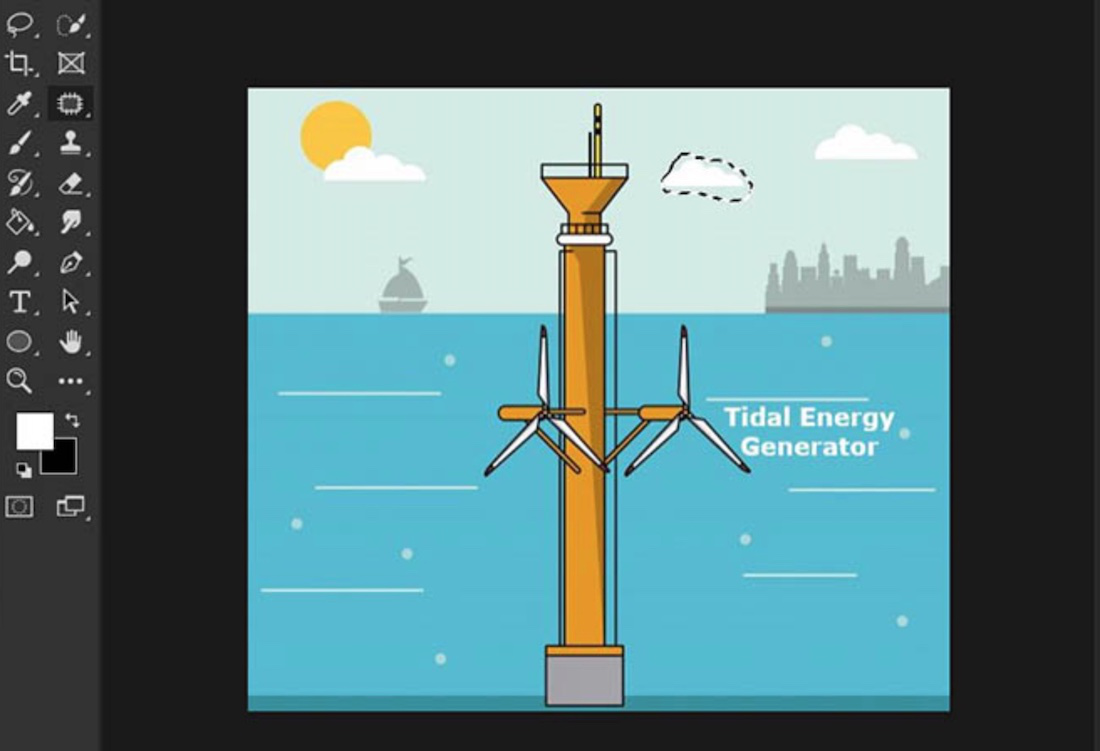
Selecting the Cloud that we want to remove
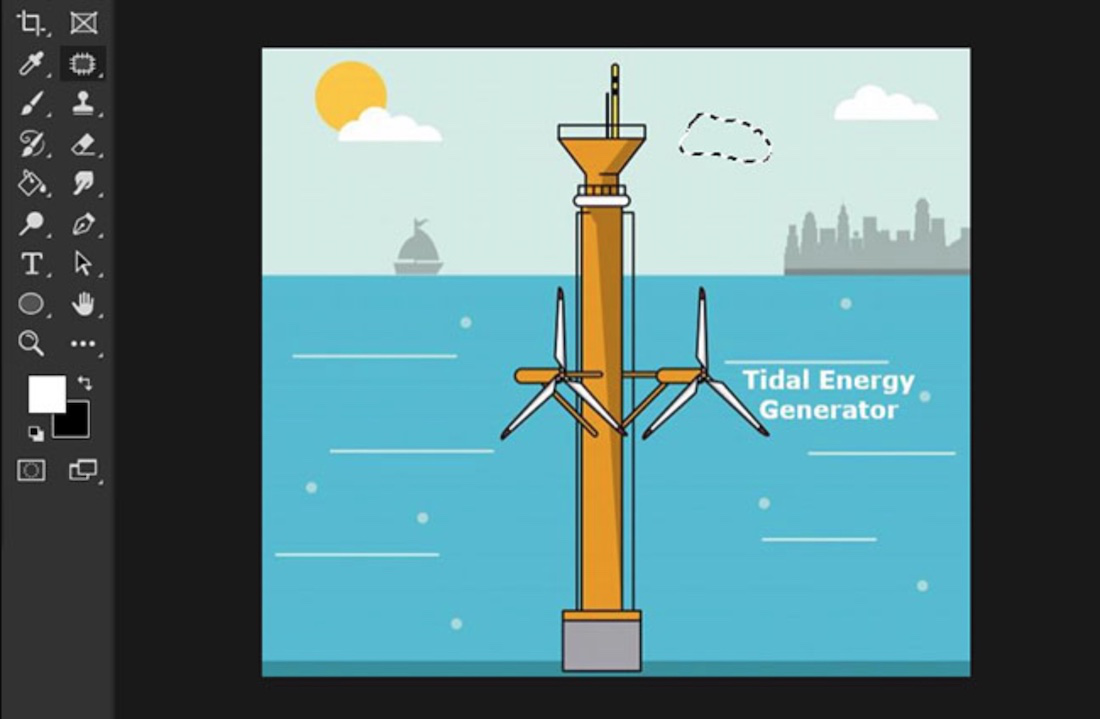
After removing the cloud
(ii) Patch destination from the source: This option helps us to patch the destination part of the image with the copy of the source(or selected part of the image). Let’s understand this with the help of the example:
Here, we will use the same image of clouds, but now we want to bring another cloud to the sky, let’s do it with the help of the patch tool keeping the patch destination from the source selected keeping the destination to be the sky and source be the cloud.
Here’s the result:
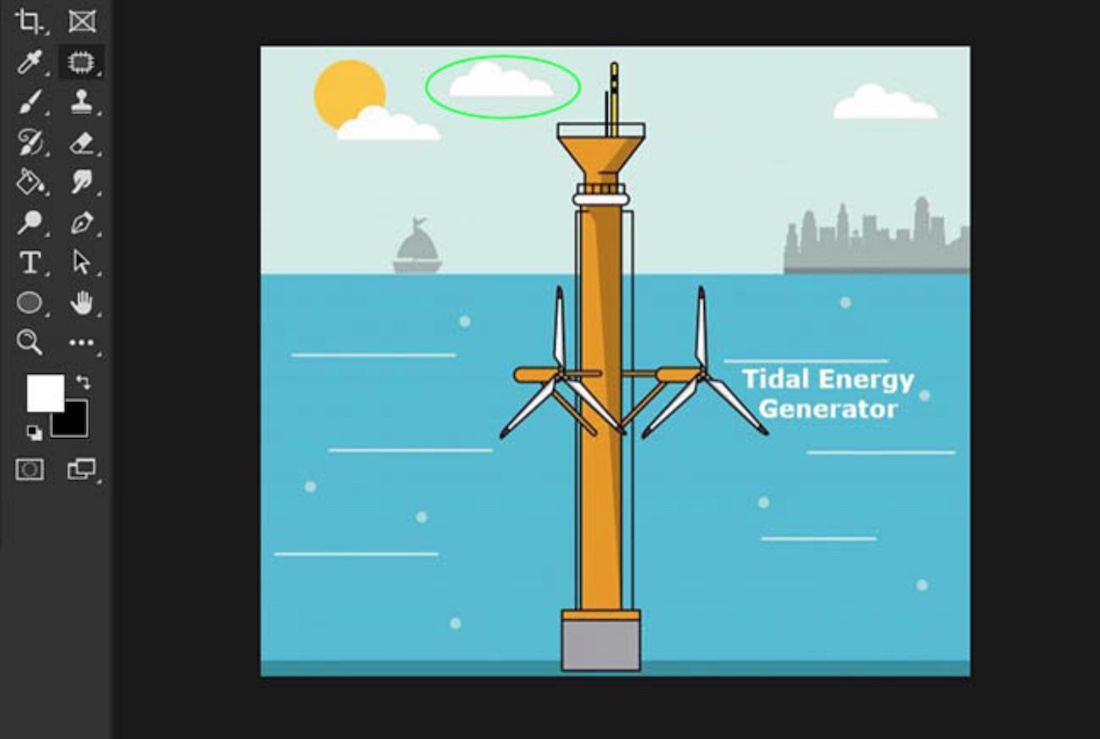
After bringing the cloud to the right side of the image
(iii) Use transparency while blending patch: This option when enabled uses transparency factor while blending the patched part.
(iv) Pattern: The next option helps us to patch the part of the image with a specific pattern. Here’s an example where we have patched a part of the sky with the pattern from the pattern palette:
Using pattern while patching
(v) Diffusion: This option tells how quickly the patched portion adapts to the surrounding pixels. More the value, the better the diffusion. By default, it is set to 5 and has range from 1-7.
2. Now, if the Content-Aware is selected, the properties bar will appear like one shown below:

Now, let’s see the properties of the under Content Aware patch option. Starting from the left, we have:
(i) Structure: It has a range of values from 1-7. This value tells the amount to which the patch should be blended with the nearby pixels of the image.
(ii) Color: It has a range of values from 0-10. This value tells us the amount of blending of colors that the patch will have. If the value is set to 0, the blending is disabled or there is no blending of colors.
There is no such recommended value for these settings, it differs from image to image or can even differ within the same image. It is according to the user who decides how much he wanted it to be.
Thus, in a whole, the patch tool whether used in Normal mode or Content Aware mode is a very useful retouching tool. It can do wonders for our image. Here is an example of the work done using the Patch tool:

Left: Original Image, Right: Image after using Patch tool to make some desired changes
Here, the original image is given on the left, where there is only one boat and fewer clouds. We used the patch tool to create more clouds and brought two boats.
Note: One can use both Normal Patch and Content Aware Patch options, both are good, it all depends on the user’s work and choice and may vary from user to user .
Like Article
Suggest improvement
Share your thoughts in the comments
Please Login to comment...