How to Use Git with Eclipse?
Last Updated :
15 Mar, 2022
Git is a distributed version control system. It is software that is used to handle some project work in a team or group. Without hampering others’ work you can easily do your contribution to the project by using Git. We all can use Git in our machine just by installing it. Eclipse is an IDE. It is used for many programming languages such as Java, C++, Python & many more.
Features of Eclipse IDE
- Eclipse is an open-source IDE. It is easy to use.
- Creating a workspace for Java, Python, C++ languages is very easy.
- Eclipse is used to reduce the work pressure of developers.
- Creating a repository in Git is very easy in Eclipse.
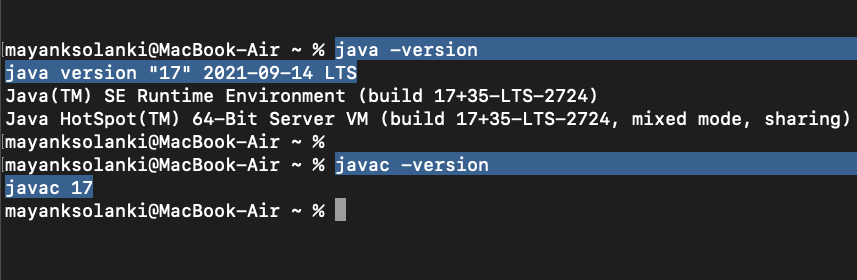
Prerequisites: Java must be installed on the local machine, we are good to go with any IDE.
Now from above, it is clear that java is installed in the local machine so now we are good to g with IDE, As here our eccentric goal is with git configuration with Eclipse IDE so if you have not yet installed Eclipse, prior do install Eclipse later let us discuss configuring Git in Eclipse that is depicted below via visual aids stepwise as follows:
Procedure:
Step 1: Download Eclipse IDE and configure the build path, if necessary change the .bash_profile. It is good to have an understanding prior to setting up.
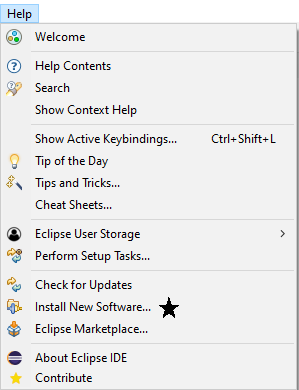
Step 2: Open your Eclipse IDE and from the top bar, go to ‘Help’ and further click on ‘Install New Software’.
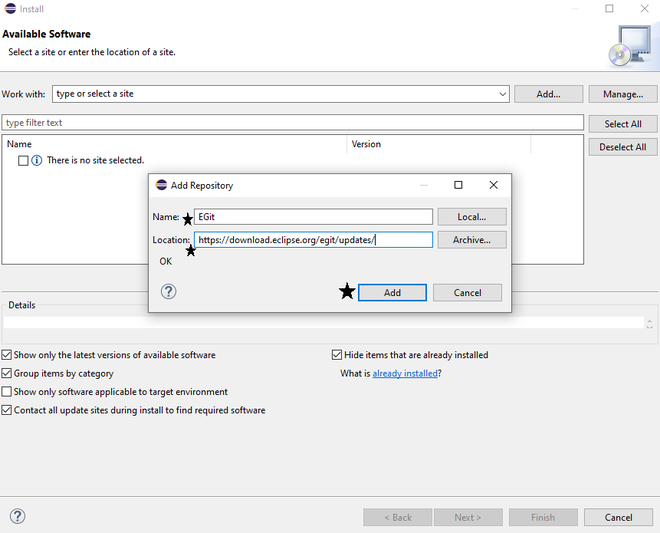
Step 3: Then add a new repository. Give Name as EGit & in location paste the above-mentioned URL. Then click on ‘Add’.
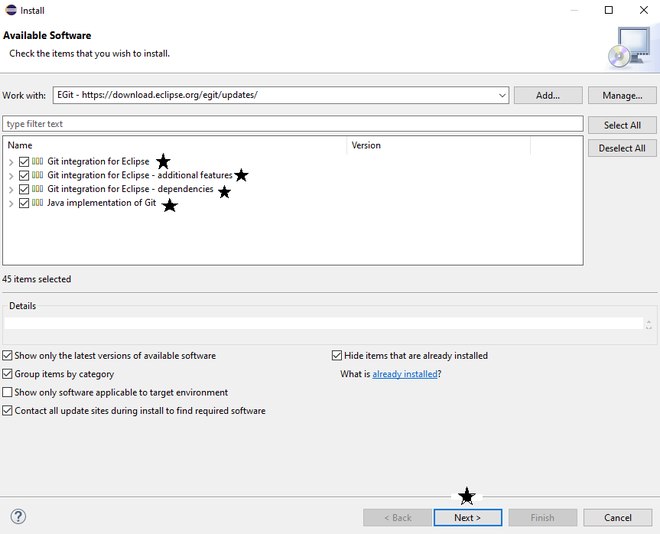
Step 4: Then add all checklist & click on Next.
Wait till the process goes on.

Step 5: Then it will ask for restarting Eclipse IDE. Restart it.

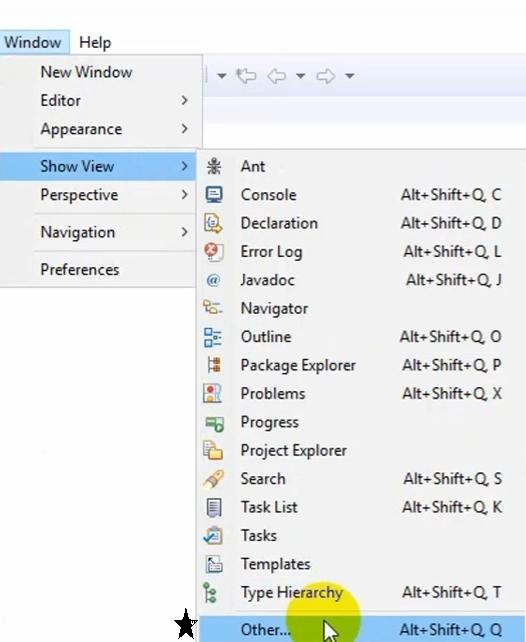
Step 6: Then again open Eclipse IDE. Then go to Window, then Show View & then others.
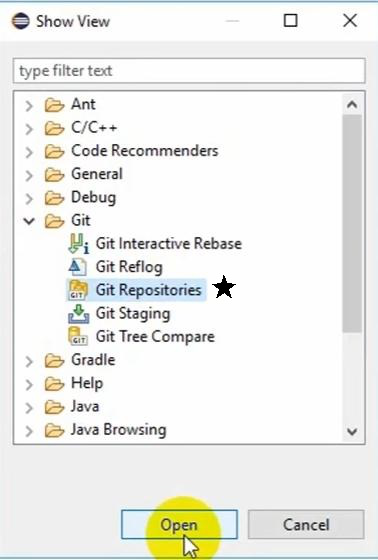
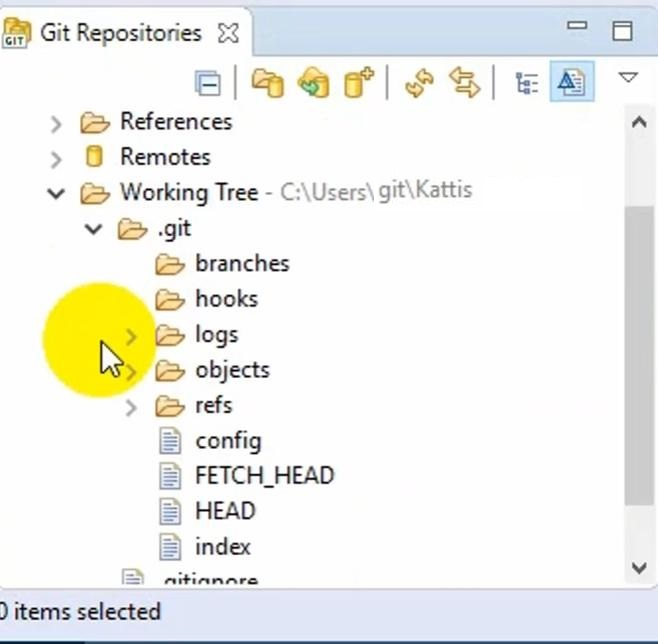
Step 7: The expand Git folder, click on Git Repositories & Open it.
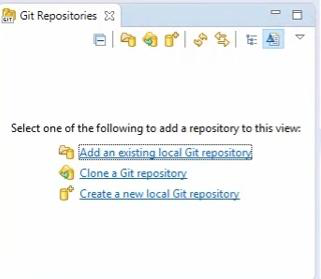
Step 8: Then, it will create repository windows. Now, it is successfully installed.
Cloning a Git Repository
In Eclipse, Cloning a Git repository is the main and a bit difficult process. In other options, you have to go through the same steps. In every option first, you need to clone a repository, then a new or existing repository will be available.
Implementation:
Cloning is shown here below stepwise with visual aids as follows:
Step 1: Open Preferences in Eclipse IDE. Then go to Team, then Git & then configuration. There you need to add your user name. You have to use a key as user.name & values as your name.
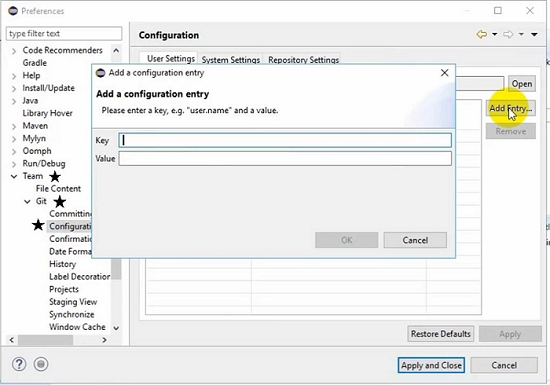
One have to do same thing for user email also. Then the key will be user.email. Value will be your email. And then click Apply.
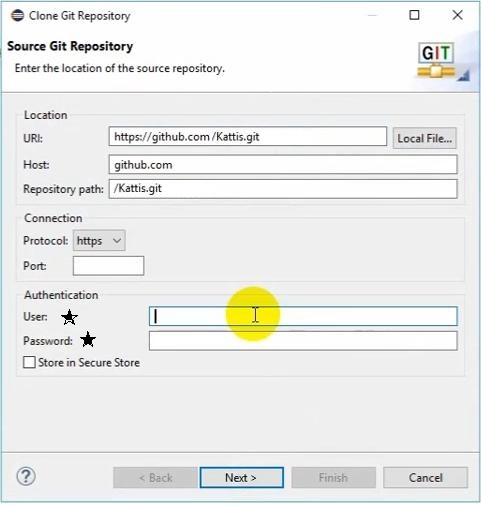
Step 2: Then click on Clone Git Repository. I have taken one random URL from Github to demonstrate this. You have to only provide that URL & your Github credentials. Then click on Next.
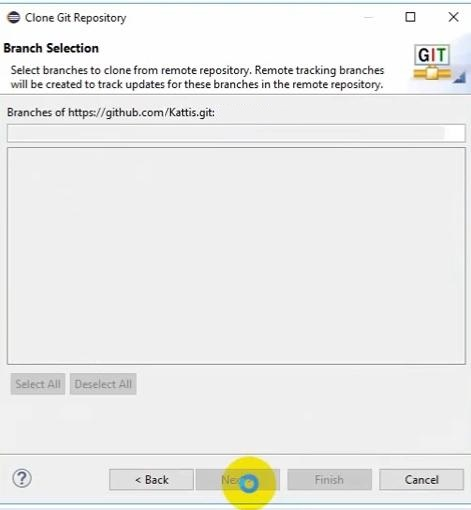
Step 3: Wait for some time.
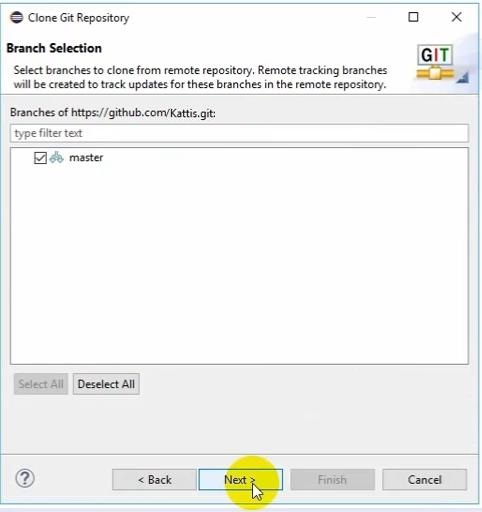
Step 4: Click on ‘Next’
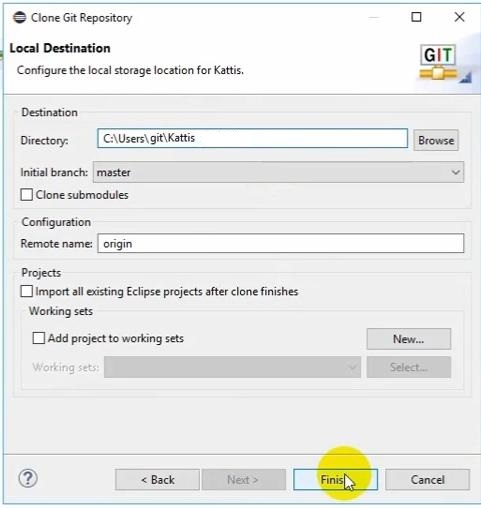
Step 5: Then click ‘Finish’ to complete.
Step 6: Then at the right-hand bottom, you will find all details.
Like Article
Suggest improvement
Share your thoughts in the comments
Please Login to comment...