How To Setup Data Lake Storage Gen1?
Last Updated :
11 Apr, 2023
An enterprise-wide hyper-scale repository for big data analytical workloads is Azure Data Lake Storage Gen1. For operational and exploratory analytics, Azure Data Lake enables you to collect data of any size, kind, and ingestion rate in a single location. Large volumes of data can be stored and processed using the robust storage technology known as Microsoft Azure Data Lake Storage Gen1. It supports various data processing frameworks and tools and offers scalable and secure storage for big data analytics workloads.
Based on Azure Blob Storage, Data Lake Storage Gen1 offers extra capabilities including hierarchical namespace, access control, and metadata management. It is simple to handle and organize data at scale thanks to the hierarchical namespace, which enables the arrangement of data into a tree-like structure with directories and subdirectories.
Using Shared Access Signatures (SAS) and Azure Active Directory, the access control function enables you to regulate who has access to your data, protecting its security and privacy. It is simpler to comprehend and manage your data assets thanks to the metadata management tool, which enables the storing and retrieving of metadata for your data.
Data Lake Storage Gen1 is a flexible storage option for big data analytics workloads since it supports a variety of data processing frameworks and tools. Among the tools that can be utilized with Data Lake Storage Gen1, there are Hadoop, Spark, and SQL. With the help of these tools, you can carry out numerous data processing operations like data intake, transformation, and analysis. For instance, Spark may be used for real-time data processing and machine learning while Hadoop can be utilized to process massive data volumes using distributed computing.
Pre-requisites: What is Microsoft Azure Data Lake?
Step 1: Sign in to your Azure portal
To get started, firstly you need to sign in to the Azure portal using your Azure account. If you don’t have an account, create one. when you are signed in you will be presented with the Azure portal dashboard.
Sign in with your Azure Account
Step 2: Create a Data Lake Storage Gen1 account
To create Data Lake Gen1 account first, you click on Create a resource button in the Azure portal. In the search box, type “Data Lake Storage Gen1” and select the option. Next, select the subscription, resource group, and account name for your Data Lake Gen1 account.

Search for “Data Lake Storage Gen1”
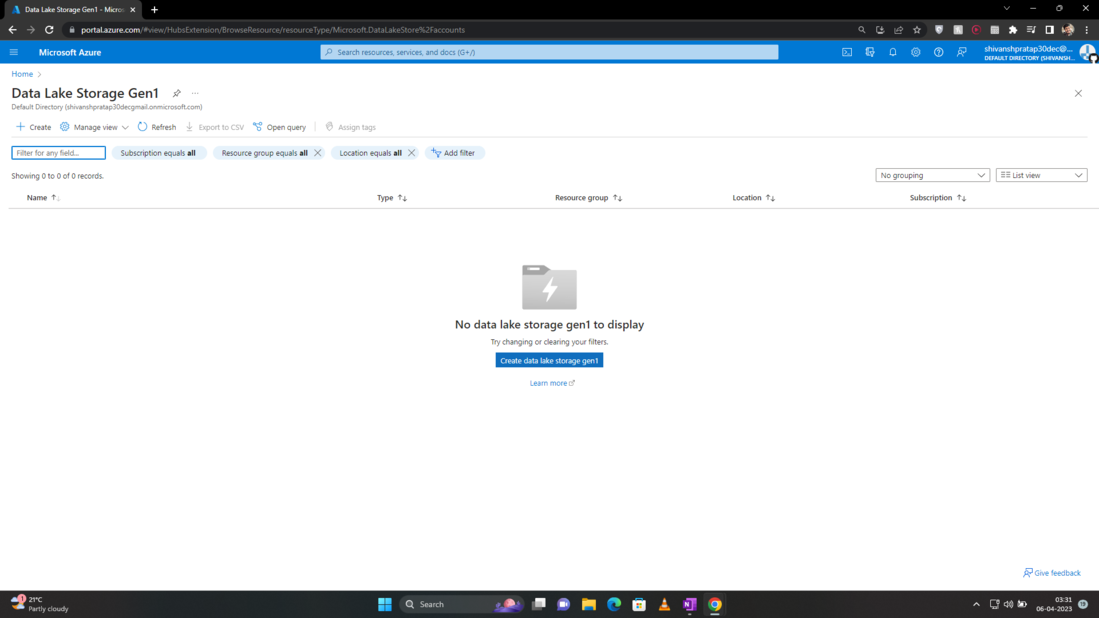
You’ll get here
Step 3: Configure the Data Lake Storage Gen1 account
You will be prompted to set up the account settings after creating it. The account type, location, and encryption settings are all customizable. You can select between ordinary and premium tiers for the account type. For your data processing tasks, the premium tier offers quicker data access and lower latency. Choose the area nearest to your data sources and processing apps for the location. To safeguard the security of your data, enable encryption for both data at rest and data in transit.
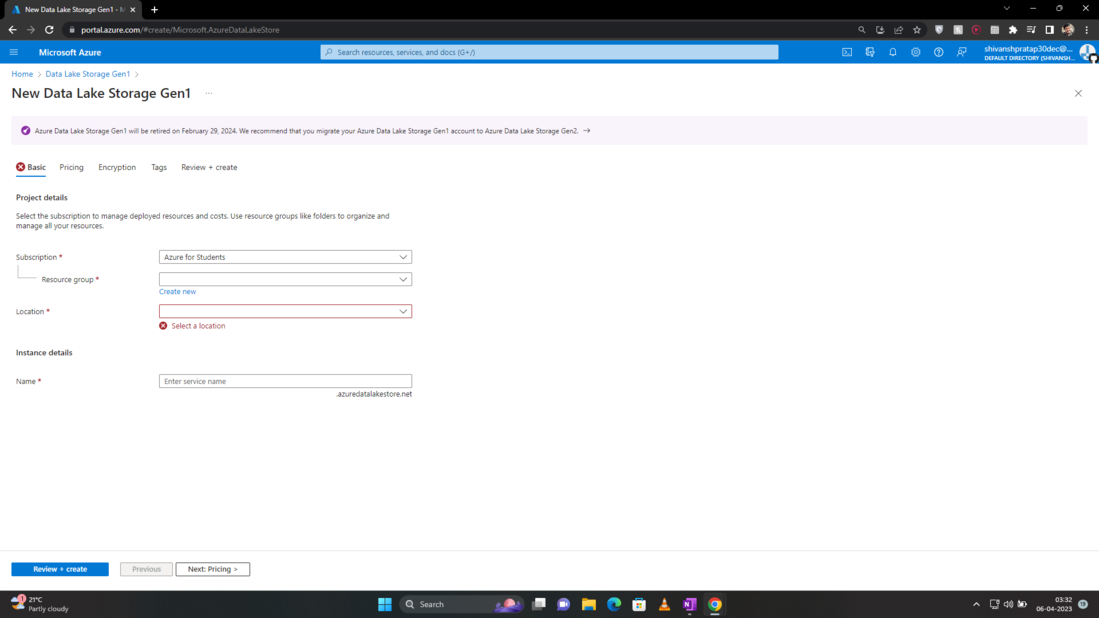
Creating Data Storage Lake Gen1
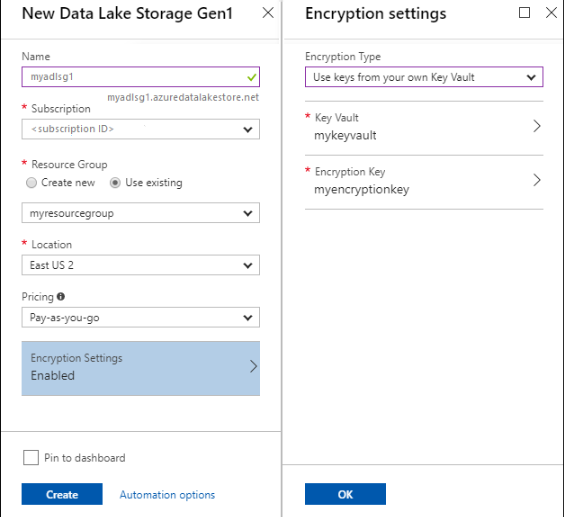
Configuring the Account Details
Step 4: Assign permissions to Azure Key Vault
You must set up access between the Data Lake Storage Gen1 account and the Azure Key Vault account if you configured encryption on the Data Lake Storage Gen1 account using keys from an Azure Key Vault. Follow these instructions to do that.
A. The blade for the Data Lake Storage Gen1 account has a warning at the top if you utilised keys from the Azure Key Vault. To access Encryption, click the caution.
B. Two options to configure access are displayed on the blade.
- To set up access, select Give Permissions from the first menu option. Only when the user who established the Data Lake Storage Gen1 account is also an admin for the Azure Key Vault is the first option enabled.
- Running the PowerShell cmdlet that is displayed on the blade is the alternative. You must be the Azure Key Vault’s owner or be able to grant access to the Azure Key Vault. Return to the blade and click Enable to configure access after running the cmdlet.
Step 5: Create folders and Upload data
To organize and save data, you can create folders under your Data Lake Storage Gen1 account.
A. Start by logging into the Data Lake Storage Gen1 account you just made. Click All Resources in the left pane, then click the account name for whom you wish to create folders from the All Resources blade. Click the account tile if you pinned the account to the starboard.
B. Click Data Explorer in your Data Lake Storage Gen1 account blade.
C. Click New Folder on the Data Explorer blade, give the new folder a name, and then click OK.
The Data Explorer blade displays the freshly created folder. Any number of levels of nested folders are possible.
Upload data: You have the option of uploading your data straight to the root level of a Data Lake Storage Gen1 account or to a folder you’ve created inside the account.
1. Click Upload in the Data Explorer blade.
2. Go to the files you wish to upload in the Upload files blade, then click Add chosen files. Moreover, you have the option to upload several files.
Actions Available on the Stored Data: To execute an action on the data, select it from the pop-up menu when you click the ellipsis icon next to a file.
Secure Your Data: Using Azure Active Directory and access control, you can protect the data kept in your Data Lake Storage Gen1 account (ACLs).
Delete Your Account: Click Delete on your Data Lake Storage Gen1 blade to get rid of a Data Lake Storage Gen1 account. You’ll be asked to enter the name of the account you want to delete in order to complete the action. Click Delete after entering the account’s name.
Like Article
Suggest improvement
Share your thoughts in the comments
Please Login to comment...