How to Setup Apache Web Server On Any Android Device?
Last Updated :
10 Nov, 2020
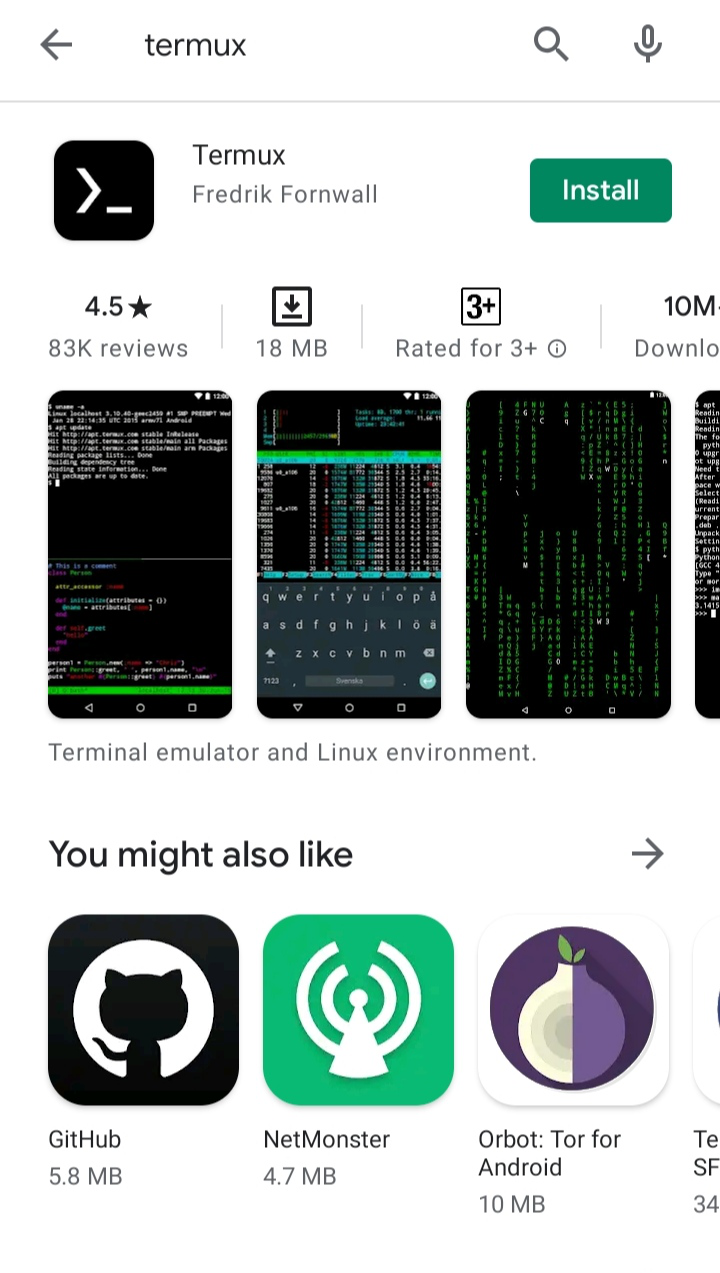
In this article, we will learn how we can set up Apache Web Server On Any Android Device. For doing this we have to install the Termux app available on the play store. Termux is an Android terminal emulator and Linux environment application that works directly with no rooting or setup required. Termux provides a Linux-like shell to the user where he can do tasks like running commands and executing scripts. Termux provides pkg and apt package manager for installing packages, these package managers are just like apt and other package managers of Linux.
So let’s use one of the package managers provided by Termux to install an Apache web server on your Android device. Here below is the step-by-step guide to setup Termux and Apache on your device.
Step 1: Download the Termux app from Google Play Store.
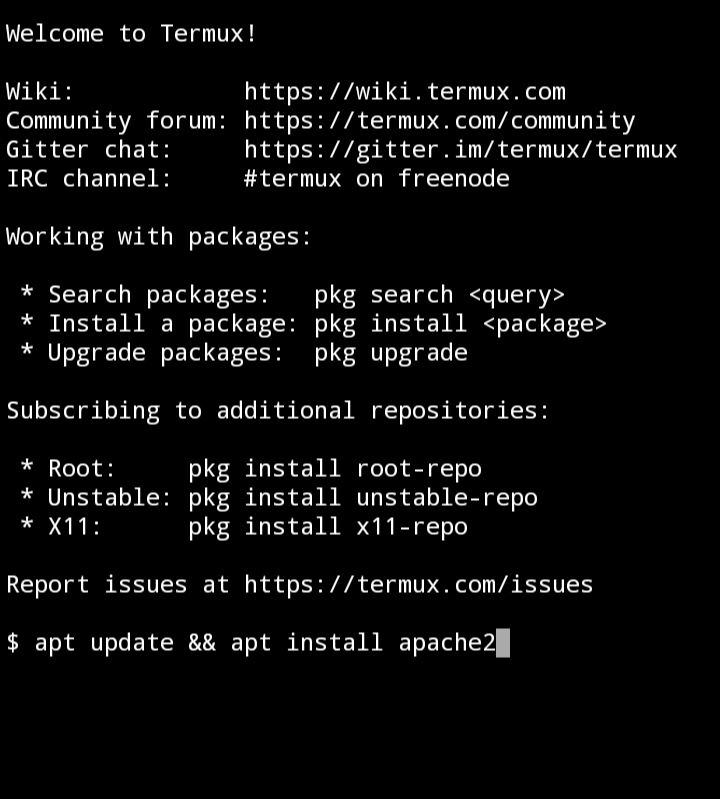
Step 2: After the installation is complete, open Termux and type the following commands to update pre-installed packages and to installed apache2 package.
sudo apt update
sudo apt install apache2
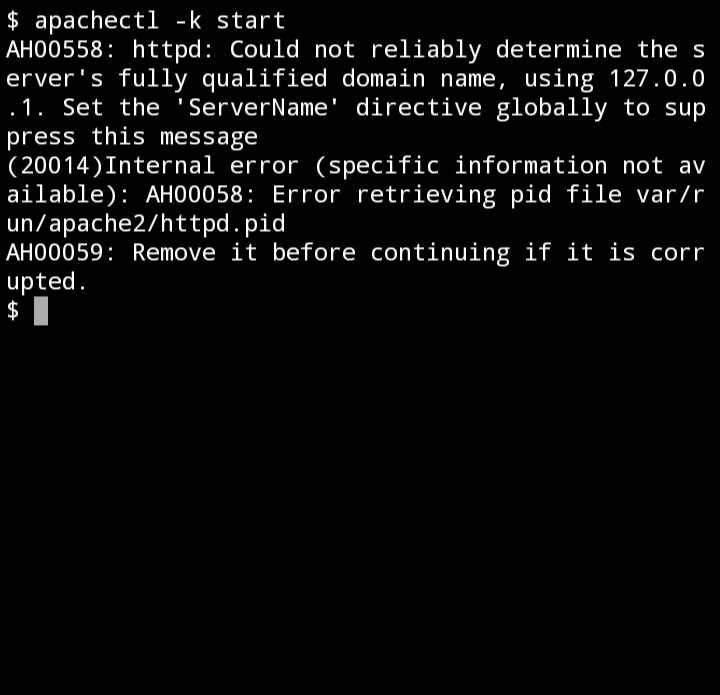
Step 3: After installing Apache start the Apache server using the following command to start the Apache server.
apachectl -k start
Some errors will be thrown after the execution of this command you can safely ignore them.
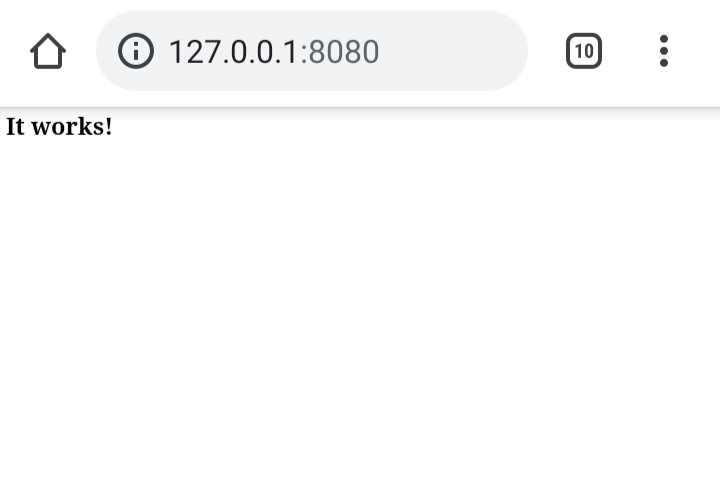
Now open the browser and visit http://127.0.0.1:8080. The browser will return the following response which confirms that the server is active and the apache2 server is configured on your device.
Step 4 (Optional): If you are on a Wi-Fi network and want to access your Apache server from any device on the same network then use the following commands.
$ apt install vim
This command installs the vim text editor.
$ cd ..
$ vim usr/etc/apache2/httpd.conf
After executing these commands httpd.conf file will open, add ServerName to the httpd.conf here value of ServerName will be your local IP address over the WiFi network, like in case if your IP address is 192.168.1.2 then add the following line to httpd.conf and restart the apache server by using the same command used in step 3 and open the URL http://<your-IP-Address>:8080 like in this case the URL would be http://192.168.1.2:8080.
ServerName 192.168.1.2
Note: Replace 192.168.1.2 with the IP address of your android device.
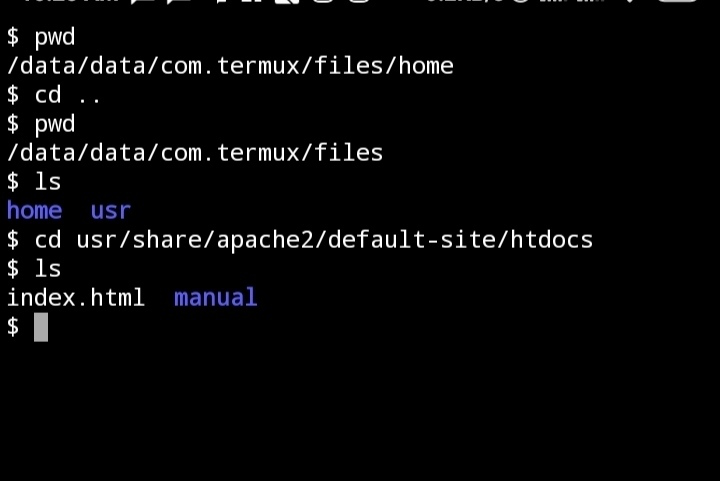
Step 5: If You want to remove the default page served by Apache then go to the following directory
$ cd usr/share/apache2/default-site/htdocs
Like Article
Suggest improvement
Share your thoughts in the comments
Please Login to comment...