It is stated that “If you give me six hours to chop down a tree then I will spend the first four hours sharpening the axe”. So in the Data Science World if one considers Data Science as the tree then Anaconda should be the axe. Yes, if you are starting your journey in Data Science then you must be familiar with Anaconda i.e. the tool that is used for building Data Science projects. Let’s define these two known terms briefly. “Data science is the science of analyzing raw data using statistics and machine learning techniques with the purpose of drawing conclusions about that information” whereas “Anaconda is open-source software that contains Jupyter, Spyder, etc that are used for large data processing, data analytics, heavy scientific computing. Anaconda works for R and Python programming languages”.

Anaconda for data science
Why Anaconda for Data Science?
Here are some important reasons why you should choose Anaconda for your next Data Science project:
- Ease of Installation,
- More than 1000 data science packages are available,
- Anaconda installs the latest Python 2 or 3 version in an isolated and activated environment so any installed Python version doesn’t cause any issues for your projects,
- It’s noob-friendly!! Yes, You don’t need any prior coding/programming knowledge about the usual nerdy stuff that scares noobs away.

Anaconda for data science
Installation Process
After successfully completing the installation process you are here now, the Anaconda Navigator.
Anaconda Navigator
Anaconda Navigator is a graphical UI that is automatically installed with Anaconda. Navigator will open if the installation was successful. For Windows users, click Start, search, or select Anaconda Navigator from the menu as shown in the below image:
Below is the welcome page when you open Anaconda Navigator.
-min.png)
Anaconda Navigator
Anaconda Navigator contains lots of stuff inside it. So let’s understand which stuff we need for our next data science project.
1. Jupyter Notebook
Jupyter Notebook is a web-based, interactive competing notebook environment. You can edit and run human-readable docs while describing the data analysis. The Jupyter Notebook is an open-source web application that allows you to create and share documents that contain live code, equations, visualizations, and narrative text. Uses include data cleaning and transformation, numerical simulation, statistical modeling, data visualization, machine learning, and much more. Below is a demo image to demonstrate how Jupyter Notebook UI looks like:
-min.png)
Jupyter Notebook in Anaconda
For more detail please refer to Getting Started with Jupyter Notebook
2. JupyterLab
It’s an extensible environment for interactive and reproducible computing, based on the Jupyter Notebook and Architecture. JupyterLab enables to work with documents and activities such as Jupyter notebooks, text editors, terminals, and custom components in a flexible, integrated, and extensible manner. Below is a demo image to demonstrate how JupyterLab UI looks like:
-min.png)
Jupyterlab in anaconda
3. Spyder
One of the most important and powerful Python IDE is Spyder. Spyder is another good open-source and cross-platform IDE written in Python. It is also called Scientific Python Development IDE, and it is the most lightweight IDE for Python. It is mainly used by data scientists who can integrate with Matplotlib, SciPy, NumPy, Pandas, Cython, IPython, SymPy, and other open-source software. Below is a demo image to demonstrate how Spyder UI looks like:
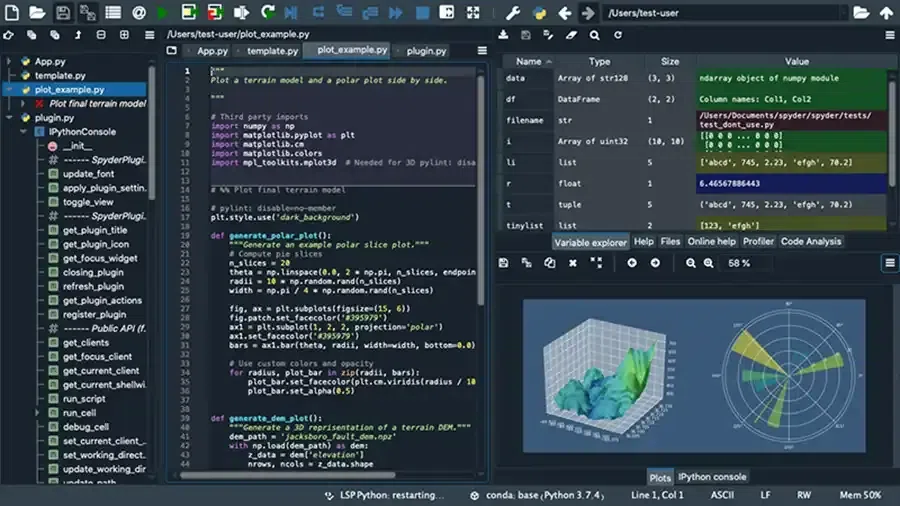
Spyder in Anaconda
4. RStudio
When it comes to the data science world then Python and R are the two most programming languages that come into our minds. R Studio is an integrated development environment(IDE) for the R programming language. It provides literate programming tools, which basically allow the use of R scripts, outputs, text, and images in reports, Word documents, and even an HTML files. Below is a demo image to demonstrate how RStudio UI looks like:

R Studio in Anaconda lab
For more detail please refer to: Introduction to R Studio
Apart from these 4 important environments there also some other environments which are very useful for the data science project. Let’s discuss them in brief.
- Datalore: Datalore is an online data analysis tool with smart coding assistance by Jetbrains. One can edit and run the Python notebooks in the cloud and share them with the team.
- Glueviz: Glueviz is a multidimensional data visualization across files. It is a Python library to explore relationships within and among related datasets.
- Orange 3: Orange 3 is a component-based data mining framework. It is a powerful platform to perform data analysis and visualization, see data flow, and become more productive.
- IBM Watson Studio Cloud: IBM Watson Studio Cloud provides the tools to analyze and visualize data, cleanse and shape data, to create and train machine learning models. Prepare data and build models, using open-source data science tools or visualize modeling.
Conda
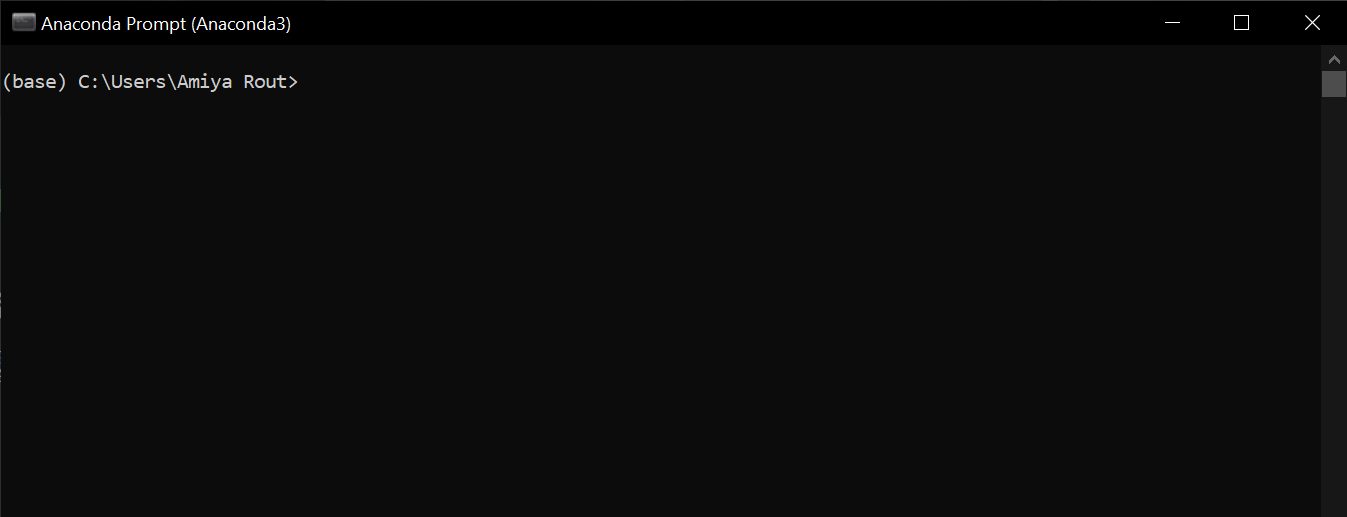
If you prefer using a command-line interface (CLI), you can use conda to verify the installation using Anaconda Prompt on Windows or a terminal on Linux and macOS. To open Anaconda Prompt in Windows: Click Start, search, or select Anaconda Prompt from the menu.
-min.png)
Anaconda prompt in window
Once you lunch the prompt you will notice that the terminal now has (base) written in front of the computer name. It means that your base conda environment is set (meaning you’re working globally for the whole user and not a specific environment).
Now let’s discuss some useful commands
1. View installed packages
To view all the installed packages please type the command as follows:
conda list
-min.png)
list of files in anaconda
2. Search and install a package
Let’s say the user wants to install pandas but he/she does not know the version. The user can use the following command to search for its versions:
conda search pandas
-min.png)
pandas in anaconda
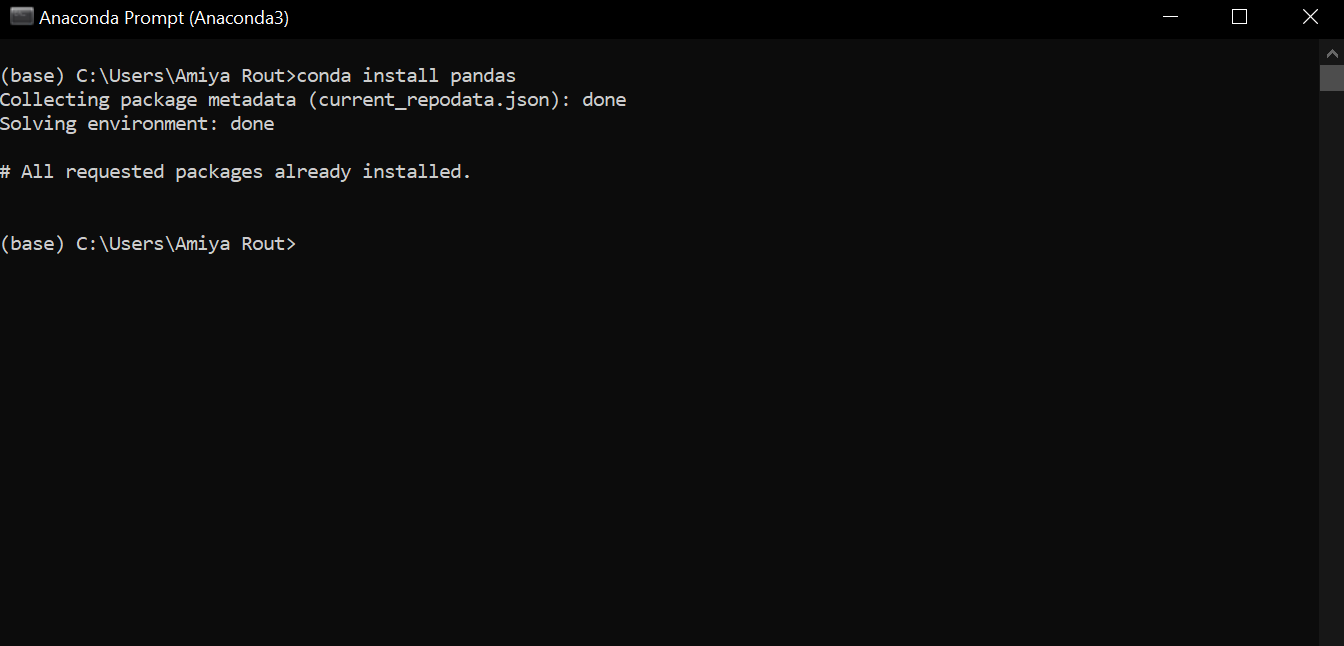
To install a package type the following command
conda install pandas
And the user wants to install pandas with version 1.2.4 then use the following command to do so:
conda install pandas==1.2.4
3. Remove package
To remove the package please type the command as follows:
conda remove pandas
-min.png)
Conda Remoe in Anaconda
You may also refer to the conda cheat sheet for a single-page summary of the most important information about using conda.
Working with Python Environments using Anaconda
conda also enables to create, activate and deactivate virtual environments as needed. All these environments are isolated from one another and can host very different combinations of packages and package versions without interfering with one another. Like many other languages, Python requires a different version for different kinds of applications. The application needs to run on a specific version of the language because it requires a certain dependency that is present in older versions but changes in newer versions. Virtual environments make it easy to ideally separate different applications and avoid problems with different dependencies. Using a virtual environment we can switch between both applications easily and get them running. To set up a virtual environment for Python using Anaconda, you may refer to this article How to Set up Virtual Environment for Python using Anaconda.
Like Article
Suggest improvement
Share your thoughts in the comments
Please Login to comment...