How to Setup a Firebase for your React Project ?
Last Updated :
09 Dec, 2020
In order to set up a firebase for your project, just follow these simple steps:
1. Go to console.firebase.google.com
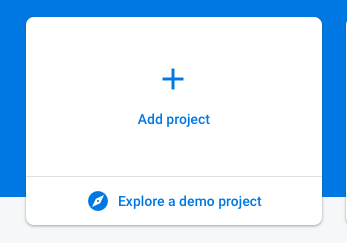
2. Click the Add Project button, if you are a new user, it might say Create a New Project or something like that. It will look like this for existing users as shown below:
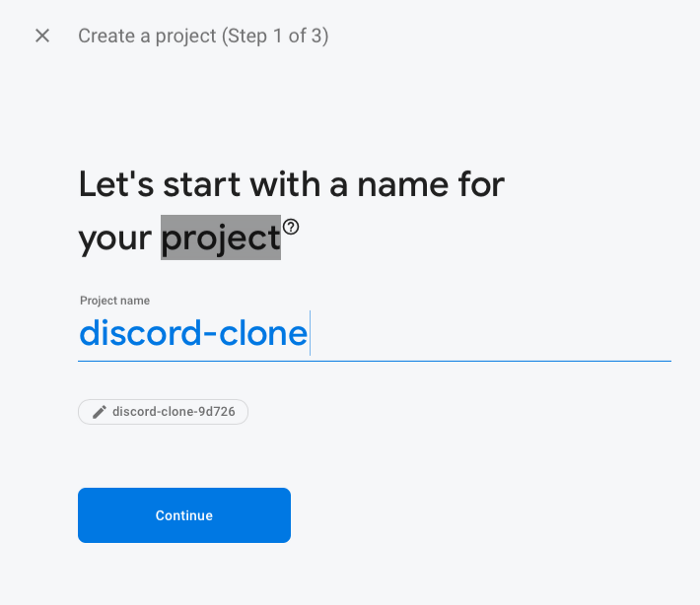
3. Once you click it, type discord-clone for the name of your project.
4. For the next step, you can enable Google Analytics if you would like, however, it’s not required.
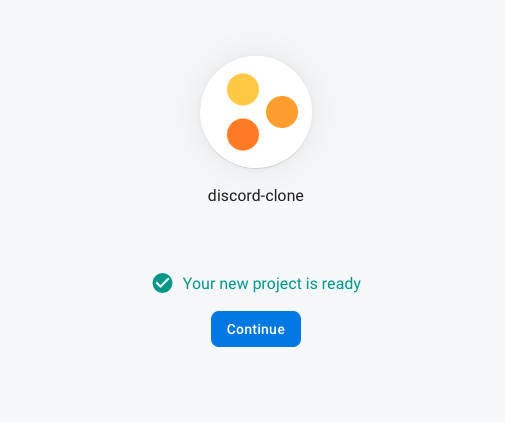
5. After that you’ve selected your choices Firebase will start to create the project for you. Once it’s done it should look like as shown below:
6. Once you get this, you can click Continue. Firebase will take you back to the project’s screen then click the button which is pointed in the following image(</>):

7. You will be asked for a name for the web application, you can put whatever you like. However, We have used discord-clone for this example. Once you type in the name, click the Register App button.
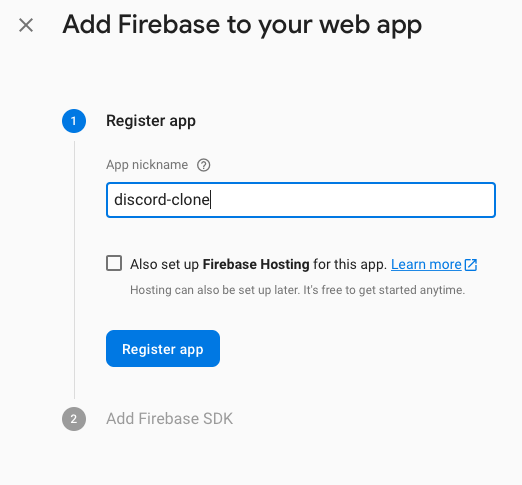
8. It will ask you to add your Firebase SDK, but for now you can just click the blue button and go forward.
9. Go to the authentication tab on the sidebar and click on it.
10. Then click on the Sign-in Method tab and select Google and then toggle Enable. After you’ve completed that click the Save button.

11. Now that you’ve set up authentication, click the Firestore logo below the authentication logo. Click on the Create database button once you’ve done so. Then choose the Start in test mode option and then click Next and after that click the Enable button.
After you have followed these above steps, the firebase is set up for your project.
Like Article
Suggest improvement
Share your thoughts in the comments
Please Login to comment...